Farm & Ranch
What to expect when your cow’s expecting
Overweight cattle and cattle turned out on lush legumes with high concentration are at risk as well. In this case, an epidural anesthetic is usually necessary. The tissue will need to be replaced and sutured in place. Vaginal sutures will need to be removed prior to calving.
Toxemia happens when cattle are exposed to low nutrition during the last two months of pregnancy. Cows that are overly fat and/or carrying twins are at higher risk. Cows with toxemia become depressed, stop eating and often stand off away from the herd. You will notice some have the scent of acetone on their breath. As the condition worsens, the cow may develop muscle tremors. Treatment for toxemia is IV glucose, B vitamins or propylene glycol given by oral drench.
During calving there are a number of problems that could occur. Those include dystocia, bruises and lacerations to the birth canal, uterine prolapse, milk fever, retained placenta and grass tetany.
According to the Beef Cattle Handbook, a product of Extension Beef Cattle Resource Committee Adapted from the Cattle Producer’s Library, at any time a cow is unable to deliver her calf, a dystocia has occurred. There are many things a producer can do to reduce this incidence. With heifers, lot those with small pelvic areas before breeding. Select bulls based on their birth weight, not on their relative size. Ultimately use bulls that will produce small birth-weight calves. When calving first-calf heifers separate them from cows, at best into small groups. Producers will want to provide surveillance over the heifers on a 24 hour basis. Some tips include restricting the calving to 42 to 60 days. That will enable personal focus for a short, intense calving period. Also feeding at night between 9 and 11 p.m. will cause more animals to calve during daylight hours.
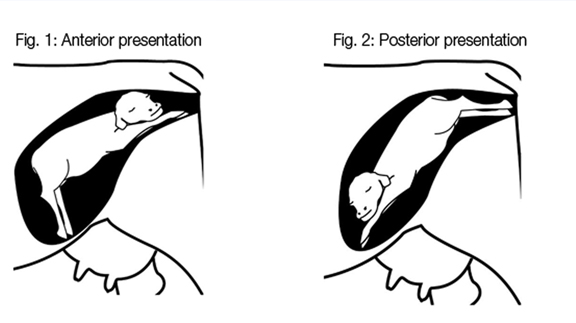
If problems arise and a cow hasn’t shown progress in 60 to 90 minutes, it’s time for the producers to step in. Signs of an abnormal delivery are the head only, the head and one leg, one leg alone or the tail. At this point it is best to contain the animal in a squeeze chute or small pen. A calf can only deliver one of two ways: both front feet followed by the head or both back feet out together. Once constrained, using ample lubrication, a producer can reach in and move the calf to one of the two correct positions. If unable to do so, a veterinarian should be called. The top problems include not getting the head out with front feet, having a calf too big to deliver through the mother’s birth canal resulting in hip lock and abnormal breach in which the tail is the only part of the calf visible through the vulva. If all goes well and pulling the calf is suggested, direct traction down and away from the birth canal. Do not pull straight out behind the cow. If two men are unable to pull the calf using the OB chains or when using the calf puller, do not use excessive force. It will not deliver the calf. Odds are the cows birth canal is too small for the calf and will result in a c-section.
Keep in mind bruises, lacerations and rupture of the birth canal are possible during a difficult birth. Rough handling of the calf or maternal tissues and careless use of obstetrical instruments during calving add danger. This is typical when a cow is in labor several hours with a dry, non-lubricated birth canal.
Cows with difficult delivery and trauma to the tissue and birth canal may have damage to the nerves and spinal cord or hips that supply the legs. This results in abnormal leg function. In some cases, while pulling a calf, excessive force was used and the middle lower pelvis bones were fractured. At this point steroids are administered to help with swelling and nerve healing. In bad cases were the cows are unable to stand, they need to be hoisted to their feet twice a day.
In older cows producers may see difficulty in birth injury or irritation of the external birth canal and severe straining, retained placenta and loose uterine attachment in the abdominal cavity called uterine prolapse. When noticed, this condition needs immediate action. Apply material to uterine wall to saturate fluid ASAP. You can use sulfaurea powder, urea powder or even sugar. Replace the uterus immediately or call your veterinarian. Without properly replacing the uterine horns, prolapse will reoccur.
Usually the placenta is passed in three to eight hours. If the placenta hasn’t passed in eight to 12 hours of calving, the placenta is retained and the cows must be treated. A number of reasons lead to retained placenta: dystocia, c-sections, fetotomy, twinning or abortion along with other infectious diseases. Even feed deficiencies, malnutrition, low carotene, vitamin A, iodine, selenium and vitamin E can be to blame. To treat, use slight, manual force and gently pull on the placenta. If it resists, stop and pack the uterus with boluses or fluid douches to keep antibiotics in the uterus. As with prolapse, be sure to use proper hygiene when treating the uterus or worse problems will occur.
Another condition parallel with cows with age, number of calves and dairy or mixed breeds is milk fever. This condition happens when a cow starting to produce milk is unable to remove calcium from her bones quickly enough. If blood levels of calcium fall below the minimal level, the muscles of the body are unable to function. This leaves the cow almost crippled, comatose and dead. High blood levels of estrogen inhibit calcium mobilization; this may be a factor on pastures that are high in legumes. Usually a slow administer of IV calcium is given. 300 to 500 ml of a commercial calcium solution is given over 20 to 30 minutes.
Lastly, grass tetany poses as an issue to cows calving. It is similar to milk fever, but in this instance cattle have heavy post-calving lactation and lose large amounts of magnesium in their milk. Most types of mixed pasture grasses are low in magnesium. If cows are exposed to cold weather or stress during early lactation, their blood levels may drop low enough to cause grass tetany. At that point an IV of magnesium is given with calcium. Treatment is not as effective as with milk fever and in many cases, animals do not respond.
This article was originally published in the January 2016 issue of North Texas Farm & Ranch.
By Landon Moore
If you keep or are interested in keeping poultry, you will have the desire to raise young birds at some point. If you order chicks, or decide to incubate and hatch eggs, it will be necessary to learn how to brood the resulting hatchlings. While this will vary in specifics between species, the basic rules remain the same. In this article, the word “chicks” will be used, but the general information following also applies to goslings, ducklings, keets, poults, etc.
Brooding poultry is caring for the chicks during the period when they are growing their first feathers. Chicks hatch with a thin coat of down that leaves them susceptible to chilling. The mother keeps them warm by continuing to sit on the young for the first weeks after hatching. If you plan to hatch your own flock’s eggs you may wonder why you should bother to do it artificially, especially if you have broody birds. The answer is that modern incubators are much more likely to result in live chicks, can incubate far more eggs and keep the extremely vulnerable hatchlings safe as they emerge, especially from ants. Of course if you are purchasing chicks, brooding is your only option.
Before your eggs hatch or the chicks arrive, you will want to have the brooder set up, and ready to go. The first issue to decide is location. You will want a covered and secured place to set up the brooder. Be sure it has plenty of air flow; as anyone who has spent any time with birds can attest, fowl of any age produce an unpleasant smell without adequate ventilation. A barn or other outbuilding could work, but be sure it is well secured. A cat, raccoon or other predator could easily kill your chicks if they get the opportunity. A garage is a great option, offering protection and close access to water and electricity. If it lacks windows you will need to open the garage door a few times per day for ventilation. Inside the house is another option (such as in a disused bathroom) especially for very small poultry. This may seem ideal, offering complete protection, easy temperature regulation, water and electrify, but there are drawbacks. Aside from smell, chicks are unbelievably messy and will require extensive and daily cleaning if the room is to remain in even slightly good condition.
The next choice is what the brooder box will be. You can purchase large metal brooders built for hundreds of chicks or expensive tiered systems on rollers. However the best option is usually a plain, heavy-duty plastic storage box. Cheap, easy to move, simple to clean and sanitize, these are the most versatile and efficient option.
The chicks will require (in addition to shelter) heat, bedding, feed and water. The heat will come in the form of a small heat lamp or even a very strong and hot light bulb suspended above one end of the brooder box. Be sure it is securely prevented from falling into bedding or you could end up with a fire. You can make a metal screen to place over the box which protects them from predators in addition to falling lamps. Place a thermometer at the surface of the bedding before adding the chicks and adjust the heat lamp until the thermometer measures 95 degrees. You will reduce this by 5 degrees each week until their feathers have grown out. Even if the weather reaches or exceeds this temperature a lamp will be needed at night.
You may be intimidated by charts showing the exact temperature requirements of various poultry species and wonder how you can possibly keep the heat exactly right during daily temperature shifts. You do not need to be overly worried about this. Why? Because the chicks will tell you if they are comfortable through their behavior. After placing them in the brooder simply watch them for a few minutes. Do they crowd underneath the heat, piling on each other to conserve heat? Lower the bulb a bit. Are they straining against the opposite wall and cheeping in stress? Move it further away. Are they fairly evenly spread out, some exploring their new environment and some sleeping under the heat? Perfect. This is why the heat should be placed over one end of the brooder. If it is over the entire box you will have no way of knowing if your chicks are over-warmed.
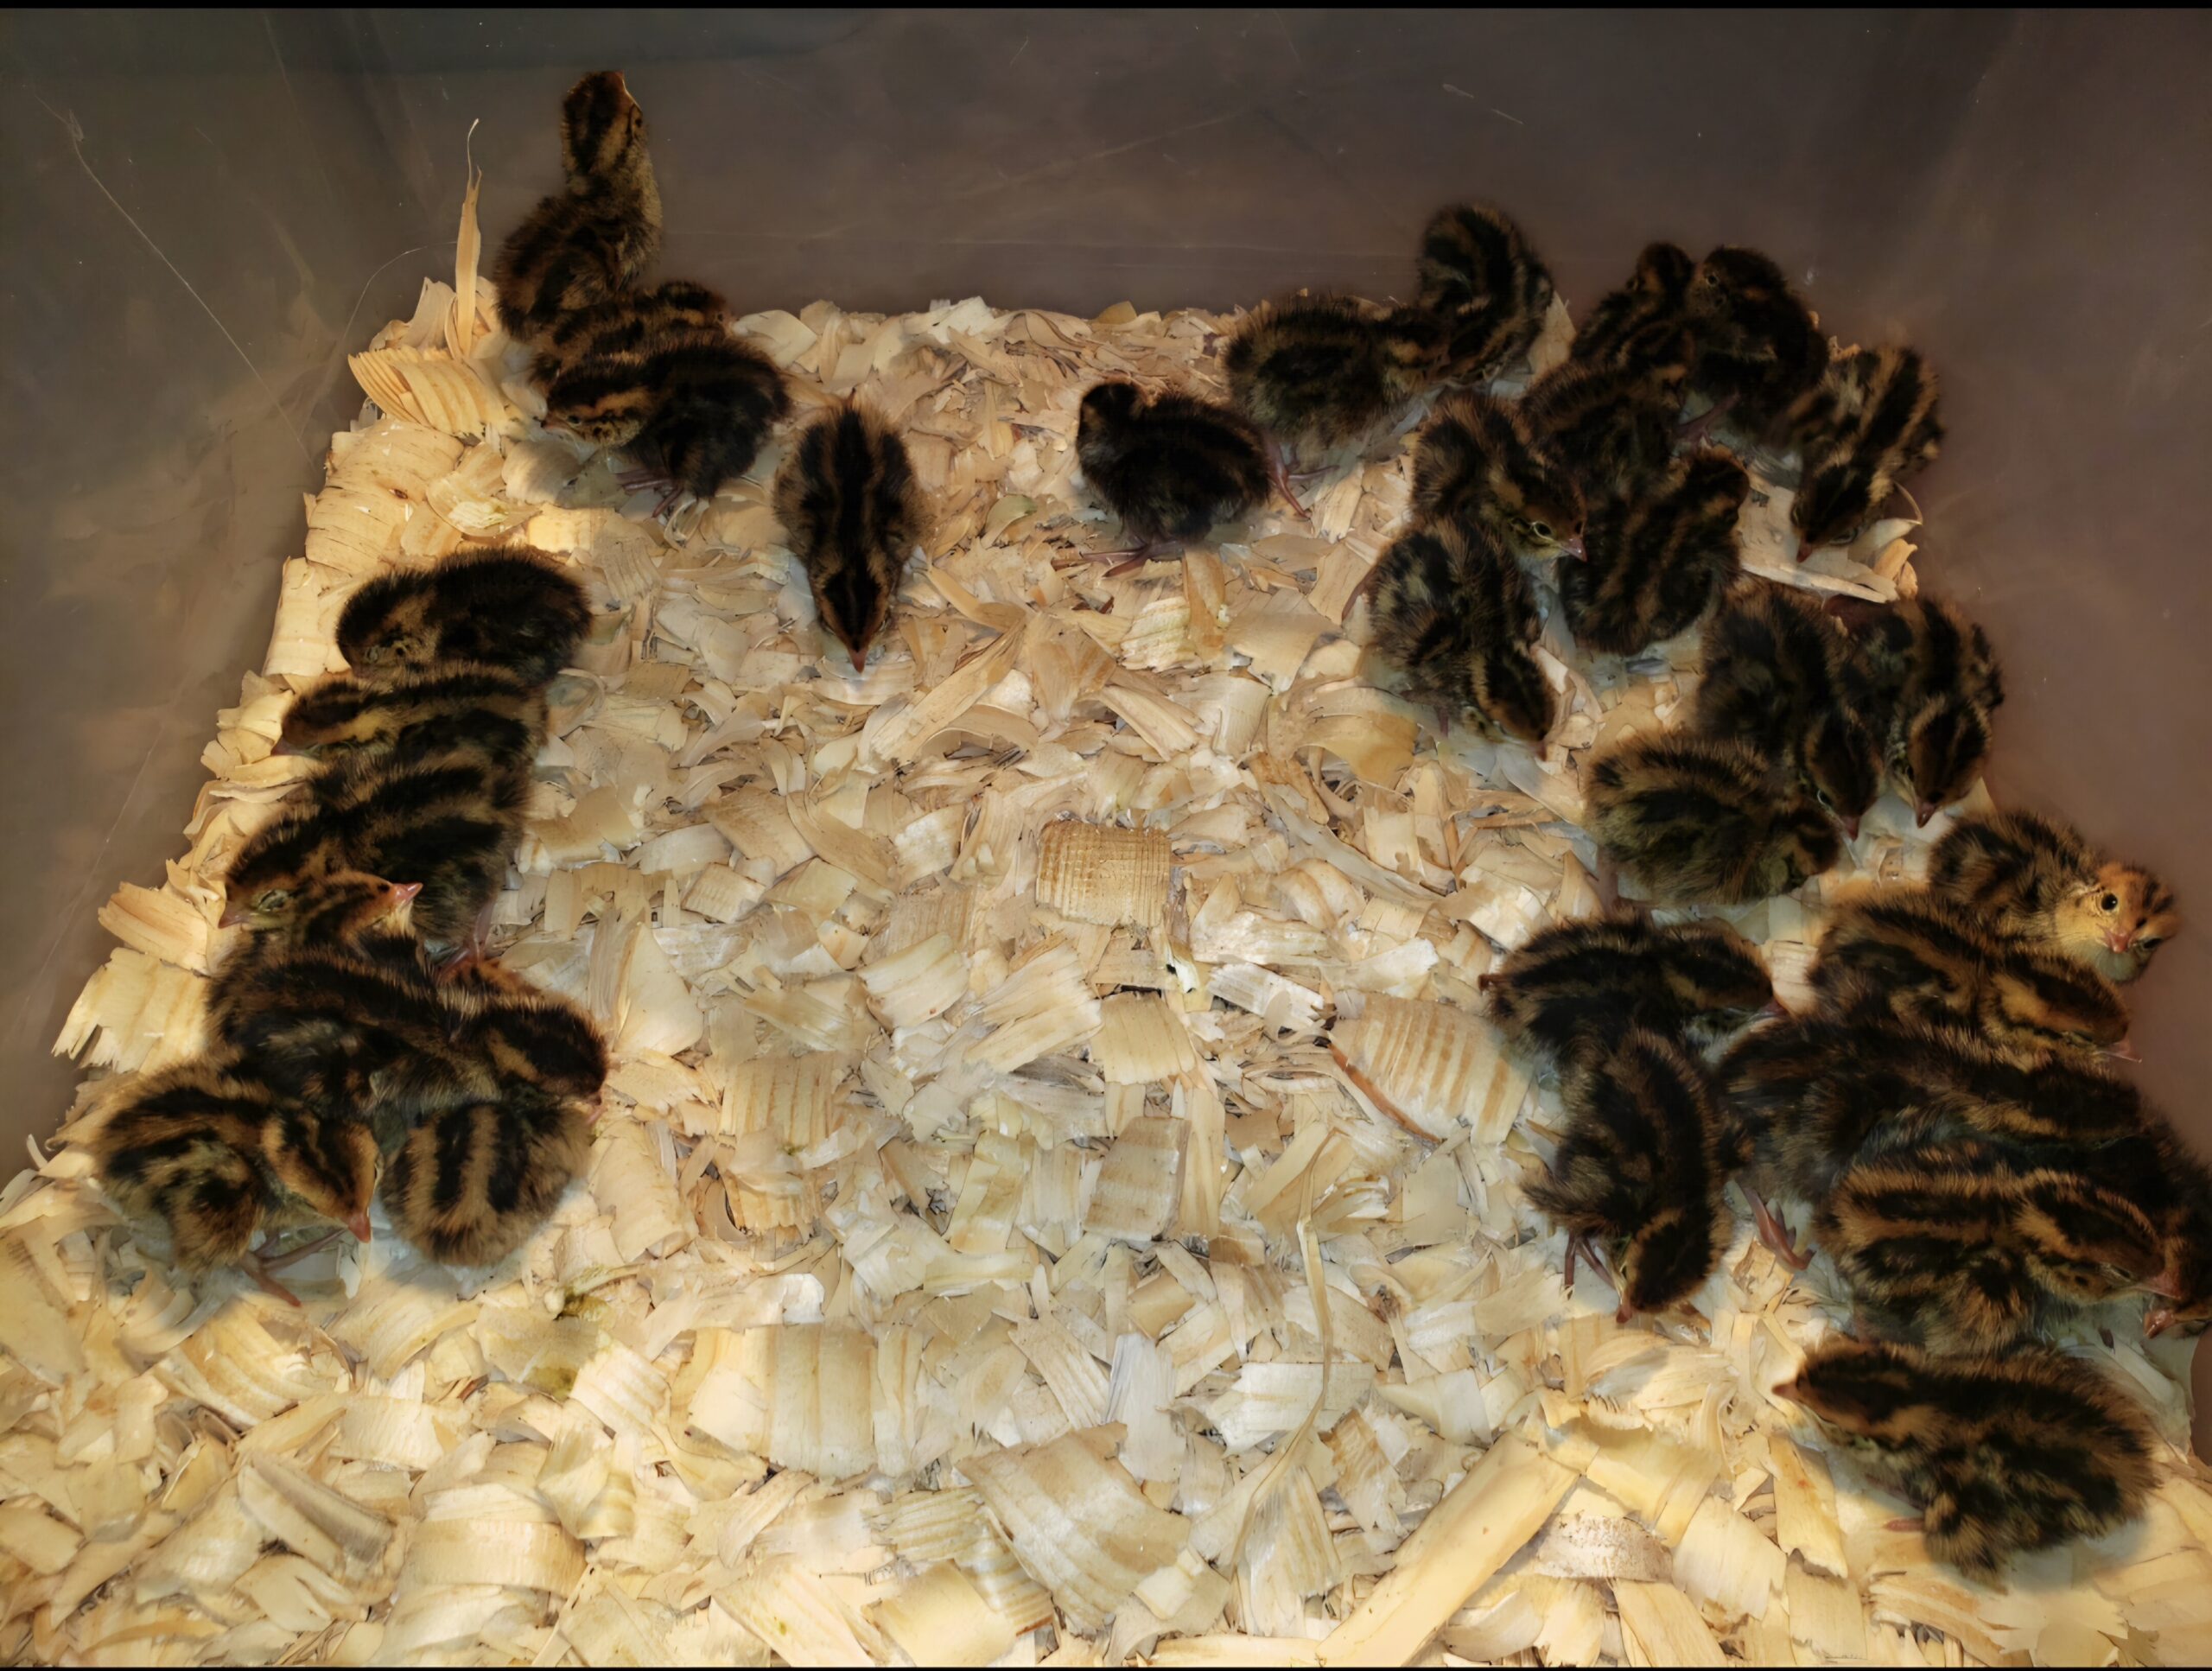
The next issue is bedding. When the chicks are first placed in the brooder the bedding should be a layer of paper towels or (non-slick) newspaper. This even surface provides good traction for the birds preventing splayed legs and also prevents them from getting stuck somewhere and dying or else ingesting bedding before they learn what feed is and dying. It is always good to keep in mind that chicks of all kinds are morbid little things that will jump at the first opportunity for death in their initial couple weeks of life. It is up to you to deny them the opportunity until their self-preservation instinct kicks in. Chicks mature shockingly fast and in just a couple of days the bedding may be exchanged for pine shavings. You may still want a layer of paper at the bottom to make cleaning easier. You do not want to disturb the chicks without necessity, so you can add a fresh layer of shavings a couple of times as needed before you completely clean the box.
Commercial chick feed is available that is meant to be suitable for all species. For game birds, guineas and turkeys it’s often better to just use an adult gamebird crumble feed as their protein requirements are extremely high. For waterfowl, be sure the feed has enough niacin if it isn’t specifically formulated for them. If it does not have enough, you can sprinkle some brewer’s yeast over the top. Medicated feed is usually formulated for chicks specifically and may not be safe for other species (especially for waterfowl), so be sure to check before feeding. Chicks aren’t especially bright and may not be able to figure out how to operate the feeder at first. You can help them by placing a small pile of their feed on a paper plate (or paper towel for quail) where they can see it more easily.
For waterers, their basically two main types; open waterers and bottles. The bottles can be complicated with multiple pieces and nipples to drink from or simply a two piece plastic quart jar and base that screw together. The open waterers will usually be a miniature trough with a hinged or sliding lid that allows the chicks to stick their heads in without falling into the waterer and drowning. Generally the bottle type waterers will stay cleaner and hold more, but for waterfowl open waterers are preferred so they may submerge their bills for cleaning. Quail should be given bottles with special quail bases which are very small to prevent drowning. It can be extremely beneficial to dissolve a couple tablespoons of sugar (or commercially-made chick electrolytes) into the water for the first few days, especially if the chicks came by mail. Provide chicks with warm water the first few days (use your inner wrist to determine a suitable temperature, as you would milk for a bottle) to prevent chilling them. Be sure to carefully dunk each chick’s beak into the water when they are placed in the brooder so they learn what it is.
Chicks are most fragile for the first three days and should be handled as little as possible. When shipped, they will arrive stressed and possible chilled and care during this period is the most crucial. For the first three days after hatching, chicks are still absorbing their egg yolk and will not require outside nutrition and therefore may eat sparingly. It is best practice to sanitize the feeders and waterers regularly, but be aware that all birds will leave manure in their water. Don’t let the water remain filthy, but don’t expect it to remain sterile, either. Likewise, a stinking bog will not yield thriving poultry, but it is unnecessary to fanatically clean the brooder constantly. When the chicks are fully feathered will vary by species (three weeks for quail, six weeks for chickens), but once this happens it will be time for your young feathered friends to graduate to their new pens.
By Tony Dean
Farmers and ranchers are in a very close partnership with Mother Nature. If we really pay attention, she presents us some interesting scenarios.
For example, though they are totally different types of plants, water lilies and prickly pear have a lot in common. They both have strikingly beautiful flowers, both plants are edible, both of them are invaders into their respective habitats, and too much of either one can be an obstacle that we have to deal with.
Many north Texas ranches rely on excavated ponds for livestock water. Any time a pond contains a significant amount of shallow water so that sunlight reaches the bottom, some type of pond weed will develop. The plant family that includes water lilies and lotuses is a common invader in our livestock water.
Water lilies and lotuses are in the same plant family but they are two separate genera. There are easy ways to tell them apart:
- A primary difference is that water lily leaves commonly float on the surface, but lotus leaves can grow above the water line.
- Water lily leaves and flowers are thick and waxy, while lotus leaves and flowers are thin and papery.
- Water lily leaves have a distinct notch in the leaf, while lotus leaves are more rounded.
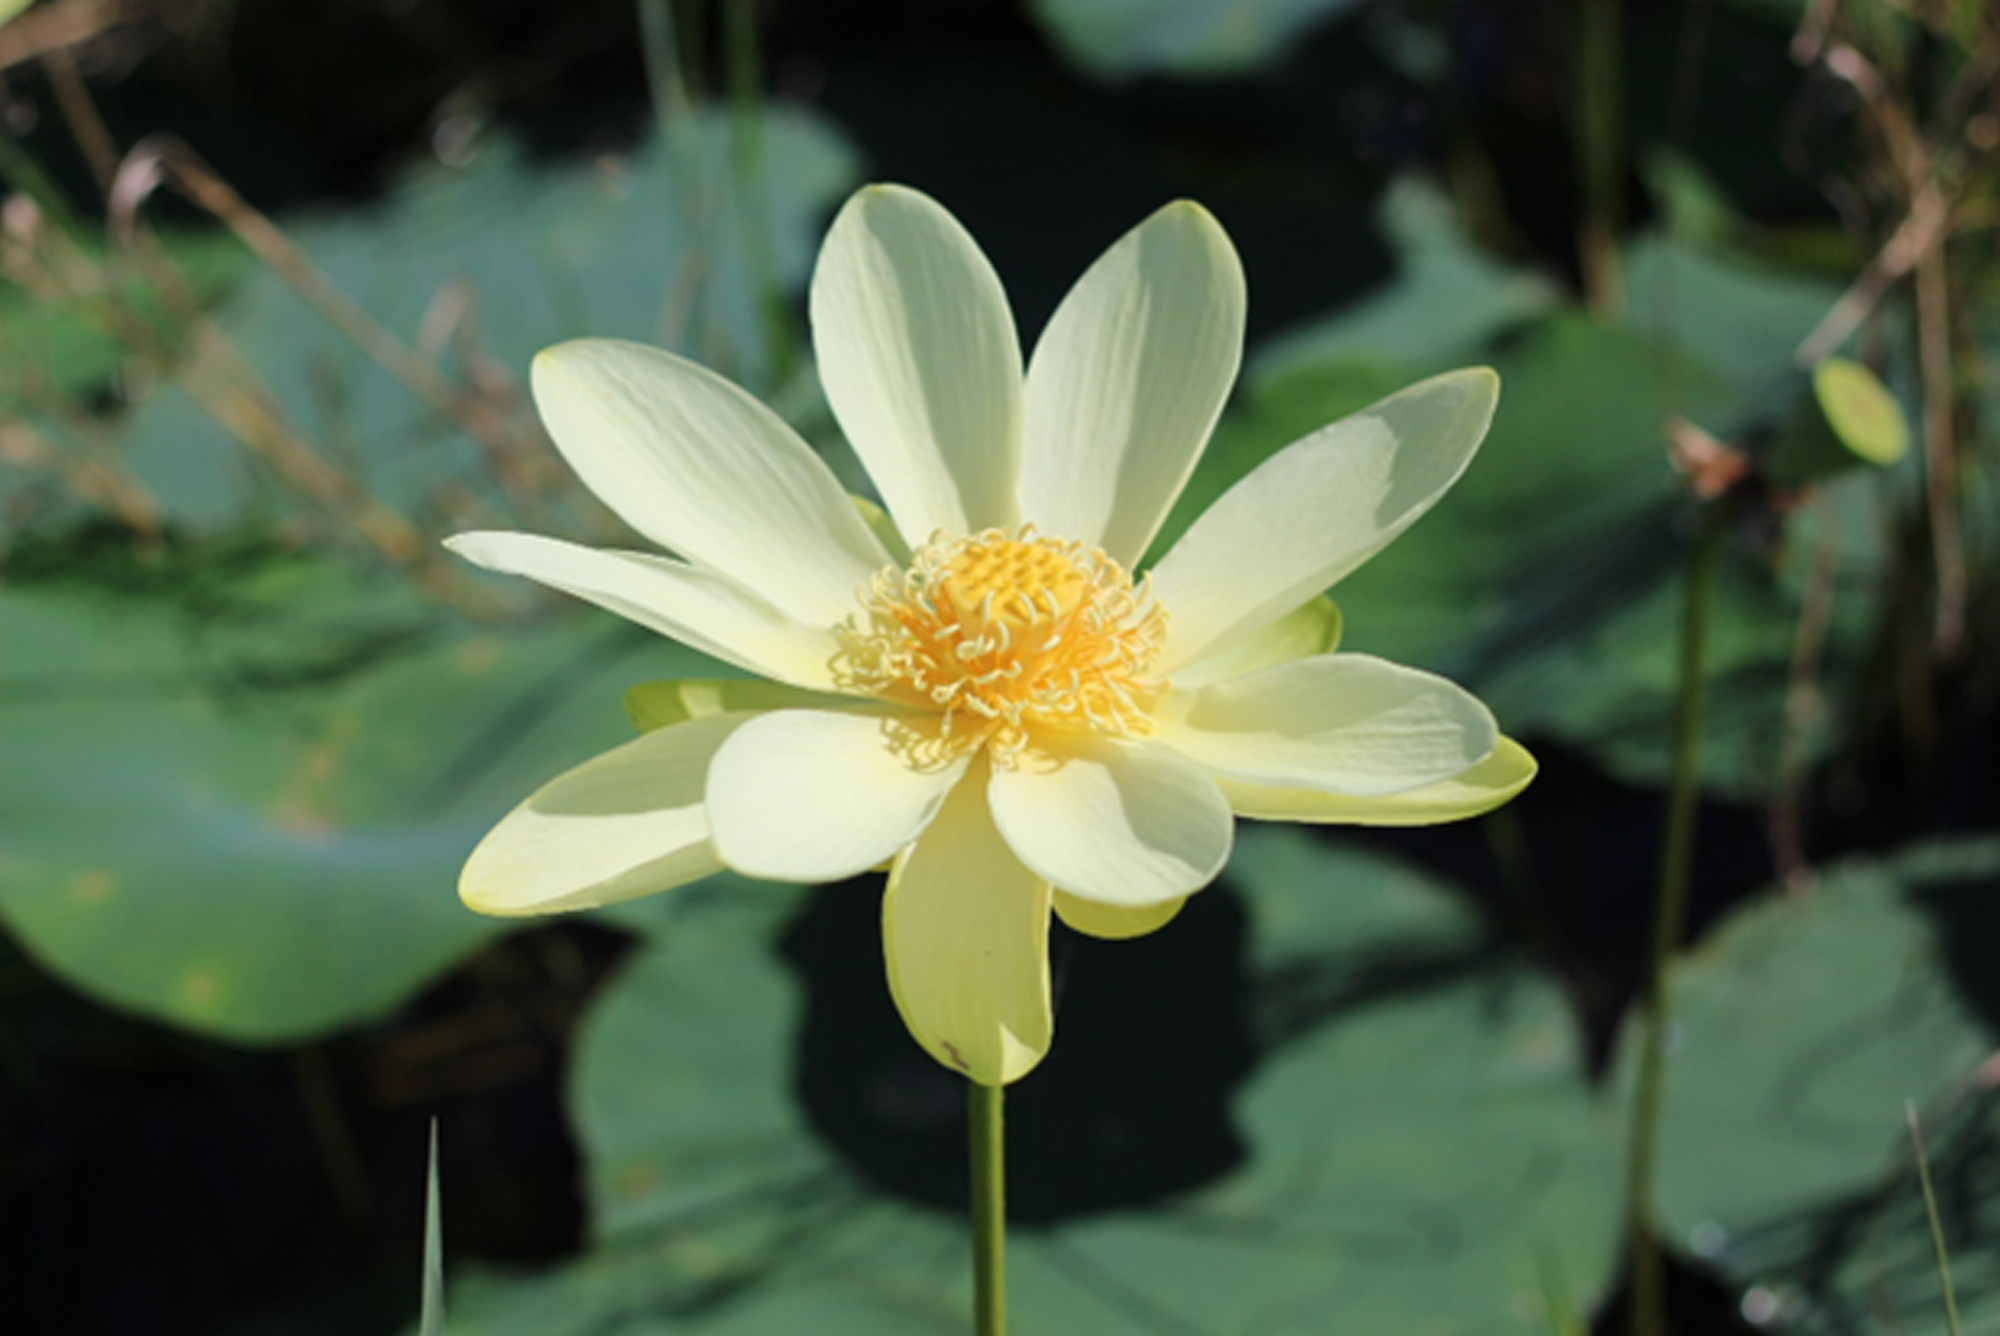
- Water lily flower petals are pointed, and lotus petals are more rounded.
The photos attached to this writing are from Clay County, and this plant is common across north Texas. American lotus is adapted to a wide area, from Honduras north through Mexico and across the eastern US and into Canada.
American lotus is a perennial, and it is cold tolerant and heat tolerant. It can grow in any pond or slow moving stream that contains shallow water areas. It prefers water with a depth of about 12 inches. Germination can occur from the large lotus seeds. Tubers, or roots, are established in the mud, and long slender stems extend upward. Leaves and flowers are both emergent in that they grow above the water line.
Lotus flowers are fragrant, and yellowish white with rich gold centers. They open in the morning and close by late afternoon, then open again the next day.
Lotus is an edible plant and has a history as a food source. The large tuberous roots, the size of a human arm, were baked like sweet potatoes. The leaves were eaten like spinach, and the large seeds were ground into flour. Stems taste somewhat like beets and were usually peeled before being eaten.
There is a large world-wide industry of cultivating lilies and lotuses in water gardens. According to Dr. Jerry Parsons, Professor and Extension Horticulturist with Texas A&M AgriLife Extension, cultivation of these plants dates back as early as ancient Egypt. Today, anyone with determination and a little money can have a water garden.
In 2011, the 82nd Texas Legislature designated the water lily “Texas Dawn” as the official Texas State Water Lily. Texas Dawn is a hybrid developed by Texas resident Kenneth Landon, a world-renowned expert in the field of water lilies and the director of the International Water Lily collection in San Angelo.
Ducks and other wildlife utilize the large acorn like seeds of American lotus, and submerged portions of all aquatic plants provide some form of wetland habitat. Many of us have tried to pull a bass out of a group of water lilies or lotuses, and I’m sure others have had better luck than I did. Although there can certainly be benefits to lilies, lotuses, and other aquatic plants, they can also infest ponds to the extent that the pond is not functioning correctly.
So, while the rest of the world works hard to grow these plants, ranchers sometimes need to control populations in their stock ponds. Once it gets a foot hold, American lotus can spread aggressively in wetland areas.
The primary issue that encourages American lotus, and most other water weeds, is shallow water. Look closely at a good livestock pond and you will find that the deeper water is basically free of infestation. Any pond will have a certain amount of shallow water that encourages water weed growth, depending upon the terrain at the pond site and how the pond was constructed. Some ranchers who enjoy and utilize wetland habitat may prefer to have ponds with significant shallow water area.
Almost all livestock ponds have a certain life expectancy. Siltation, or movement of soil into the pond bottom through rainfall runoff, is a natural occurrence. How fast siltation occurs into each pond, and how deep the pond was to start with, determines the length of time that the pond will contain adequate depth for dependable water for livestock.
Ponds that develop infestations of water weeds over a large percent of the surface may not have adequate depth to remain a viable water source for livestock during drought periods, especially in western north Texas where evaporation rates are higher.
Mud, or silt, from the pond bottom, can be removed to deepen the water, but this is a very expensive process. It is often more economical to construct a new pond rather than try to remove the silt from an old one. Most of us do not have the funds to continually construct deep water livestock ponds, so we must try to keep existing structures functioning and providing good drinking water for livestock, for as long as we can. Control of pond weeds like American lotus may be necessary, and it can be accomplished.
There is currently no feasible biological control. American lotus can be cut and removed, but this process us usually temporary because lotus can reestablish from seeds and roots.
American lotus can be safely controlled by chemicals. This must be done carefully. If a pond containing a large amount of any pond weeds is treated to remove all of the vegetation, a fish die-off could occur. When the dying weeds decompose, they use up the oxygen in the water and fish can suffocate. If possible, treat only a portion of the area, wait about two weeks, and treat another portion.

This morning, I walked out into my arena and noticed something that gave me pause. The roping steers had been in there the day before, and even though the ground was wide and level, the sand carried their story. Hoofprints crossed every direction, but in several spots, the same trail was pressed deeper than the rest. Twelve steers had been turned out, yet more than a few chose the exact same path, wearing it down until it stood out from all the other tracks.
Cattle are creatures of habit. Anyone who has spent time around them knows this. They like routine: the same feed, the same water trough, the same shade tree in the pasture. When they are turned loose, they rarely wander without purpose. More often than not, they move together, following the same course as the steer in front of them. There are reasons for this: efficiency, safety, instinct. Walking a beaten path conserves energy, and following the herd is their natural defense. Even in an arena with no real destination, those instincts come through. By the end of a short turnout, you will see the evidence, lines where they have chosen the easiest way to travel and stuck with it.
Out on the range, those lines last longer. Before fences and highways, cattle drives cut deep paths across the land. The Chisholm Trail, which carried herds north from Texas through Oklahoma into Kansas, was walked by millions of cattle in the late 1800s. More than a century later, faint traces of those trails remain, worn so deep by hooves and wagon wheels that the land still carries the mark. On ranches today, you can see the same effect in pastures where cattle walk the same lines between water and grazing. From the ground those trails might look like nothing more than dusty ruts, but from the air, they sometimes stand out as sharp lines winding through otherwise open fields. Cattle do not simply pass over the land; they shape it. Every step adds up.
That simple truth extends beyond livestock. We all make tracks. Our habits and routines are our trails, worn in by repetition, sometimes efficient, sometimes limiting. Like the cow paths, they can serve a purpose, keeping us steady and helping us move forward. But when repeated without thought, they risk becoming ruts, keeping us from stepping into new ground. History offers perspective here too. The old cattle trails built towns and economies, but once railroads and fences changed the landscape, those paths were no longer useful. Sticking to them would have meant going in circles. Progress required something new.
The Tracks We Leave
Standing in the arena, I thought about the kind of tracks I leave behind. Most of mine are not visible in the dirt. They are pressed into my daily life, how I work, the way I handle challenges, the example I set. Some are helpful and worth keeping. Others may have outlived their purpose. The difference comes in knowing when to stay in the track and when to step out of it.
Tomorrow I will drag the arena and smooth it all clean again. The next time the steers are turned in, they will make the same trails. That is their nature. But unlike them, I have a choice. I can decide which paths are worth walking, which ones to change, and what kind of tracks I want to leave for others who might follow.
Tracks tell a story. Sometimes they are only temporary, fading with the next rain. Other times they last for generations, reminders of where herds and people once walked. This morning, the cattle showed me again that even the smallest things on the ranch carry meaning. Their tracks in the arena were not just marks in the sand. They were a lesson: every step matters, and the paths we choose shape more than just the ground beneath our feet.


-
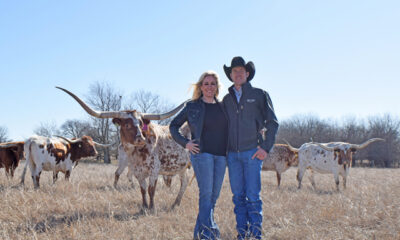
 Country Lifestyles3 years ago
Scott & Stacey Schumacher: A Growth Mindset
-
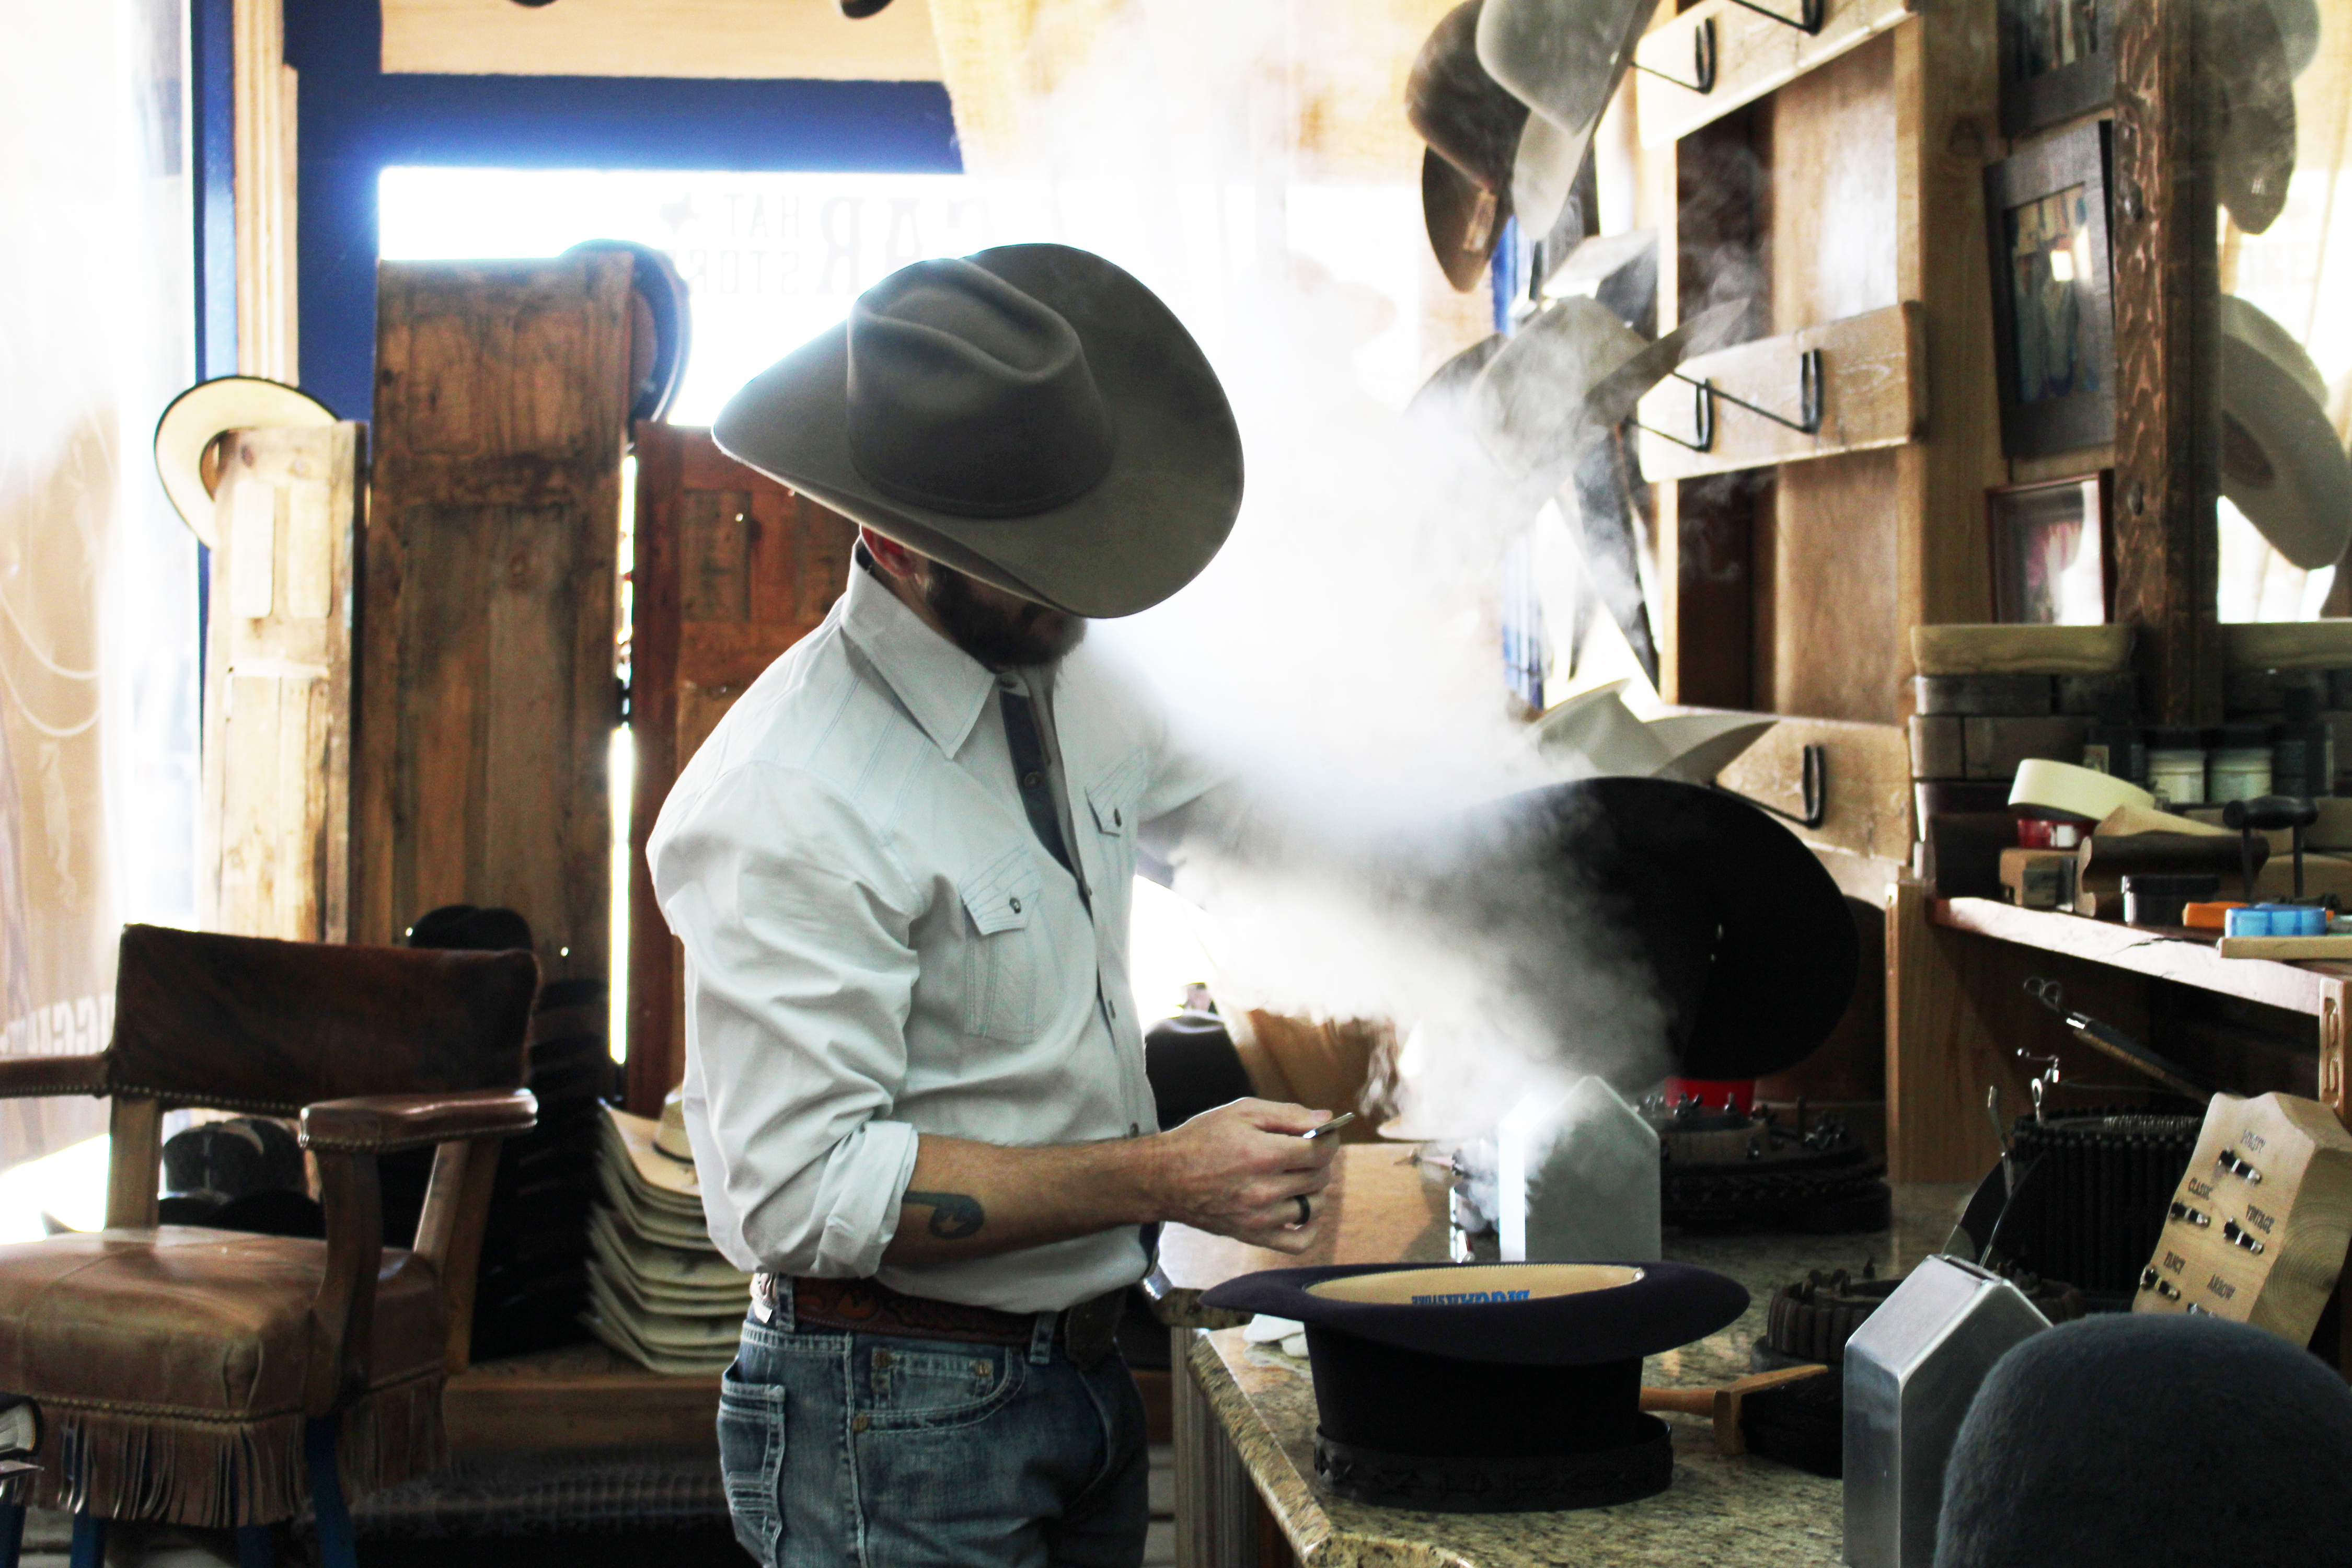 Country Lifestyles9 years ago
Style Your Profile – What your style cowboy hat says about you and new trends in 2017
-
 Horsefeathers12 years ago
Mount Scott: Country Humor with David Gregory
-
 Country Lifestyles10 years ago
June 2016 Profile – The man behind the mic: Bob Tallman
-
 Country Lifestyles10 years ago
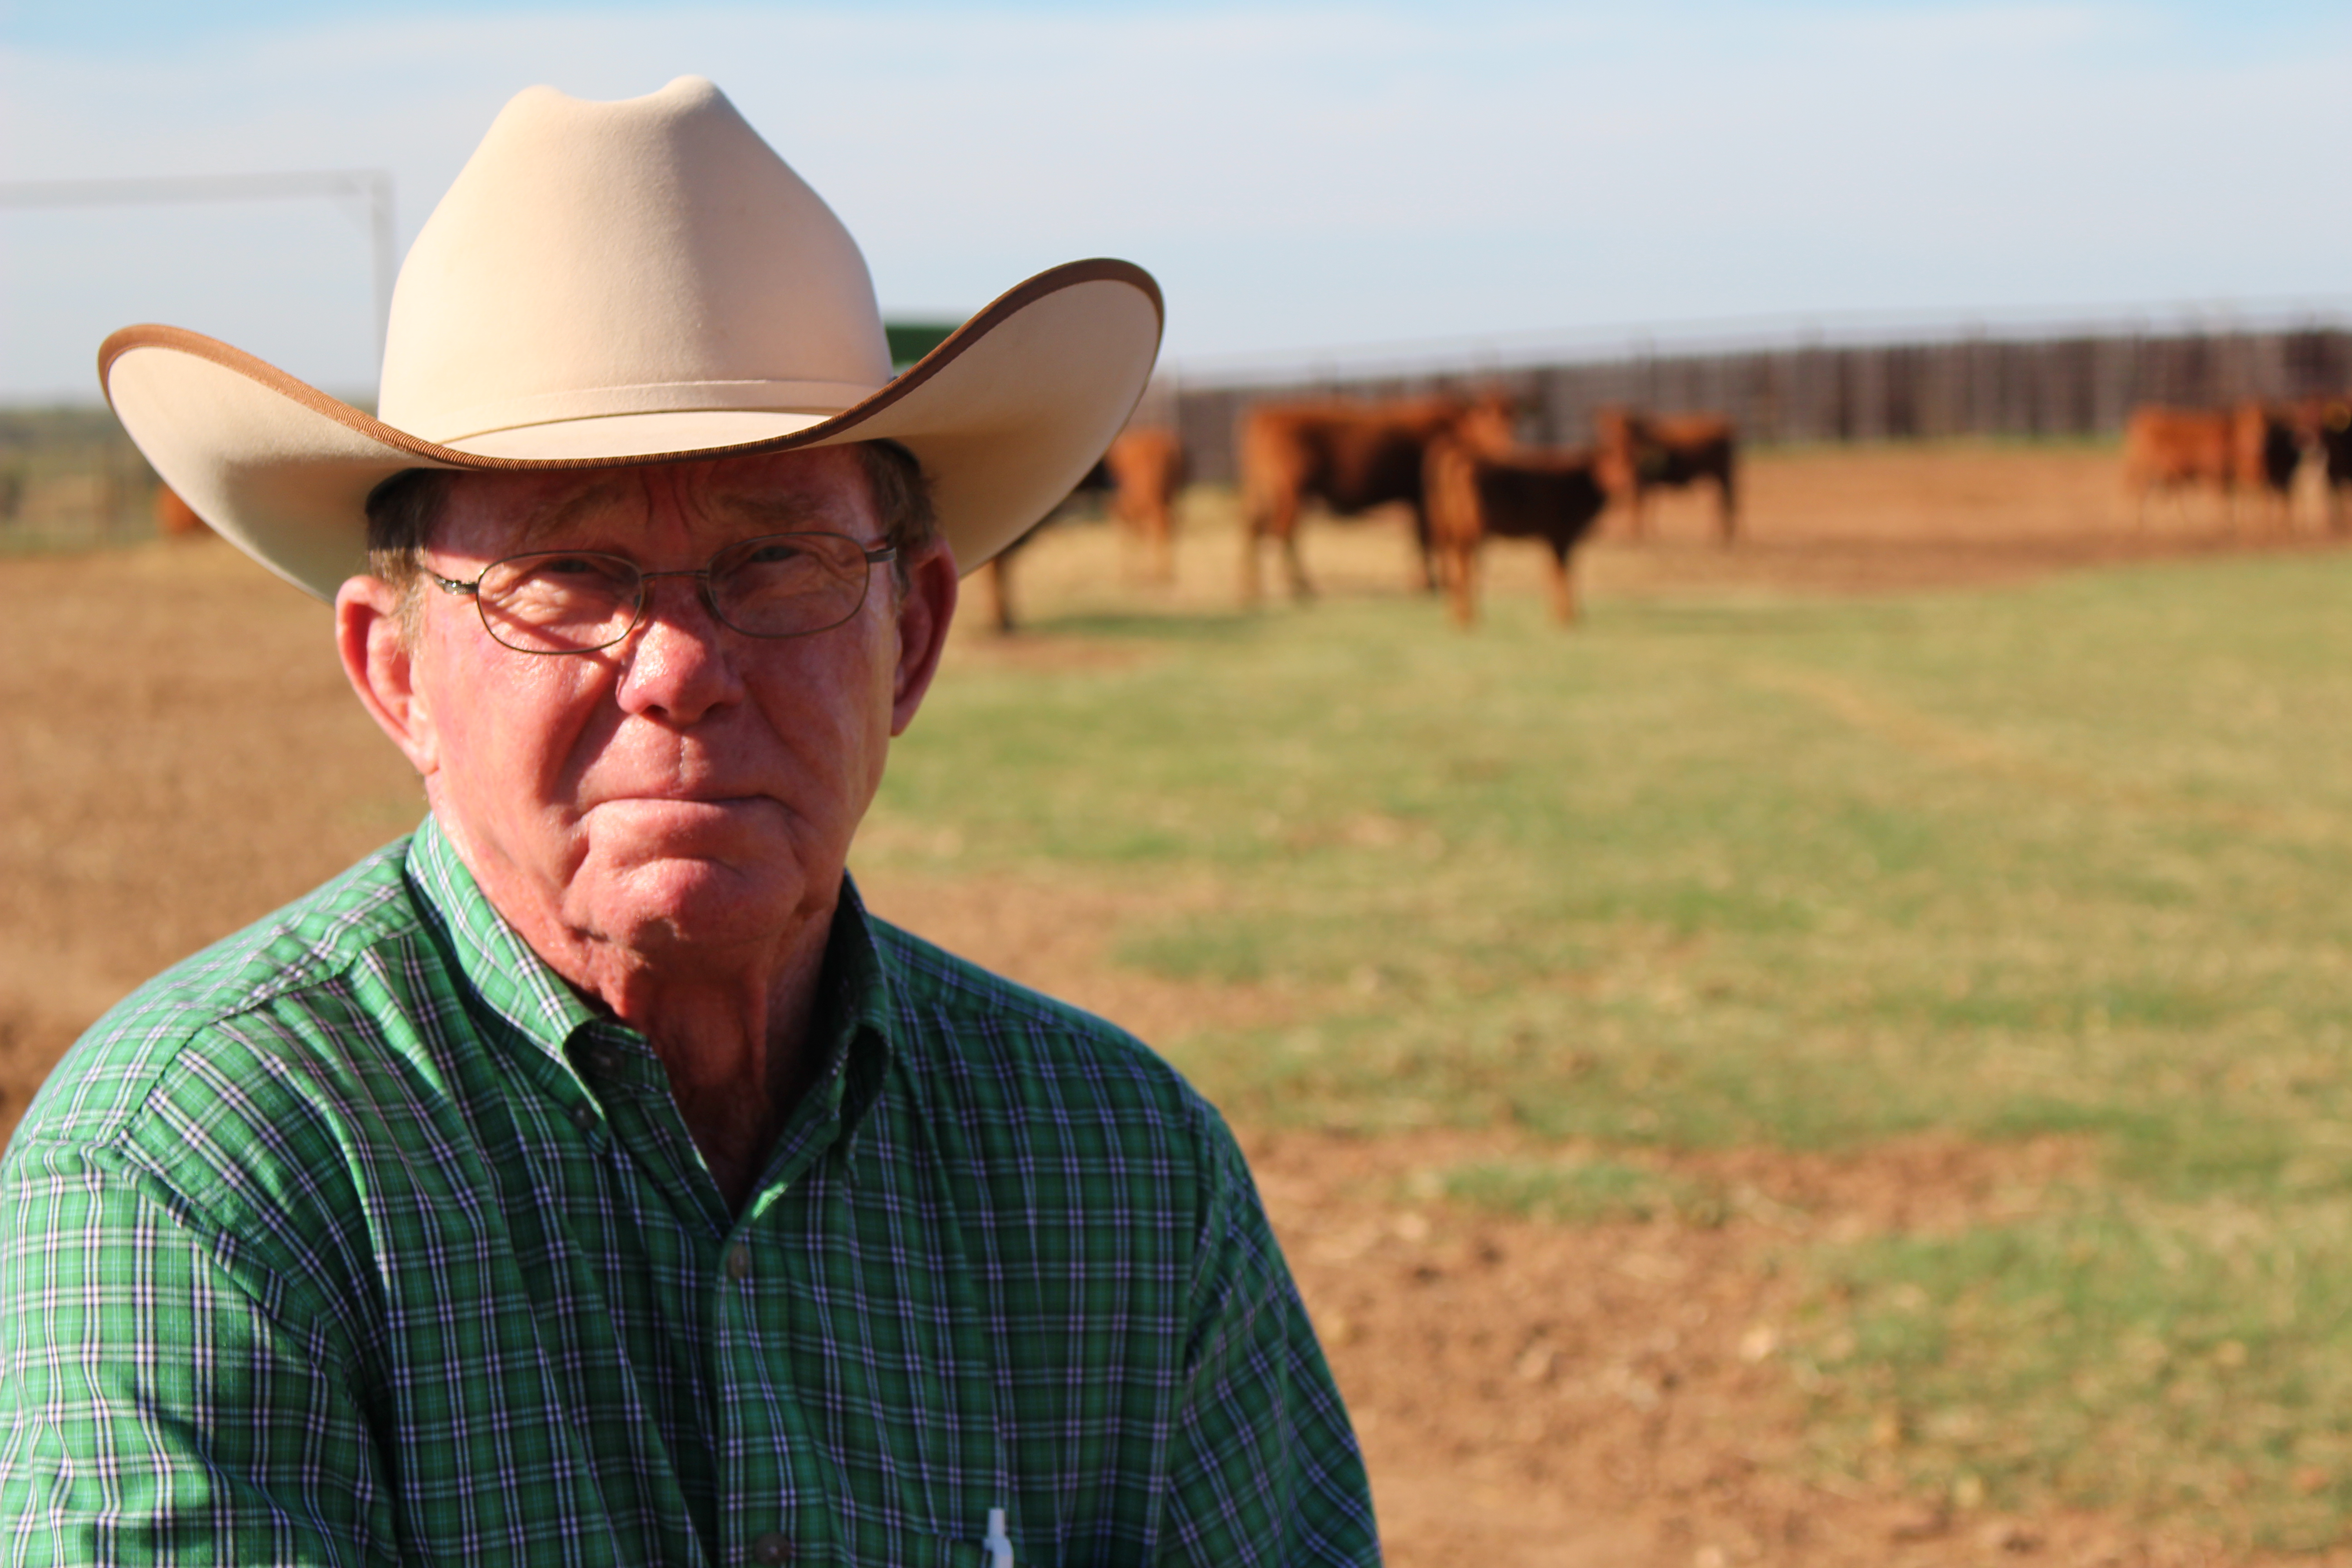
December 2016 Profile, Rusty Riddle – The Riddle Way
-
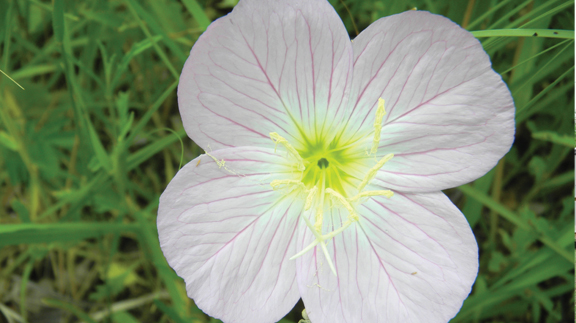 Outdoor11 years ago
Buttercup or Primrose?
-
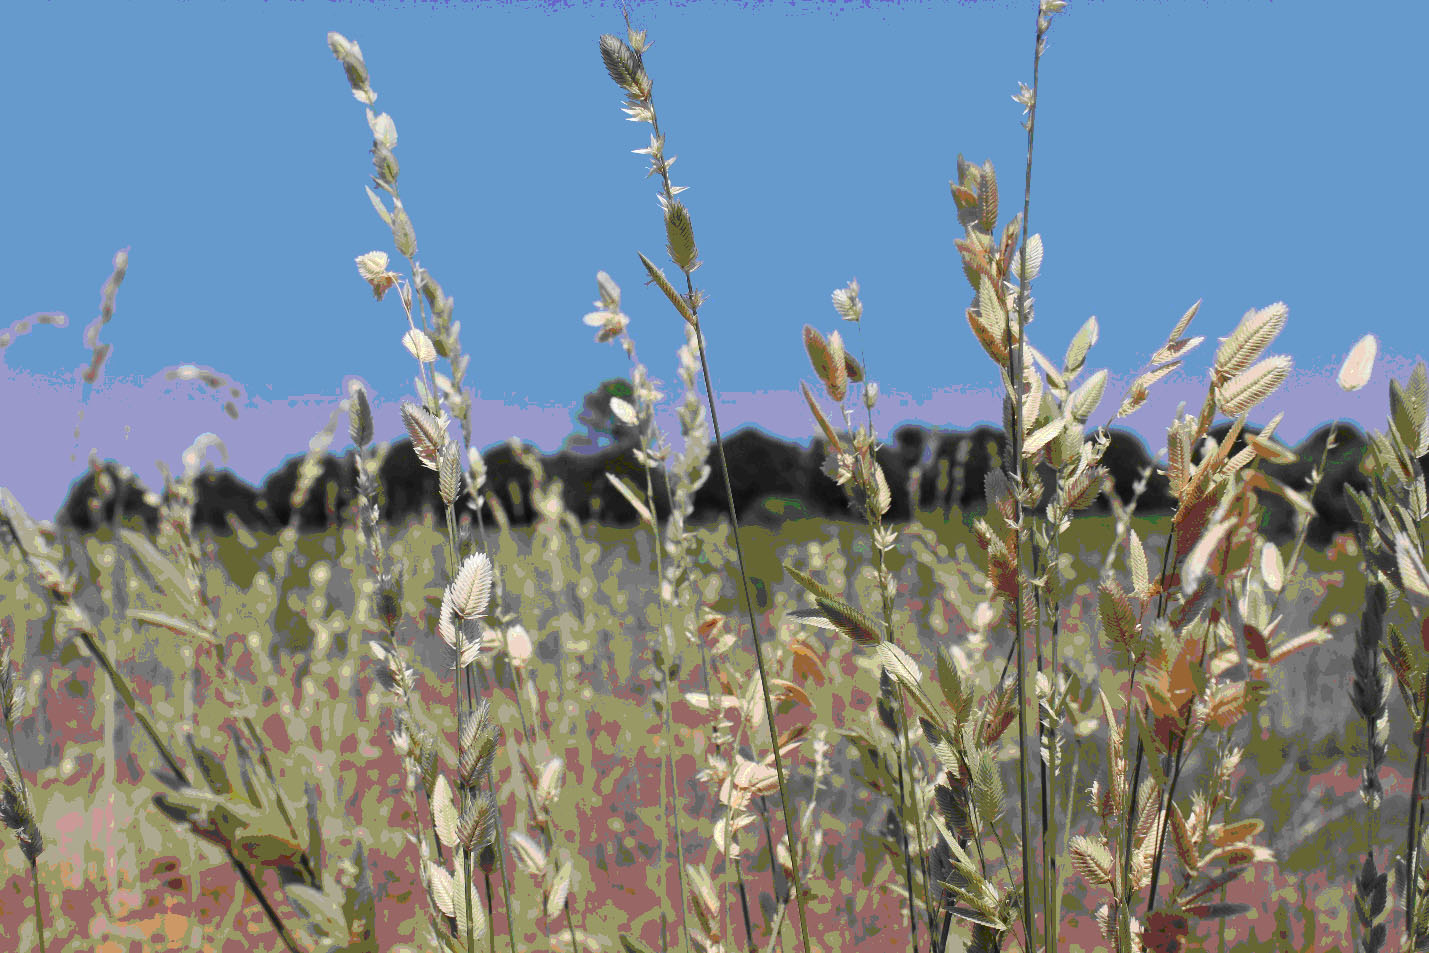 HOME9 years ago
Grazing North Texas – Wilman Lovegrass
-
 The Natural Horseman9 years ago
This is why we do what we do — RayeAnn and Cisco