
Country Lifestyles
Hey Y’all, Hay

By Martha Crump | marthacrump@comcell.net
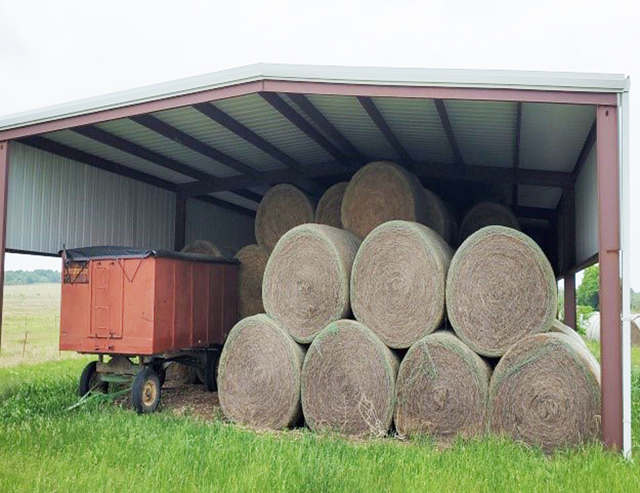
Once upon a time, local kids utilized hay hauling as an “off-season” type of conditioning program. There would be crews of young hay haulers that would work as a way to get ready for football two-a-days and to make a bit of spending money to boot. If local haying seasons hereabouts are any indication, those days have somewhat passed. While their passing may have been ushered along by the advent and common use of round balers, when you do decide to harvest into smaller square bales, I promise you would have an easier time finding a unicorn than finding anyone to load and haul those bales. My goal is to simply set forth some facts that need to be understood in terms of hay production, or questioned when you are buying hay, in addition to the do’s and don’ts of storing. It may serve as the most basic of considerations for the seasoned hay producer or buyer, but those same basics are important for the new cattle-raiser/hayer.
To read more pick up a copy of NTFR magazine. To subscribe call 940-872-5922.
By Lacey Vilhauer
Ingredients
Graham Cracker Crust
- 1 cup pulverized graham crackers (about 6 graham crackers, blended or food processed)
- 1/3 cup butter, melted
- 1/4 cup brown sugar
Brownies
- 12 Tbsp butter
- 1 cup brown sugar, lightly packed
- 3/4 cup white sugar
- 4 eggs
- 1 1/2 tsp vanilla
- 1/4 cup flour
- 1 cup cocoa powder
- 1 cup milk chocolate chips
Toppings
- 4 Hershey’s bars
- 1 (10-ounce) bag mini marshmallows
Instructions
Preheat oven to 350 degrees Fahrenheit. Grease an 8×8 baking pan.
Graham Cracker Crust: Pulverize graham crackers and stir in melted butter. Stir in brown sugar. Press into the bottom of the baking pan and set aside.
Brownies: In a heavy saucepan, melt butter and stir in white and brown sugars. Stir over medium heat for 1 to 2 minutes, until sugar starts to dissolve. Remove from heat and add vanilla. Add eggs one at a time, whisking each into the sugar and butter mixture. Add flour and cocoa powder and stir together. Fold in chocolate chips. Pour brownie mixture over the graham cracker crust. Bake for 40 minutes.
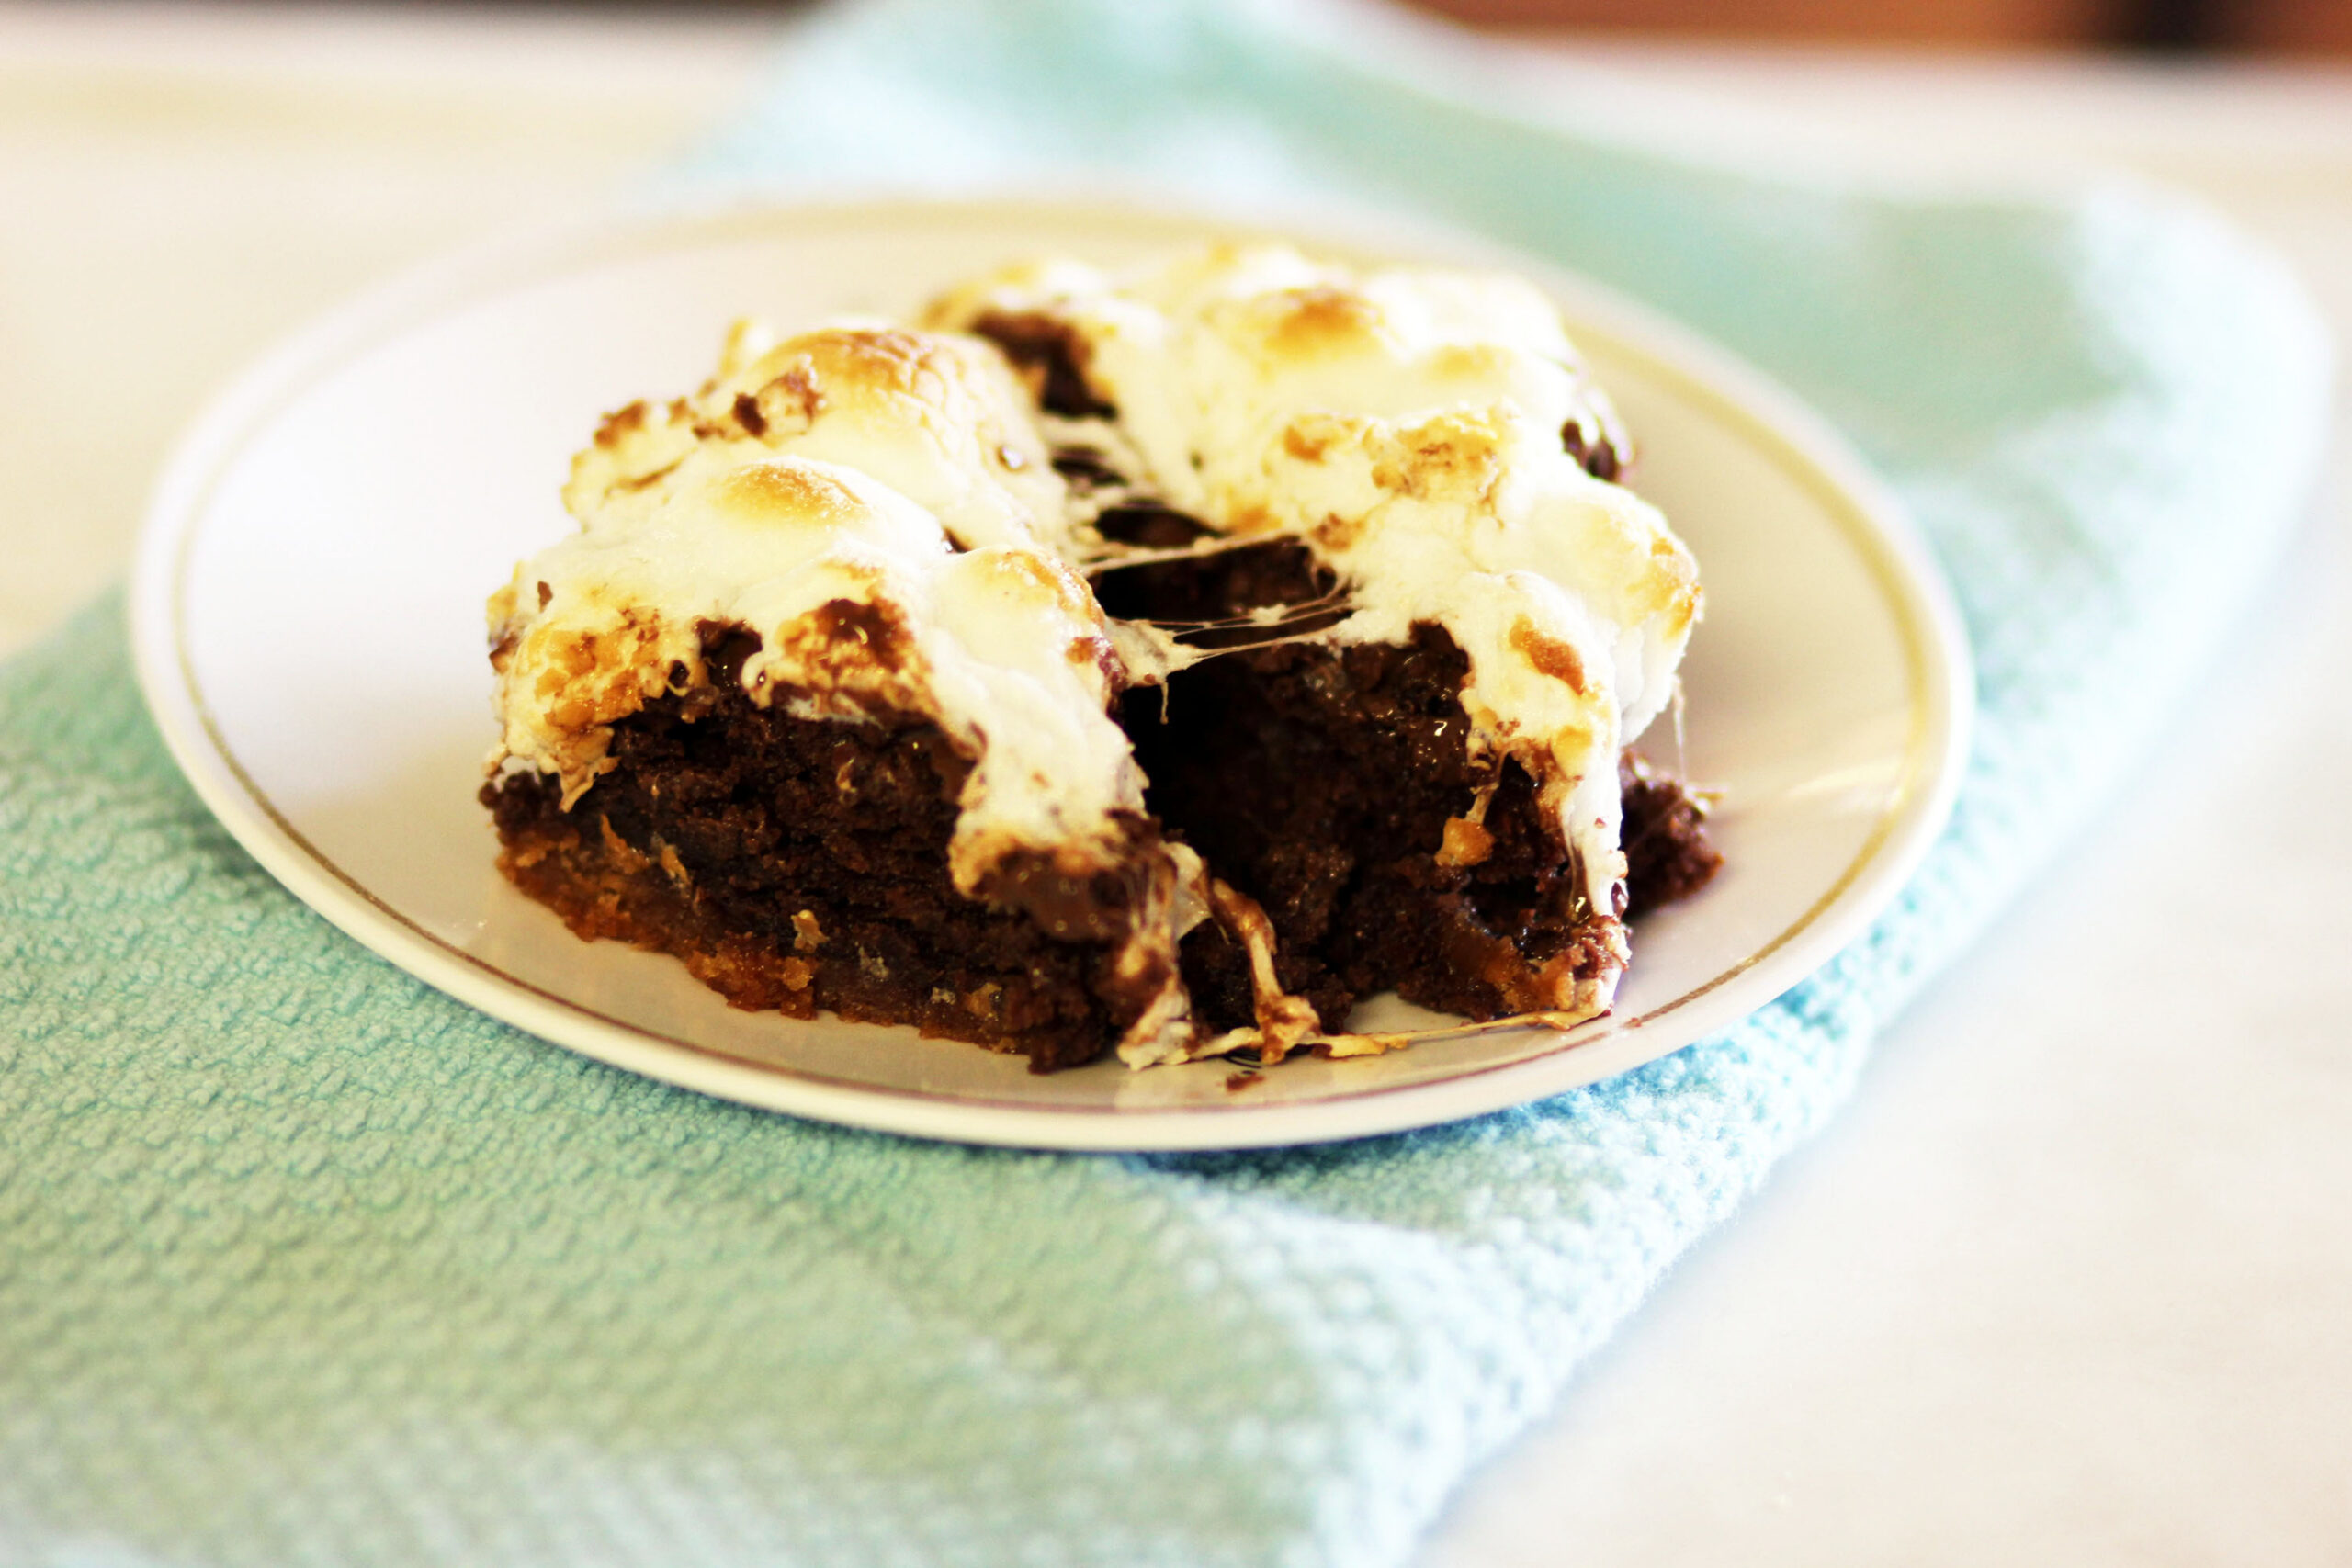
Remove from oven and turn oven to broil. Immediately lay chocolate bars over the top and cover them with mini marshmallows (or cut-up large marshmallows). Broil for one to two minutes, watching closely so they don’t burn, and remove once brown. Let cool.
By Ada William
A few weeks ago in church, our preacher shared a line that has stayed with me ever since.
“If you’re wondering what door to walk through, pray in the hallway.”
He was quoting someone else, and I did not catch the original source. I did, however, catch the message.
Most of us have stood in that hallway at one time or another. We know something is changing, but we do not know what comes next. There may be several doors in front of us, and none of them are clearly marked. We ask God to show us which one to open, but the answer does not always come as quickly as we would like.
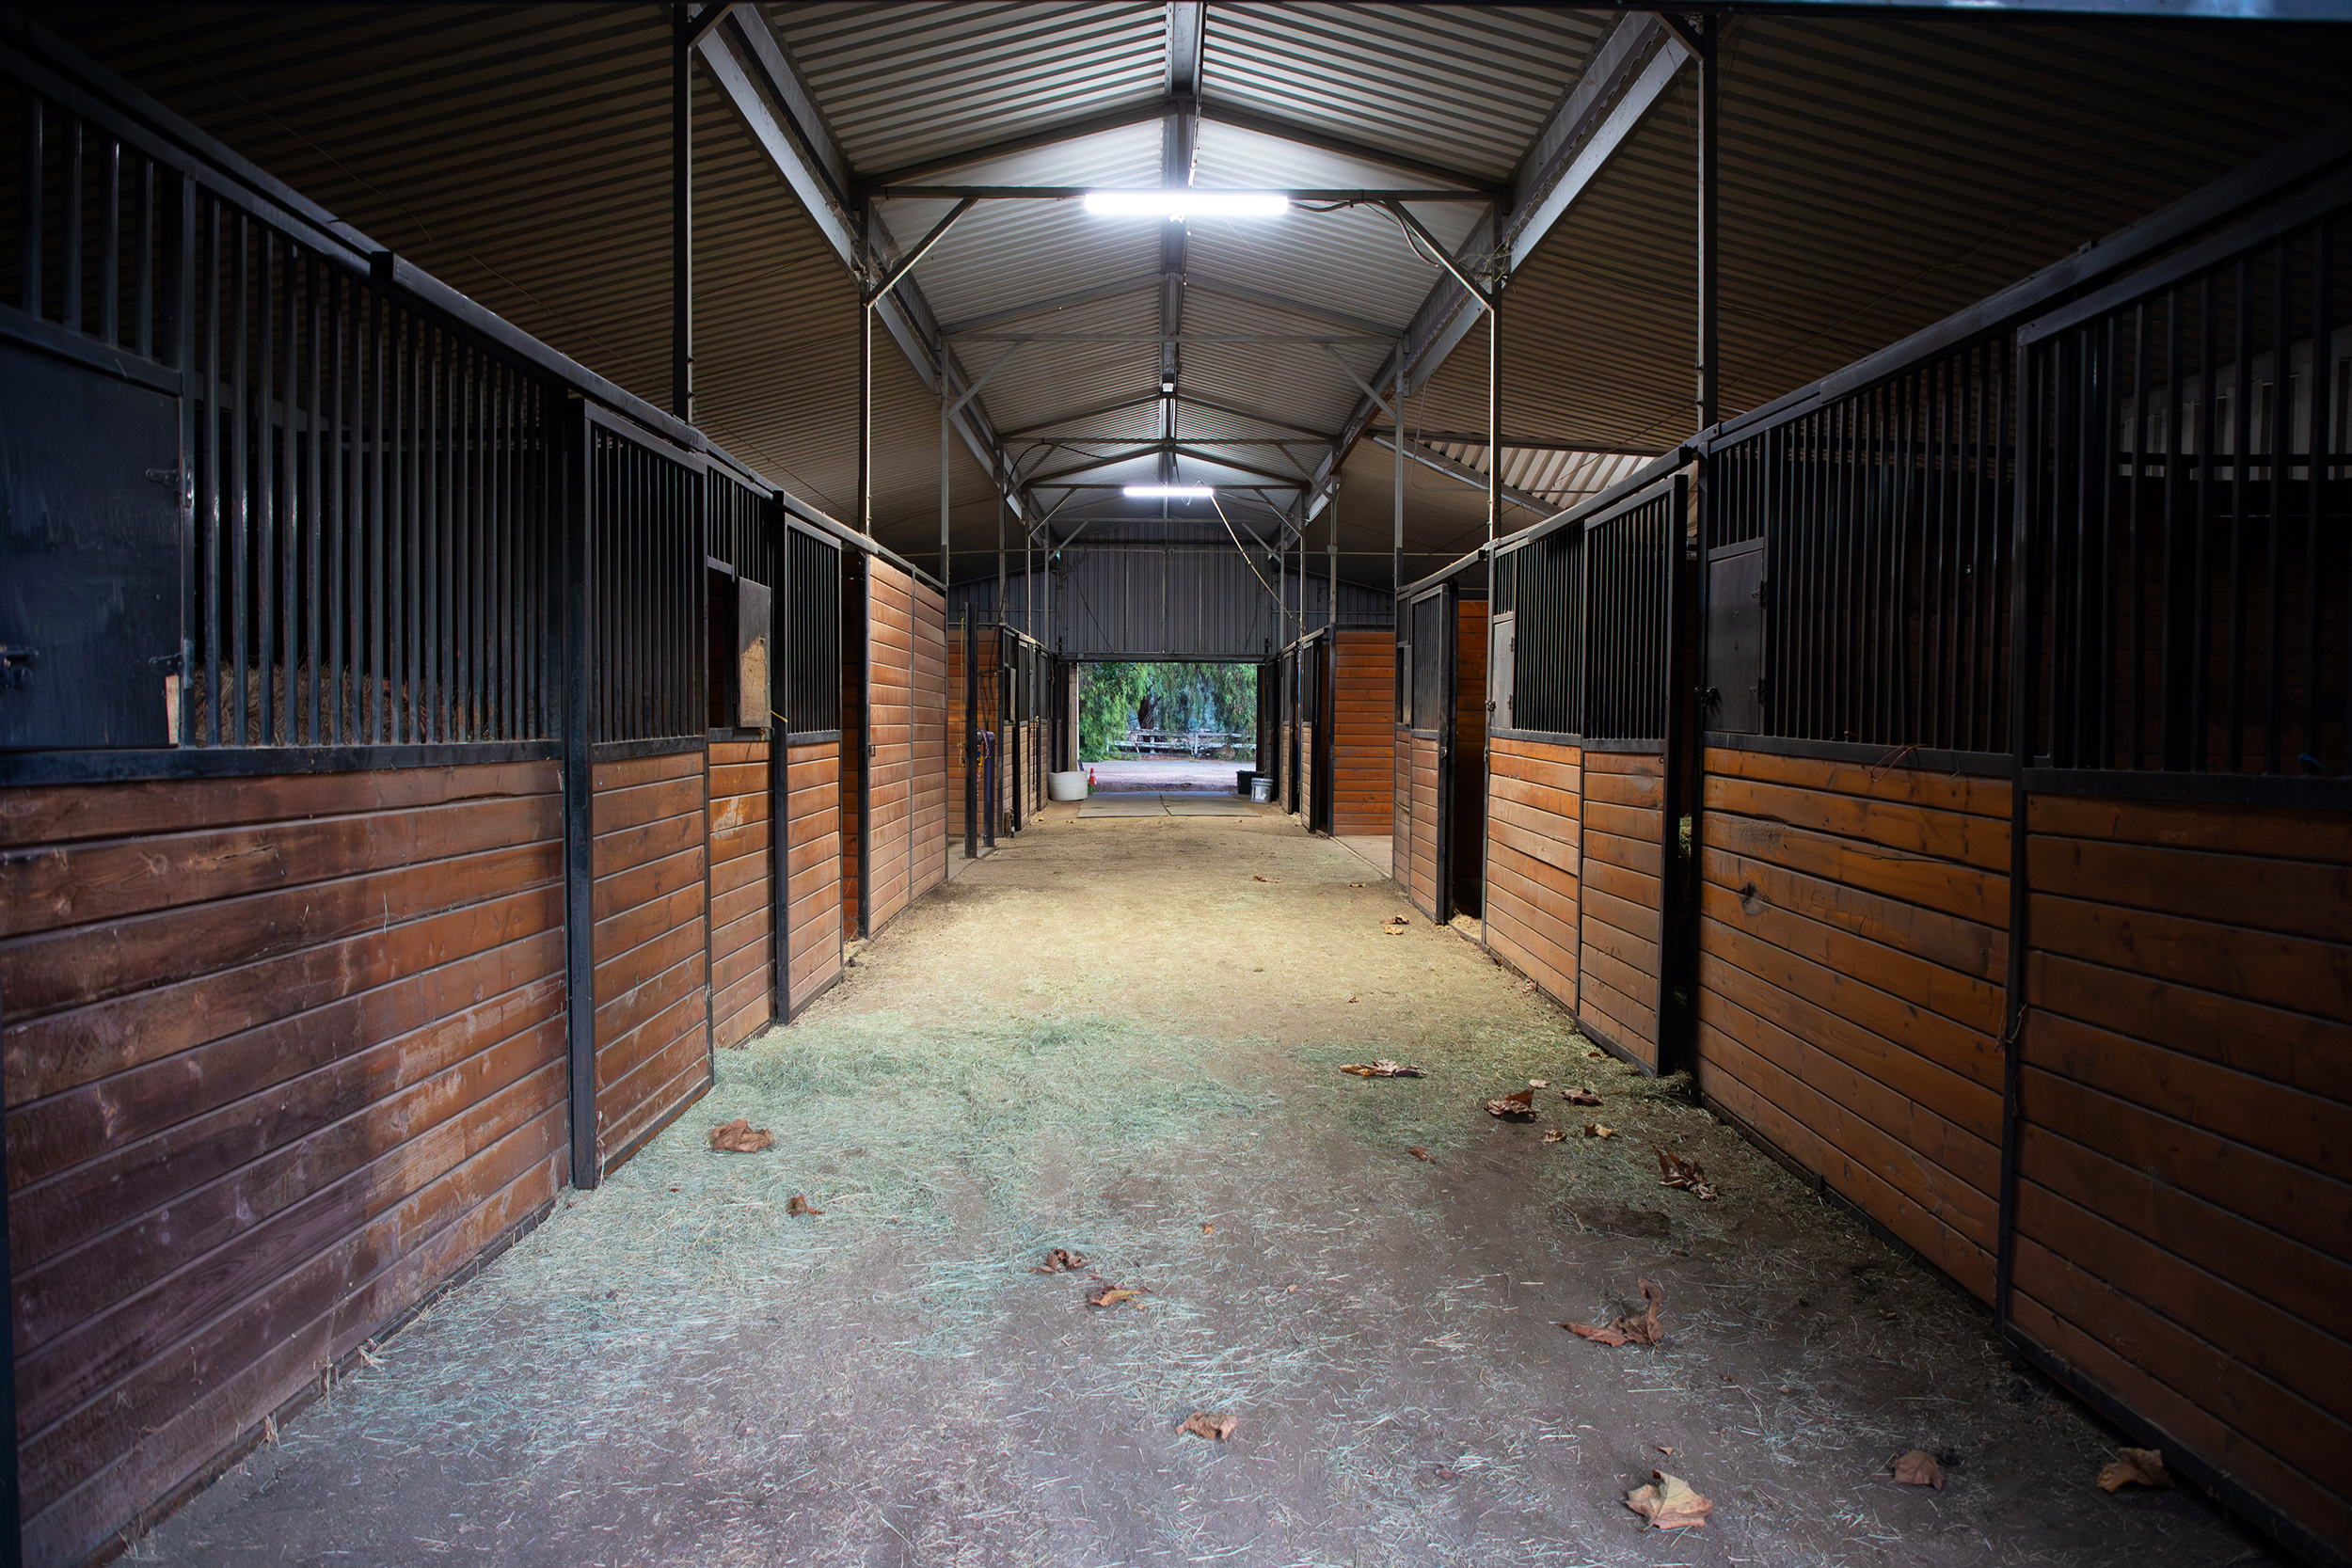
Waiting is hard. People who live and work in rural communities understand waiting better than most. Farming, ranching and caring for animals require patience. You can prepare the ground, plant the seed and pray for rain, but you cannot force a crop to grow overnight. You can breed the best mare to the best stallion, provide good feed and proper care, and still wait nearly a year to see the foal. You can put up hay, repair fences and prepare barns, but you cannot control what kind of winter is coming.
Rural life involves a great deal of faith. You do your part, and then you wait.
Of course, waiting does not mean doing nothing. A farmer does not plant a field and ignore it until harvest. There are weeds to control, equipment to maintain and weather forecasts to watch. A rancher waiting for a calf crop still checks cattle, watches the condition of the cows and makes sure the calving pasture is ready.
The waiting season has work of its own.
I think the same is true when we wait on God to show us what comes next. Praying in the hallway means more than standing still and staring at the doors. It means using that time to draw closer to God, listen carefully and prepare ourselves for whatever He may ask us to do.
Sometimes I want an immediate answer. I want God to make the right door obvious, open it wide and hang a large sign above it that says, “This way.”
That is not usually how it works.
Sometimes the hallway lasts longer than we expected. A job opportunity does not come through. A relationship changes. A plan we felt certain about falls apart. A prayer seems to go unanswered.
It can be tempting to grab the nearest doorknob because we are tired of waiting.
Anyone who has worked cattle knows that pushing too hard at the wrong time usually creates more trouble. Cattle move better when the handler pays attention to pressure, timing and position. There are moments to step forward and moments to back away. Trying to force movement before the path is clear can scatter the whole herd.
I have had times in my own life when I tried to force a door open because I was convinced it was the one I needed. Other times, I hesitated to step through a door because it was not the one I had pictured.
Looking back, I can see that some closed doors were protection. Some delays were preparation. Some unanswered prayers were answered differently than I expected.
Waiting doesn’t get easier, but the hallway is not wasted space.
The hallway may be where God changes our plans. It may be where He strengthens our faith, corrects our attitude or teaches us to depend on Him instead of our own understanding. It may be where we finally become quiet enough to hear what He has been saying all along.
Rural life teaches us that there is a season for everything. There is a time to plant and a time to harvest, a time to mend fence and a time to move cattle. There is a time to work, a time to wait and a time to trust that God is still handling what we cannot see.
When the right door opens, we may understand why the others stayed closed. We may also never fully understand, at least not in this life. Either way, we can trust the One who sees beyond the hallway.
When I find myself unsure of what comes next, I hope I remember the words I heard that Sunday morning. I may not know which door to walk through or when it will open, but I know what I can do while I wait.
I can pray in the hallway.
By NTFR Staff
It seems to happen every summer. The garden suddenly produces more tomatoes, cucumbers and green beans than anyone could possibly eat, and before long someone asks, “Maybe I should learn to can?”
For many families, canning is a tradition passed down for generations. For others, it’s a new hobby that offers the satisfaction of stocking pantry shelves with homegrown food. Either way, getting started can feel overwhelming. Pressure canners, boiling water baths, jars, lids, processing times and safety recommendations are enough to make anyone wonder where to begin.
Home canning isn’t difficult once you understand the basics.
Canning preserves food in sealed jars by heating them to destroy microorganisms and create a vacuum seal. The USDA approves only two methods for home canning: boiling water bath canning and pressure canning. Which one you use depends entirely on what you’re preserving.
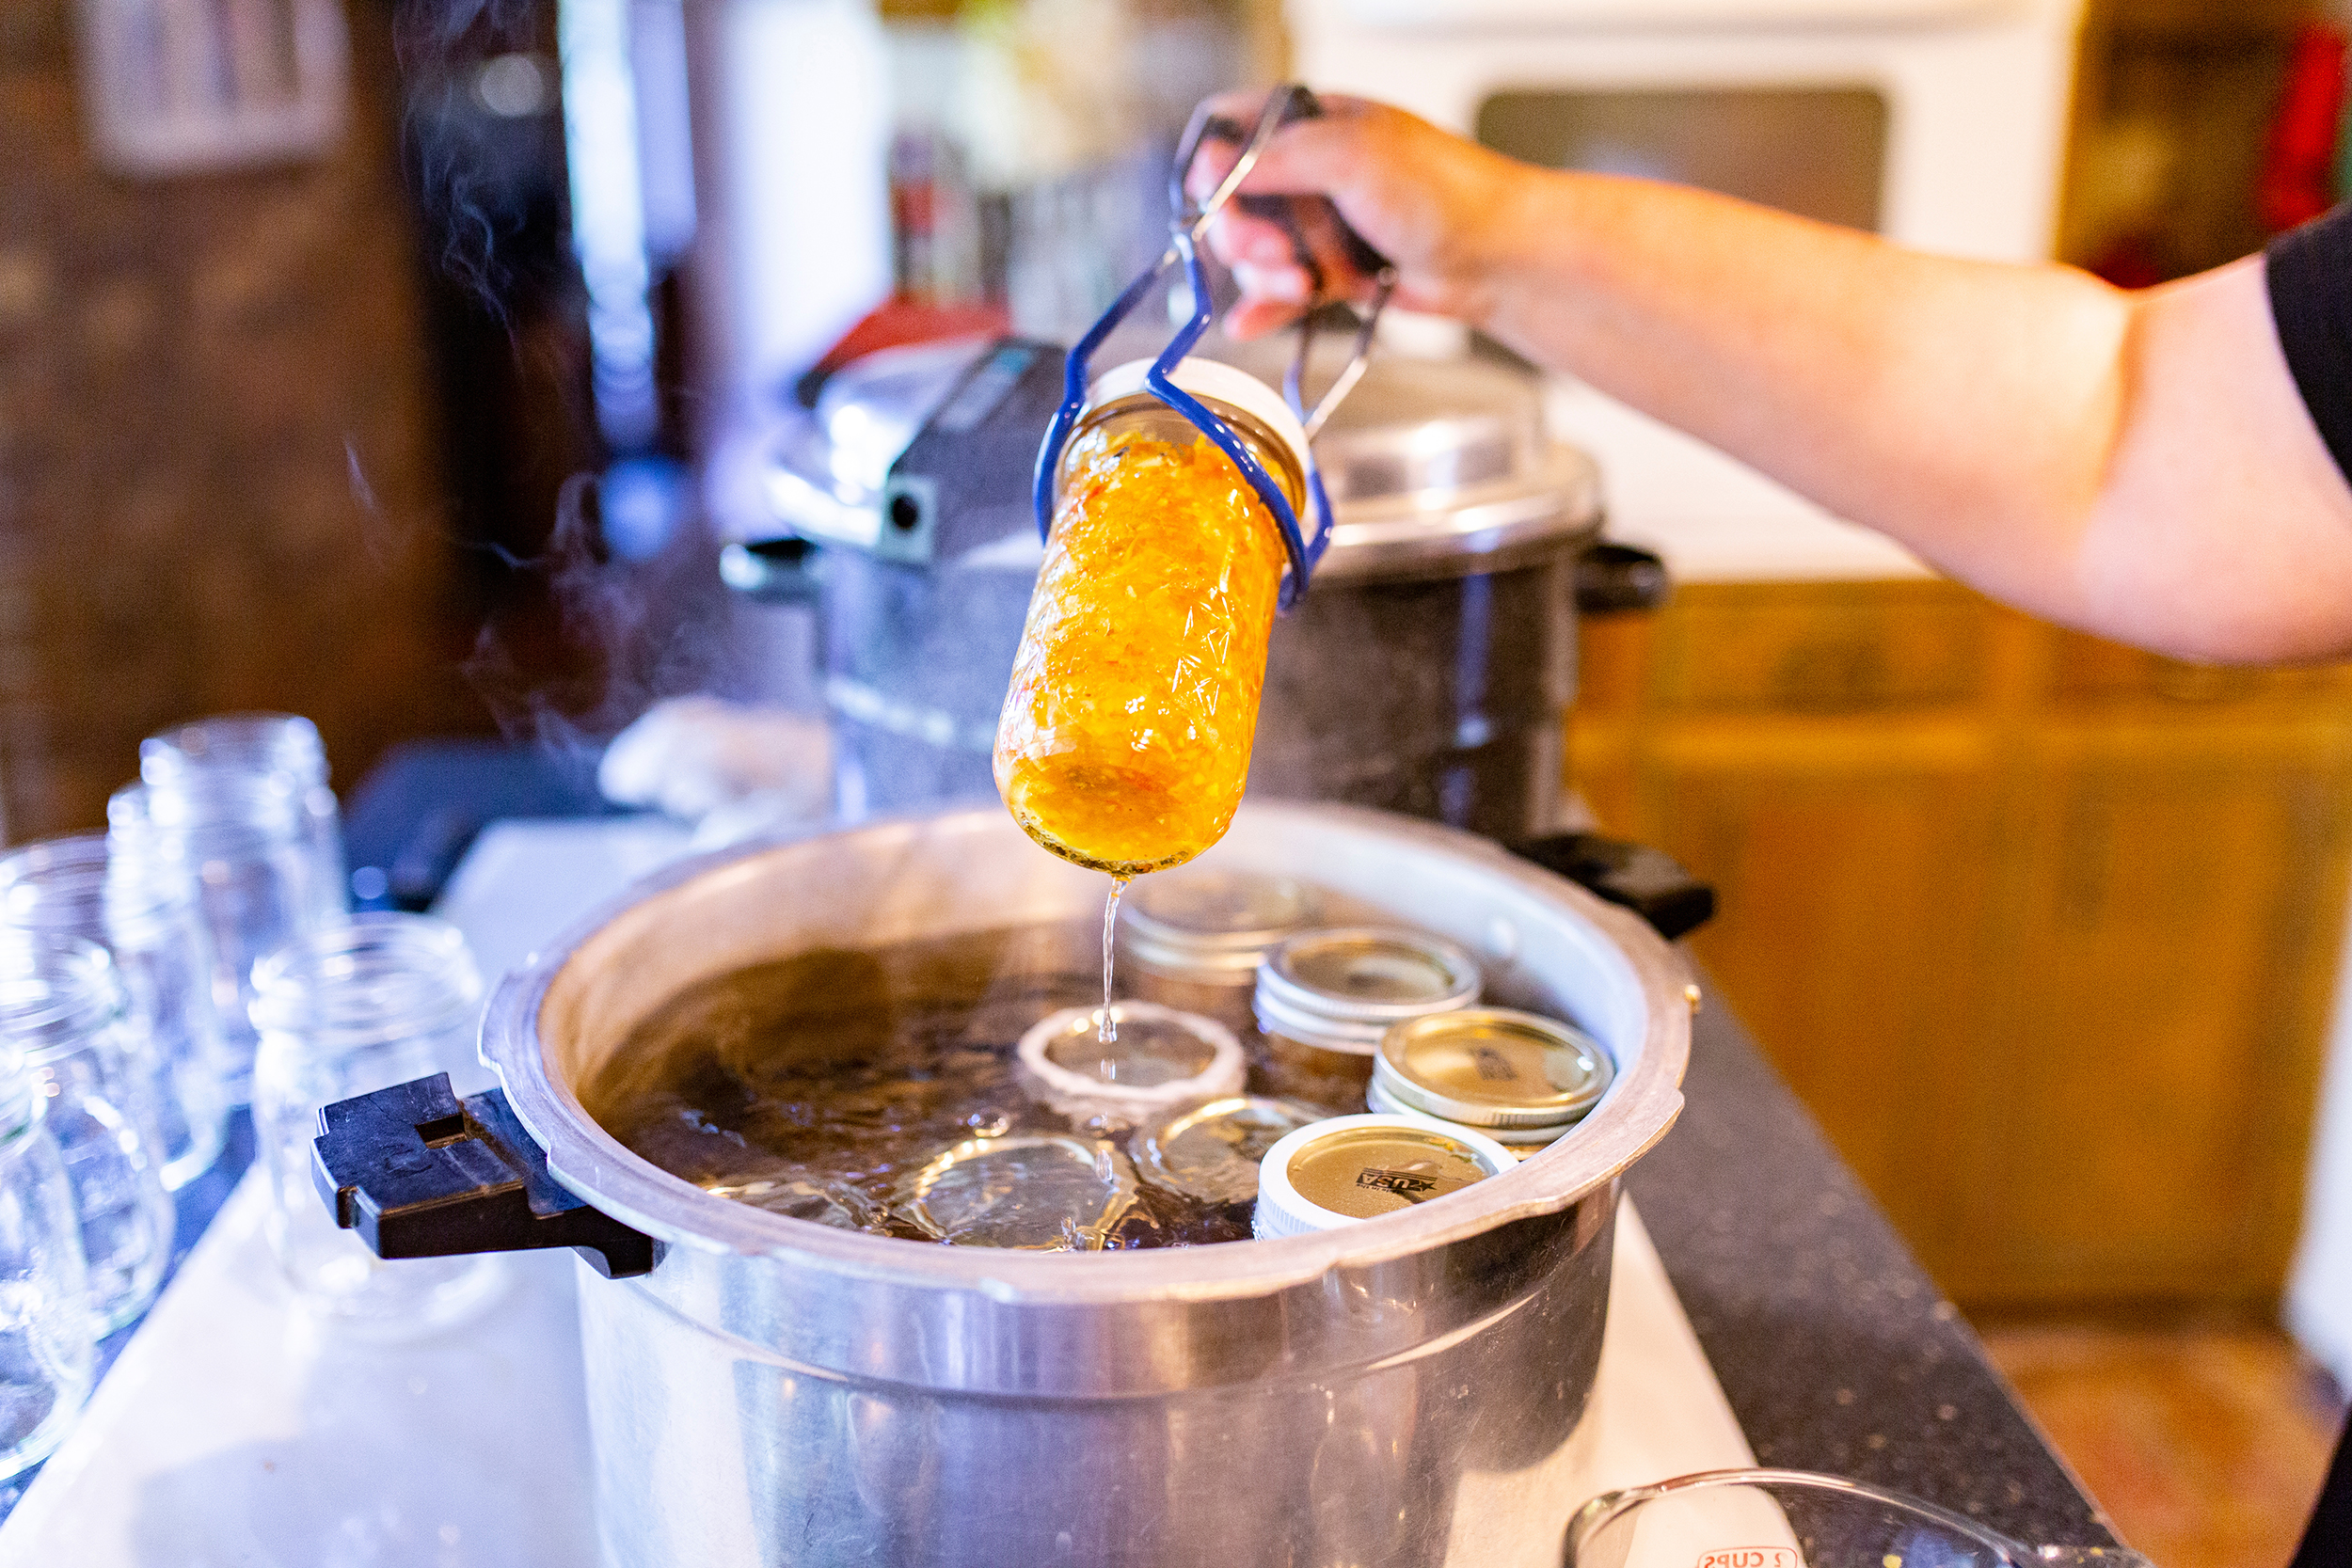
A boiling water bath is exactly what it sounds like. You submerge filled jars completely in boiling water and process them for a specific amount of time. Because boiling water only reaches 212 degrees Fahrenheit at sea level, this method is safe only for foods that are naturally high in acid or have enough added acid to prevent dangerous bacteria from growing.
That makes water bath canning a good fit for jams, jellies, fruit preserves, pickles, chutneys, fruit butters and many tomato products that have the proper amount of bottled lemon juice or citric acid added according to a tested recipe.
Pressure canning works differently. A sealed canner traps steam, and the temperature climbs well above the boiling point of water to about 240 degrees Fahrenheit. That higher temperature is necessary to destroy Clostridium botulinum spores, which can survive ordinary boiling and produce the toxin that causes botulism.
Because of that, you must pressure can low-acid foods such as green beans, corn, carrots, potatoes, meats, poultry, seafood and soups. A boiling water bath isn’t safe for these foods, no matter how long you boil the jars.
For most beginners, water bath canning is the easiest place to start. The equipment costs less, the process is simpler and recipes like strawberry jam or dill pickles are forgiving enough to build confidence. Many people who enjoy preserving fruit eventually buy a pressure canner once they want to put up vegetables or homemade stock.
Pressure canning doesn’t need to be intimidating, either. Modern pressure canners include multiple built-in safety features and are far different from the exploding canners in the old stories many people heard decades ago. Like any kitchen tool, they’re safe when used according to the manufacturer’s directions and with tested recipes.
Whichever method you choose, one rule never changes: always use recipes that have been scientifically tested. Family recipes may taste wonderful fresh, but they aren’t always safe for canning. Changing ingredient amounts, thickening soups with flour, adding extra vegetables or reducing vinegar can all affect the safety of the finished product. The USDA and the National Center for Home Food Preservation remain the gold standards for home canning recipes and processing recommendations.
Today’s recommendations may also differ from the ones your grandparents followed. Research has improved over the years, and food safety guidance has changed with it. Methods like open-kettle canning, oven canning and sealing jars by turning them upside down are no longer considered safe for shelf-stable foods.
If you’ve never canned before, you don’t have to preserve an entire garden your first weekend. Start with one recipe. Learn how to prepare the jars, measure headspace, remove air bubbles and process them correctly. Once you hear that satisfying “ping” as the lids seal, you’ll understand why so many people find canning rewarding.
Opening a jar of peaches in January or serving homemade salsa long after the tomatoes are gone is a special kind of reward. With a little knowledge, the right equipment and a commitment to tested recipes, anyone can preserve the harvest safely for months to come.




-

 Country Lifestyles4 years ago
Scott & Stacey Schumacher: A Growth Mindset
-
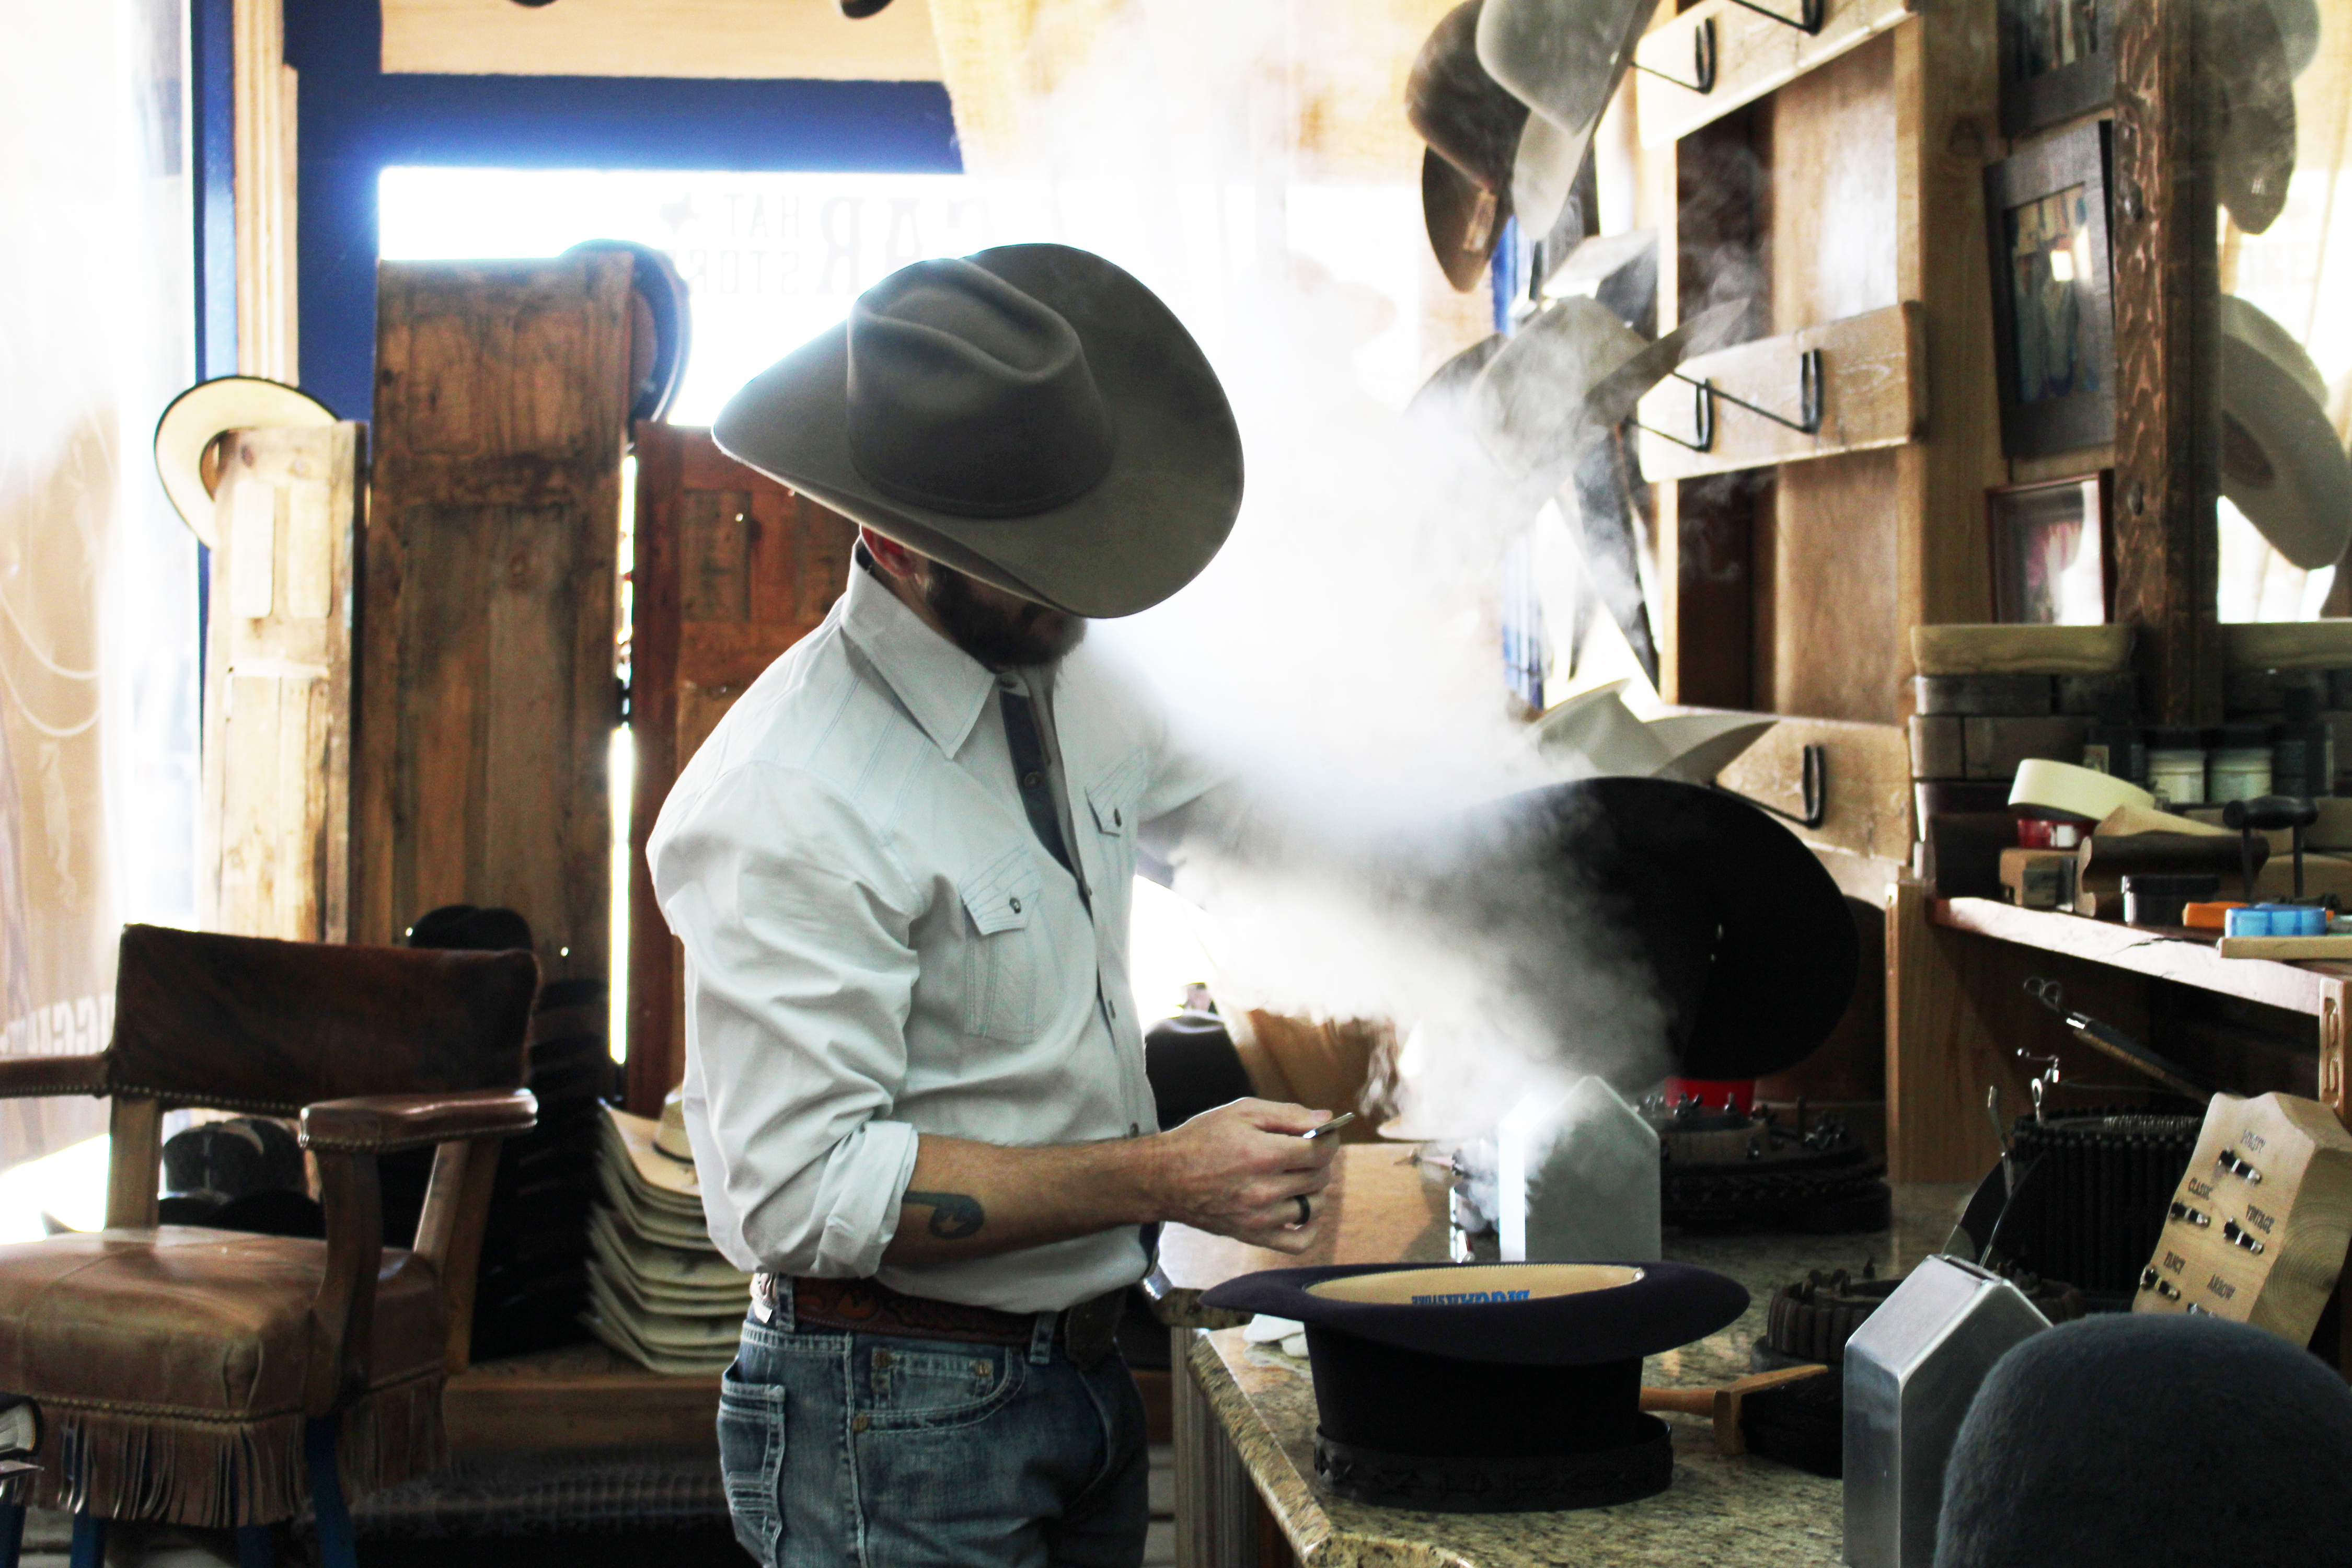 Country Lifestyles10 years ago
Style Your Profile – What your style cowboy hat says about you and new trends in 2017
-
 Horsefeathers12 years ago
Mount Scott: Country Humor with David Gregory
-
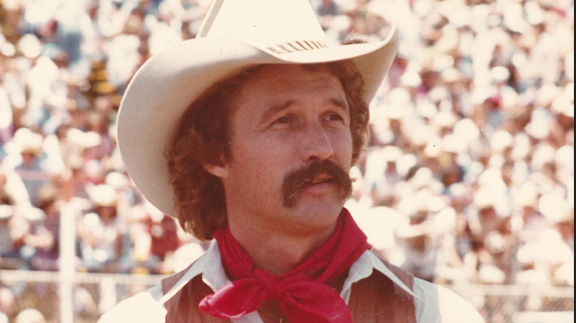 Country Lifestyles10 years ago
June 2016 Profile – The man behind the mic: Bob Tallman
-
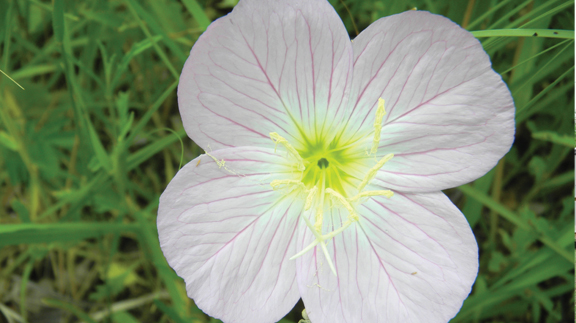 Outdoor11 years ago
Buttercup or Primrose?
-
 Country Lifestyles10 years ago
December 2016 Profile, Rusty Riddle – The Riddle Way
-
 HOME10 years ago
Grazing North Texas – Wilman Lovegrass
-
 The Natural Horseman9 years ago
This is why we do what we do — RayeAnn and Cisco