Country Lifestyles
Cooking with Courtney – Potato Broccoli Soup

By Courtney McEwen
Winter is soup season. Vegetables, proteins, starches, soups don’t discriminate. Ladle after ladle, there’s something so comforting about a simmering pot on the stove. From my crew to yours, here’s one of our favorites. May your bowls be full, your crackers be crunchy, and your hearts be happy!
Potato Broccoli Soup
Ingredients:
1/4 cup onion, chopped
1/3 cup celery, chopped
2 tablespoons butter
1/4 cup flour
4 cups diced potatoes, rinsed and peeled
2 cups broccoli florets, slightly steamed
3 cups chicken broth
1 1/2 cup mozzarella cheese, grated
2 cups whole milk
1/4 teaspoon paprika
Salt & pepper to taste
Directions:
Melt butter in pot, over medium heat. Saute onions and celery until tender. Add flour and spices to pot, stir until combined. Add the broth and milk, followed by the potatoes and bring to a boil. Keep stirring until it thickens. Reduce heat to medium low, cover and cook for another 10-15 minutes until potatoes are tender. Use potato masher to break down some, not all, of the potatoes (I mash approximately 11 times…or 12…or…). Feel free to skip this step if you want larger potato pieces. Add steamed broccoli and cheese to the pot. Stir and continue cooking over low heat until cheese is melted. Serve warm with crackers and top with a little extra cheese…just because you can. It’s a pot of creamy goodness even the kids will enjoy!

Few inventions altered the American landscape as quickly or as permanently as barbed wire. At first glance, it was nothing more than twisted strands of metal with sharp points. But in the 1870s and 1880s, it transformed open prairies into enclosed pastures, reshaped cattle ranching, and set the stage for modern agriculture across Oklahoma, Texas, and the Great Plains.
For generations, settlers and ranchers wrestled with the challenge of fencing the open prairie. Traditional wooden fences required lumber, which was scarce on the plains. Stone walls were impractical across vast tracts of land. Homesteaders needed a boundary that was durable, affordable, and easy to construct.
The solution arrived in 1874, when Joseph Glidden of DeKalb, Illinois, received a patent for his version of barbed wire. He twisted two wires together, anchoring sharp barbs in place so they would not slide. His design proved cheap to produce and easy to stretch across posts. Within just a few years, Glidden’s invention spread like wildfire across the West.
For farmers, barbed wire was liberation. They could protect crops from roaming livestock, keep their own animals contained, and finally bring order to what had been the open range. Small homesteads suddenly had a way to defend their fields from massive cattle herds being driven north to railheads.
But not everyone welcomed the wire. Large cattle outfits, used to driving herds across unfenced land, saw it as a threat. Cowboys called it “the devil’s rope.” Tensions boiled over in the 1880s during the so-called “fence-cutting wars,” particularly in Texas. Cattlemen and farmers clashed as hired hands cut through miles of wire to reopen blocked trails and water sources. Violence erupted in some areas, leading to new laws that punished fence cutting as a felony.
Despite the resistance, the march of barbed wire could not be stopped. Its low cost and effectiveness made it indispensable. By the end of the 19th century, millions of miles of barbed wire crisscrossed the United States, dividing prairies into ranches, farms, and towns.
Once established, barbed wire did more than mark boundaries. It changed the very nature of ranching and agriculture. No longer could cattle roam freely over open ranges; instead, ranchers had to provide feed and water within enclosed pastures. This spurred improvements in breeding, grazing management, and stewardship of land. The great cattle drives that once defined Texas and Oklahoma largely faded, replaced by fenced ranching operations closer to railroads and towns.
The wire also influenced settlement patterns. Homesteads became more secure, encouraging more families to take root on the prairie. Conflicts with Native tribes intensified, as traditional hunting grounds were fenced off. In this sense, barbed wire became a physical symbol of westward expansion—an emblem of progress to some, a barrier to freedom for others.
Culturally, barbed wire has carried layered meaning ever since. Cowboys and poets have written about its sting, while farmers praised its dependability. During World War I, it found new use on battlefields, stretched across trenches as a weapon of defense. In art and literature, it often stands for confinement, conflict, or the taming of wild places.
Even today, the sight of rusty wire strung across weathered posts remains iconic. Drive through Oklahoma or North Texas, and you’ll see it outlining pastures, sometimes still holding cattle, sometimes falling into the grass like a relic of earlier generations. Ranchers continue to rely on barbed wire alongside newer fencing materials, proof that a 150-year-old invention still holds its ground.
The story of barbed wire is not just about technology. It is about how a simple invention shifted the balance between open freedom and private control, between the frontier and settlement. It made agriculture sustainable in places where farming had once seemed impossible. It forced ranchers to rethink livestock management. It even gave rise to laws, conflicts, and a new rhythm of life on the plains.
Like the cowboy hat, barbed wire transcended its original purpose. It became a defining feature of the American West—sharp, unyielding, and practical. It reminds us of the challenges faced by those who carved out lives in Oklahoma, Texas, and across the Great Plains, and how innovation, for better or worse, can change landscapes and livelihoods forever.
References
- McCallum, Henry. The Wire That Fenced the West. University of Oklahoma Press, 1965.
- Oklahoma Historical Society. Barbed Wire. https://www.okhistory.org
- Texas State Historical Association. Barbed Wire and the Fence Cutting Wars. https://www.tshaonline.org
- Smithsonian Institution. “How Barbed Wire Changed the West.” (2018).
- Library of Congress. Joseph Glidden and the Invention of Barbed Wire.
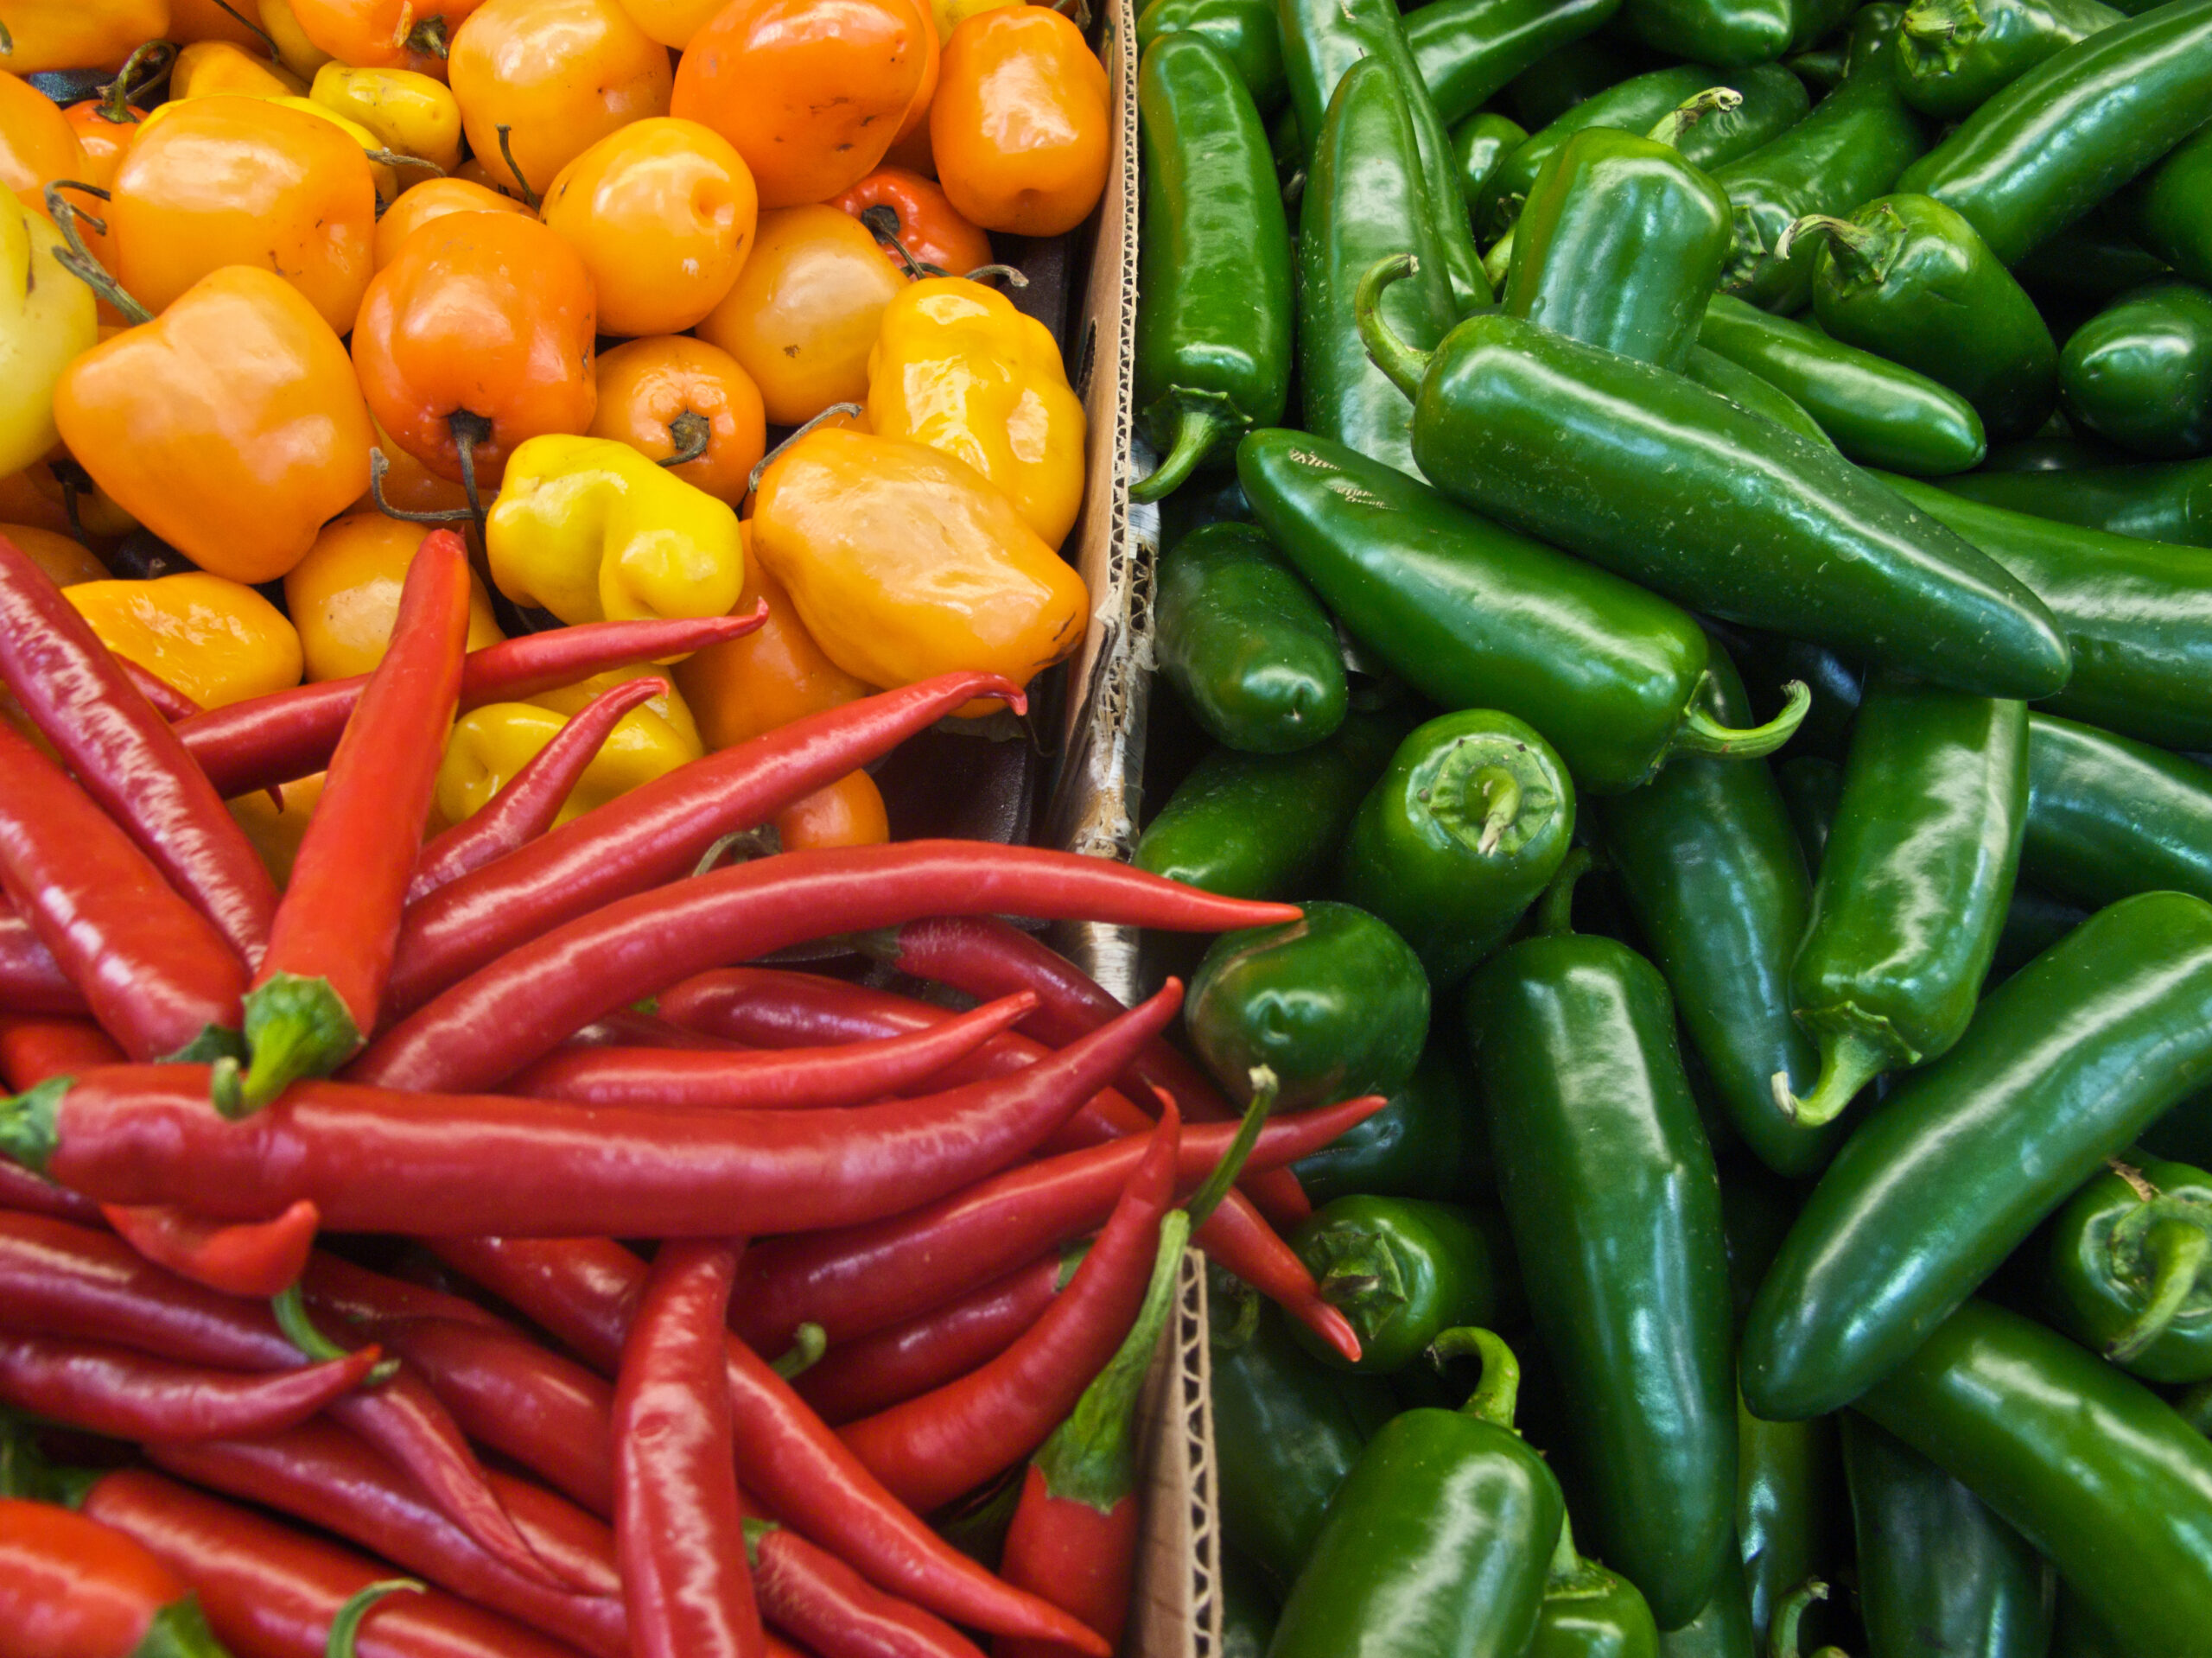
Most of us have been there. You take a bite of something that looks harmless enough, and within seconds, your mouth is on fire. Your eyes water, your nose runs, and suddenly you’re questioning every decision that led you to that moment. Whether it’s a jalapeño that packed more punch than expected or a sauce someone swore “wasn’t that bad,” peppers have a way of keeping people humble.
There is, however, a way to measure that heat before you ever take a bite. It’s called the Scoville scale, and it’s the standard used to rank just how hot a pepper can be. The measurement is expressed in Scoville Heat Units, or SHU. The higher the number, the more heat you can expect. A bell pepper sits at zero, meaning no heat at all. Jalapeños usually land somewhere between 2,500 and 8,000 SHU, while the upper end of the scale climbs into the millions.
The system dates back to 1912, when pharmacist Wilbur Scoville developed a method to test pepper heat. His approach was simple, if not a little impractical by today’s standards. Pepper extract was diluted with sugar water until a panel of tasters could no longer detect the burn. The more dilution required, the hotter the pepper. It worked, but it depended heavily on human perception, which is far from consistent.
Today, the process is far more precise. Instead of relying on taste, scientists measure the concentration of compounds called capsaicinoids using laboratory equipment. Those numbers are then converted into Scoville Heat Units. It takes the guesswork out of the equation and gives growers, processors, and consumers a reliable way to compare peppers.
Capsaicinoids are the group of compounds responsible for heat, with capsaicin being the main contributor. Contrary to what a lot of people believe, the seeds are not where the heat lives. Most of it is concentrated in the white inner ribs of the pepper. The seeds can seem hot because they come into contact with those oils, but removing the inner ribs is the most effective way to dial the heat back while keeping the flavor.
That burning sensation you feel isn’t actually heat in the traditional sense. Capsaicin interacts with receptors in your mouth that are designed to detect pain and temperature. Your brain reads that signal as burning, even though there’s no physical damage being done at typical levels. Depending on how much you’ve had, that sensation can linger anywhere from a few minutes to well over half an hour.
One thing worth keeping in mind is that not all peppers are created equal, even within the same variety. Growing conditions, soil, weather, and maturity all play a role in how much capsaicin a pepper develops. Two jalapeños from different fields, or even different plants in the same field, can vary more than you might expect.
At the far end of the scale are peppers that push the limits of what most people would consider edible. Varieties like the Carolina Reaper have recorded levels exceeding 2 million SHU. That’s well beyond the point of casual consumption and into territory where even a small amount can be overwhelming. While some people seek that level of heat for the challenge, it’s not something to take lightly.
For everyday use, the Scoville scale is less about chasing extremes and more about making informed choices. If you know your comfort level, you can select peppers that add flavor without overpowering a dish. It also helps explain why a recipe that calls for “one pepper” can turn out very differently depending on what you pick up at the store or out of the garden.
In the end, that moment when your mouth feels like it’s on fire isn’t as mysterious as it seems. There’s a system behind it, and a little understanding of the Scoville scale can go a long way in keeping your next bite from turning into a regret.
By Alex Haigood
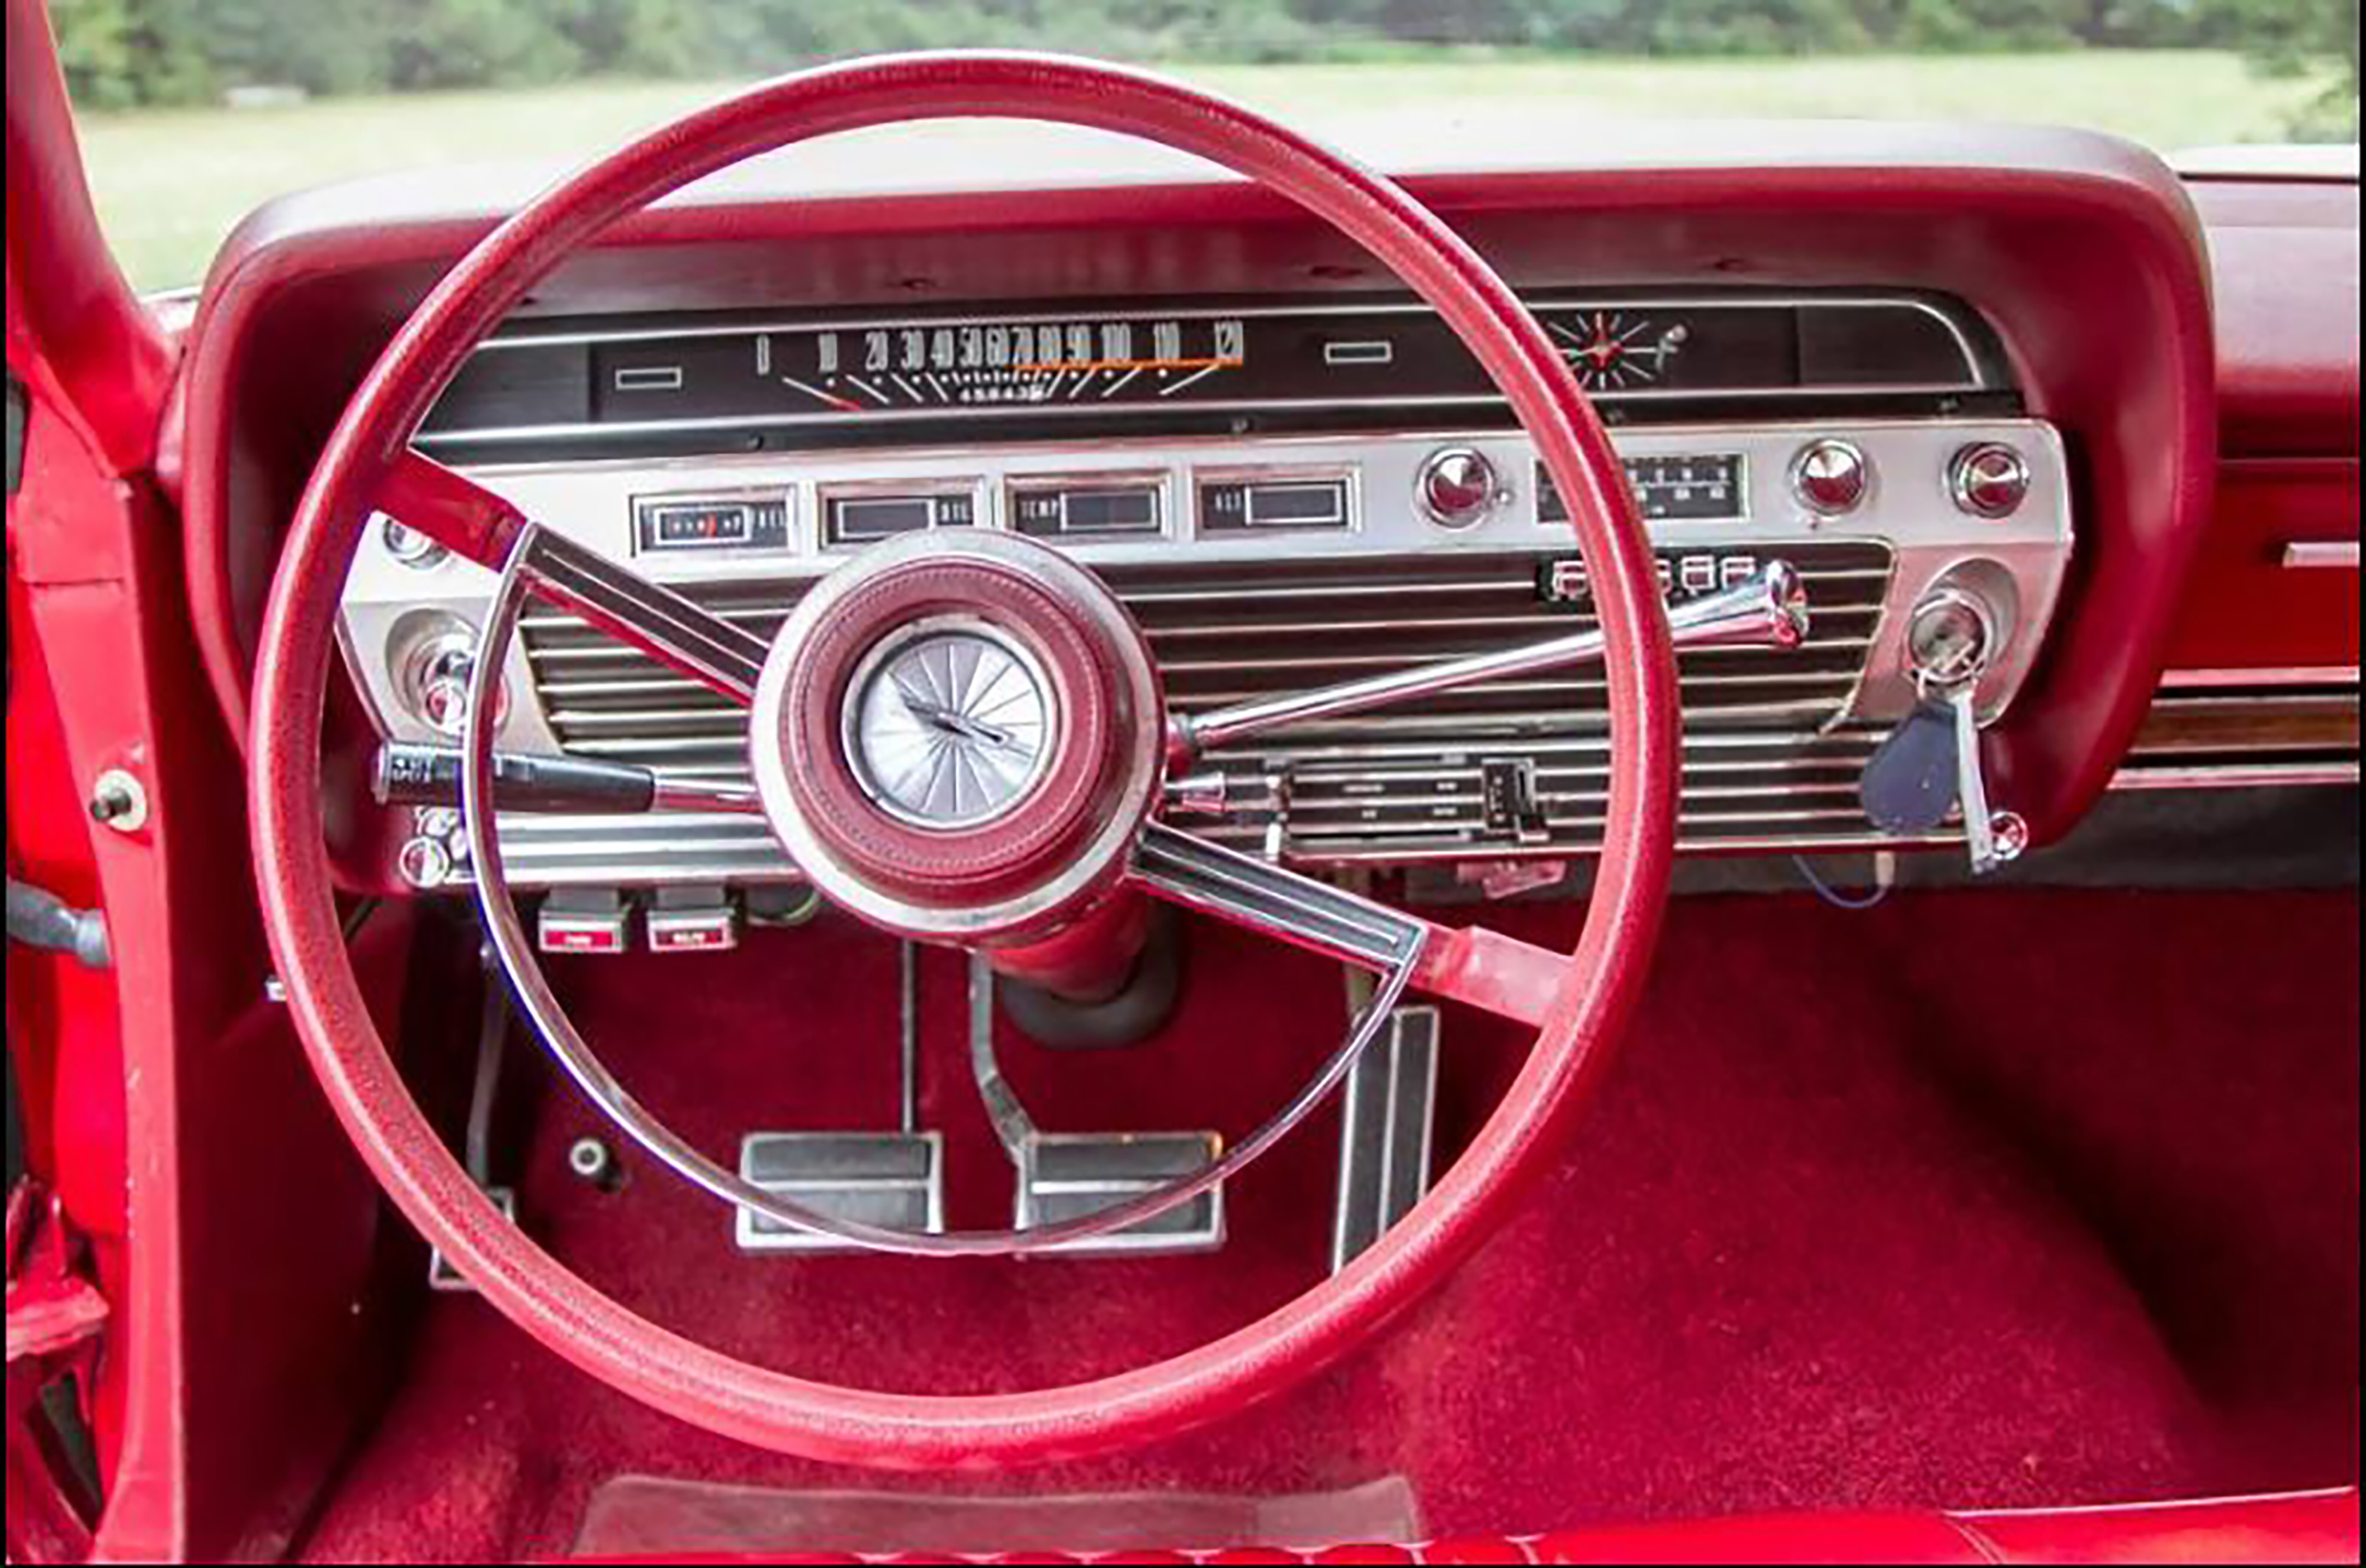
It seems today that the ability to drive a standard transmission is becoming a lost art. In my younger days, if you couldn’t use a clutch, you couldn’t drive. My first three vehicles, two trucks and a car, were all standard transmissions. I would say many young people today have no idea how to drive a car unless it has an automatic transmission.
That probably has a lot to do with the fact that not many stick shifts are made anymore. Everything, even trucks, comes standard with automatic transmissions. There are some sports cars you can still get with a standard, but even those are few and far between.
I knew as a kid that if I wanted to drive and get my license as soon as I could, I would have to learn how to drive a standard. Fortunately, I had a lot of relatives who lived in the country, so I did most of my learning on dirt roads and in the pasture.
I suspect that not many young folks today have any idea what “three on the tree” even means. For the record, that means you had three forward gears, and the gearshift was on the steering column.
I have two memorable stories from my early days of learning to drive a standard. The first was when my dad let me drive a flatbed truck carrying some sheet metal. I popped the clutch a little too fast and almost completely unloaded the truck. We had to back into something to push the material back up on the bed.
The second story involved my uncle, who let me drive while I was on his ranch. I had pulled up to a stop sign on a gravel road that crossed a farm-to-market road. I was stopped on an incline, and my uncle pulled his truck right up behind me. I sat there thinking that when I let off the brake, I was going to start rolling backward into his truck. I sure didn’t want to do that.
So I overcompensated, hit the gas, spun the tires, and threw gravel and dirt all over his truck. All I could see in my rearview mirror was a cloud of dust and dirt. Fortunately for me, he was good-natured and laughed about it. To tell you how long ago that was, he radioed me on his CB and asked if I did that on purpose.
I was fortunate to get to drive early in life in the country and learn the lost art of the standard transmission. Those were fun times. Maybe I need to order me a sports car.


-
 Country Lifestyles3 years ago
Scott & Stacey Schumacher: A Growth Mindset
-
 Country Lifestyles9 years ago
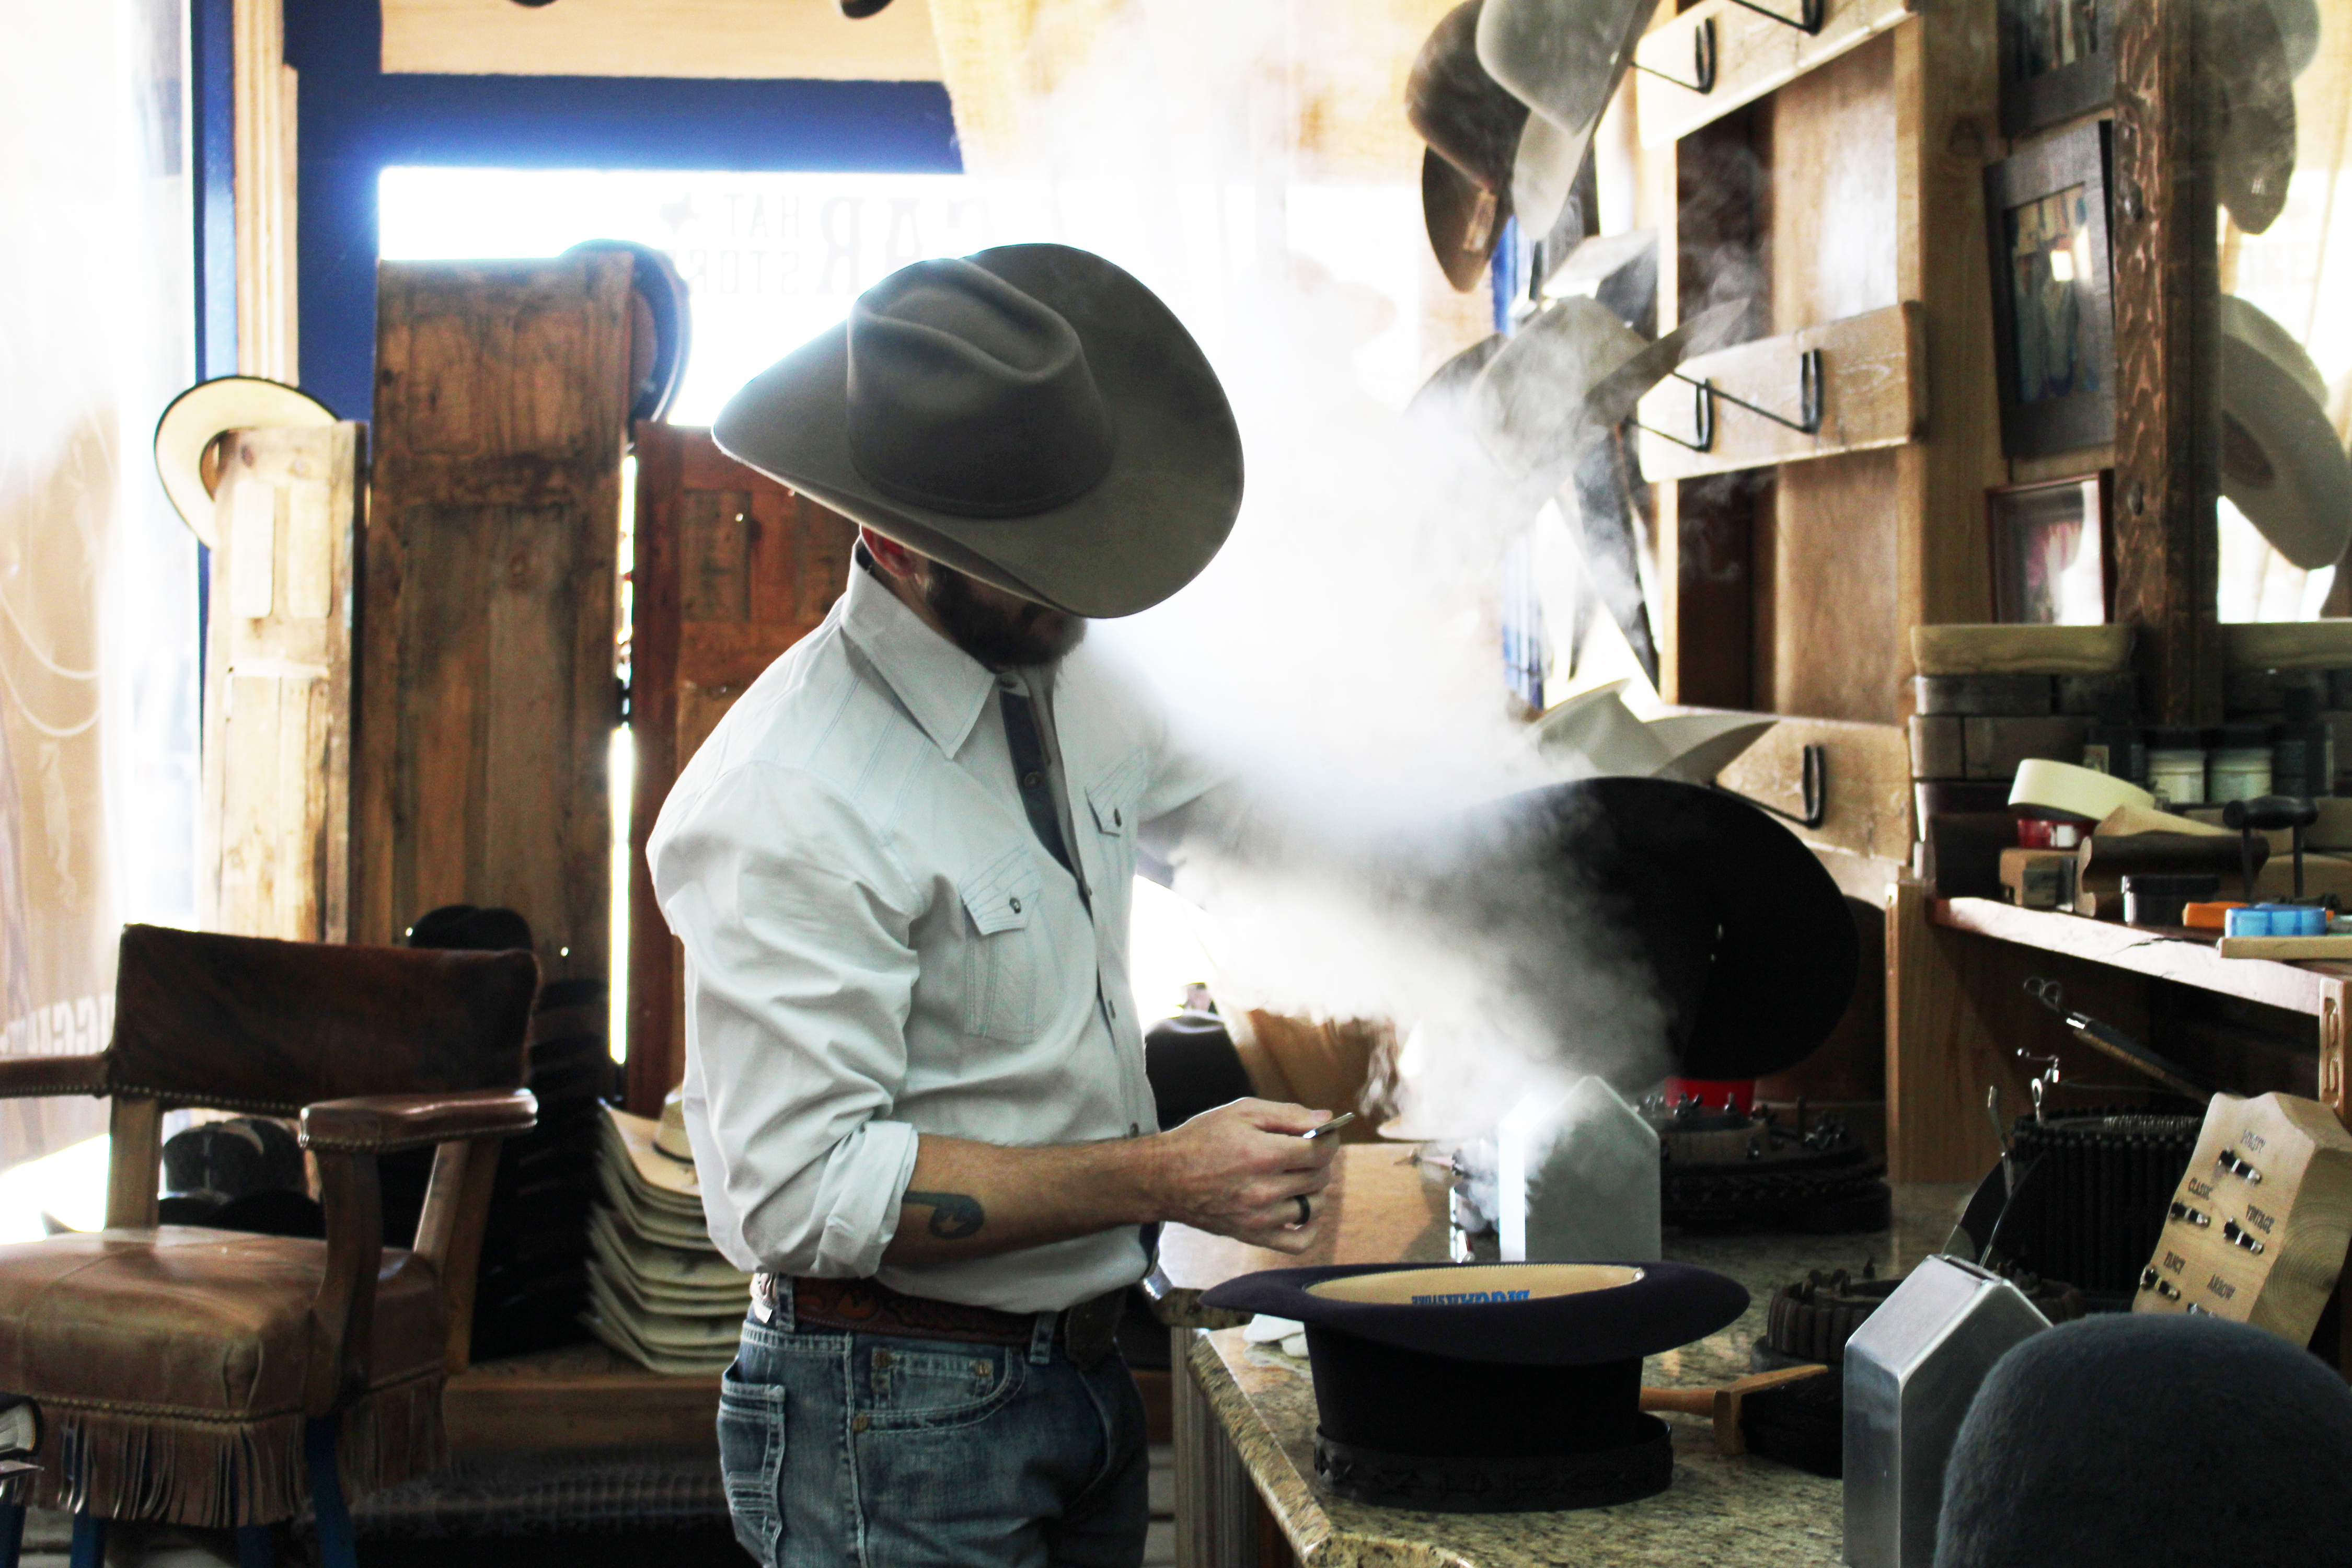
Style Your Profile – What your style cowboy hat says about you and new trends in 2017
-
 Horsefeathers12 years ago
Mount Scott: Country Humor with David Gregory
-
 Country Lifestyles10 years ago
June 2016 Profile – The man behind the mic: Bob Tallman
-
 Country Lifestyles10 years ago
December 2016 Profile, Rusty Riddle – The Riddle Way
-
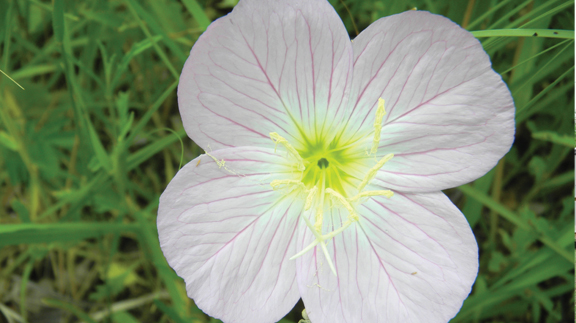 Outdoor11 years ago
Buttercup or Primrose?
-
 HOME9 years ago
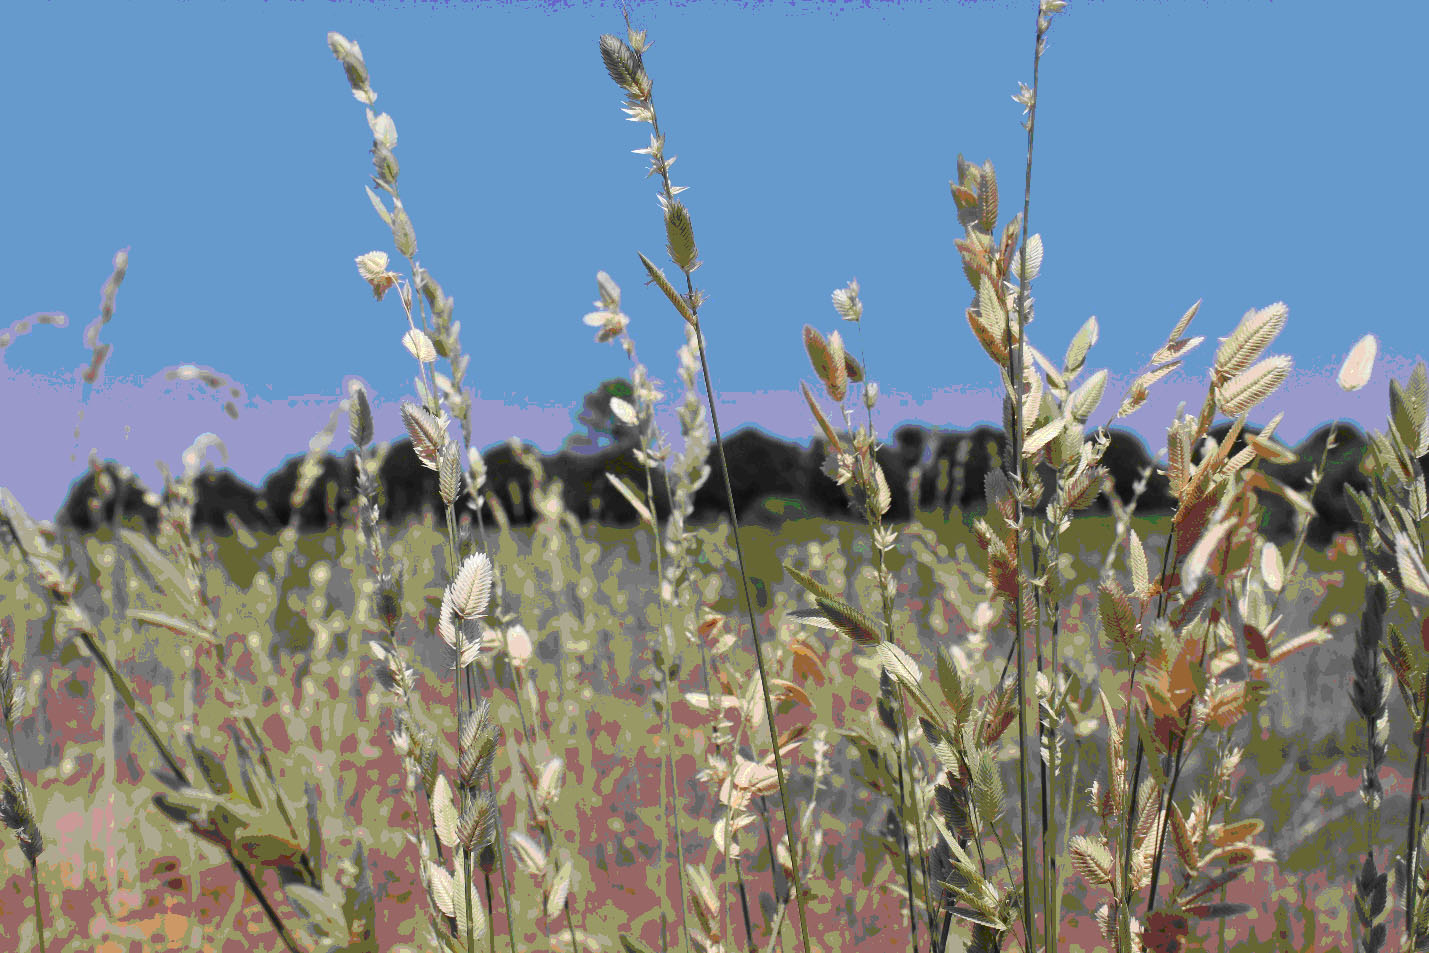
Grazing North Texas – Wilman Lovegrass
-
 The Natural Horseman9 years ago
This is why we do what we do — RayeAnn and Cisco