Farm & Ranch
[AgriLife Today] Critical Texas drought forecast may alter summer crop planting decisions

By: Kay Ledbetter
Writer: Kay Ledbetter, 806-677-5608, skledbetter@ag.tamu.edu
Contacts: Dr. Jourdan Bell, 806-677-5600, jourdan.bell@ag.tamu.edu
AMARILLO – The Texas High Plains is under extreme drought and if current conditions continue, producers need to make important decisions for summer crops, said Dr. Jourdan Bell, Texas A&M AgriLife Extension Service agronomist in Amarillo.
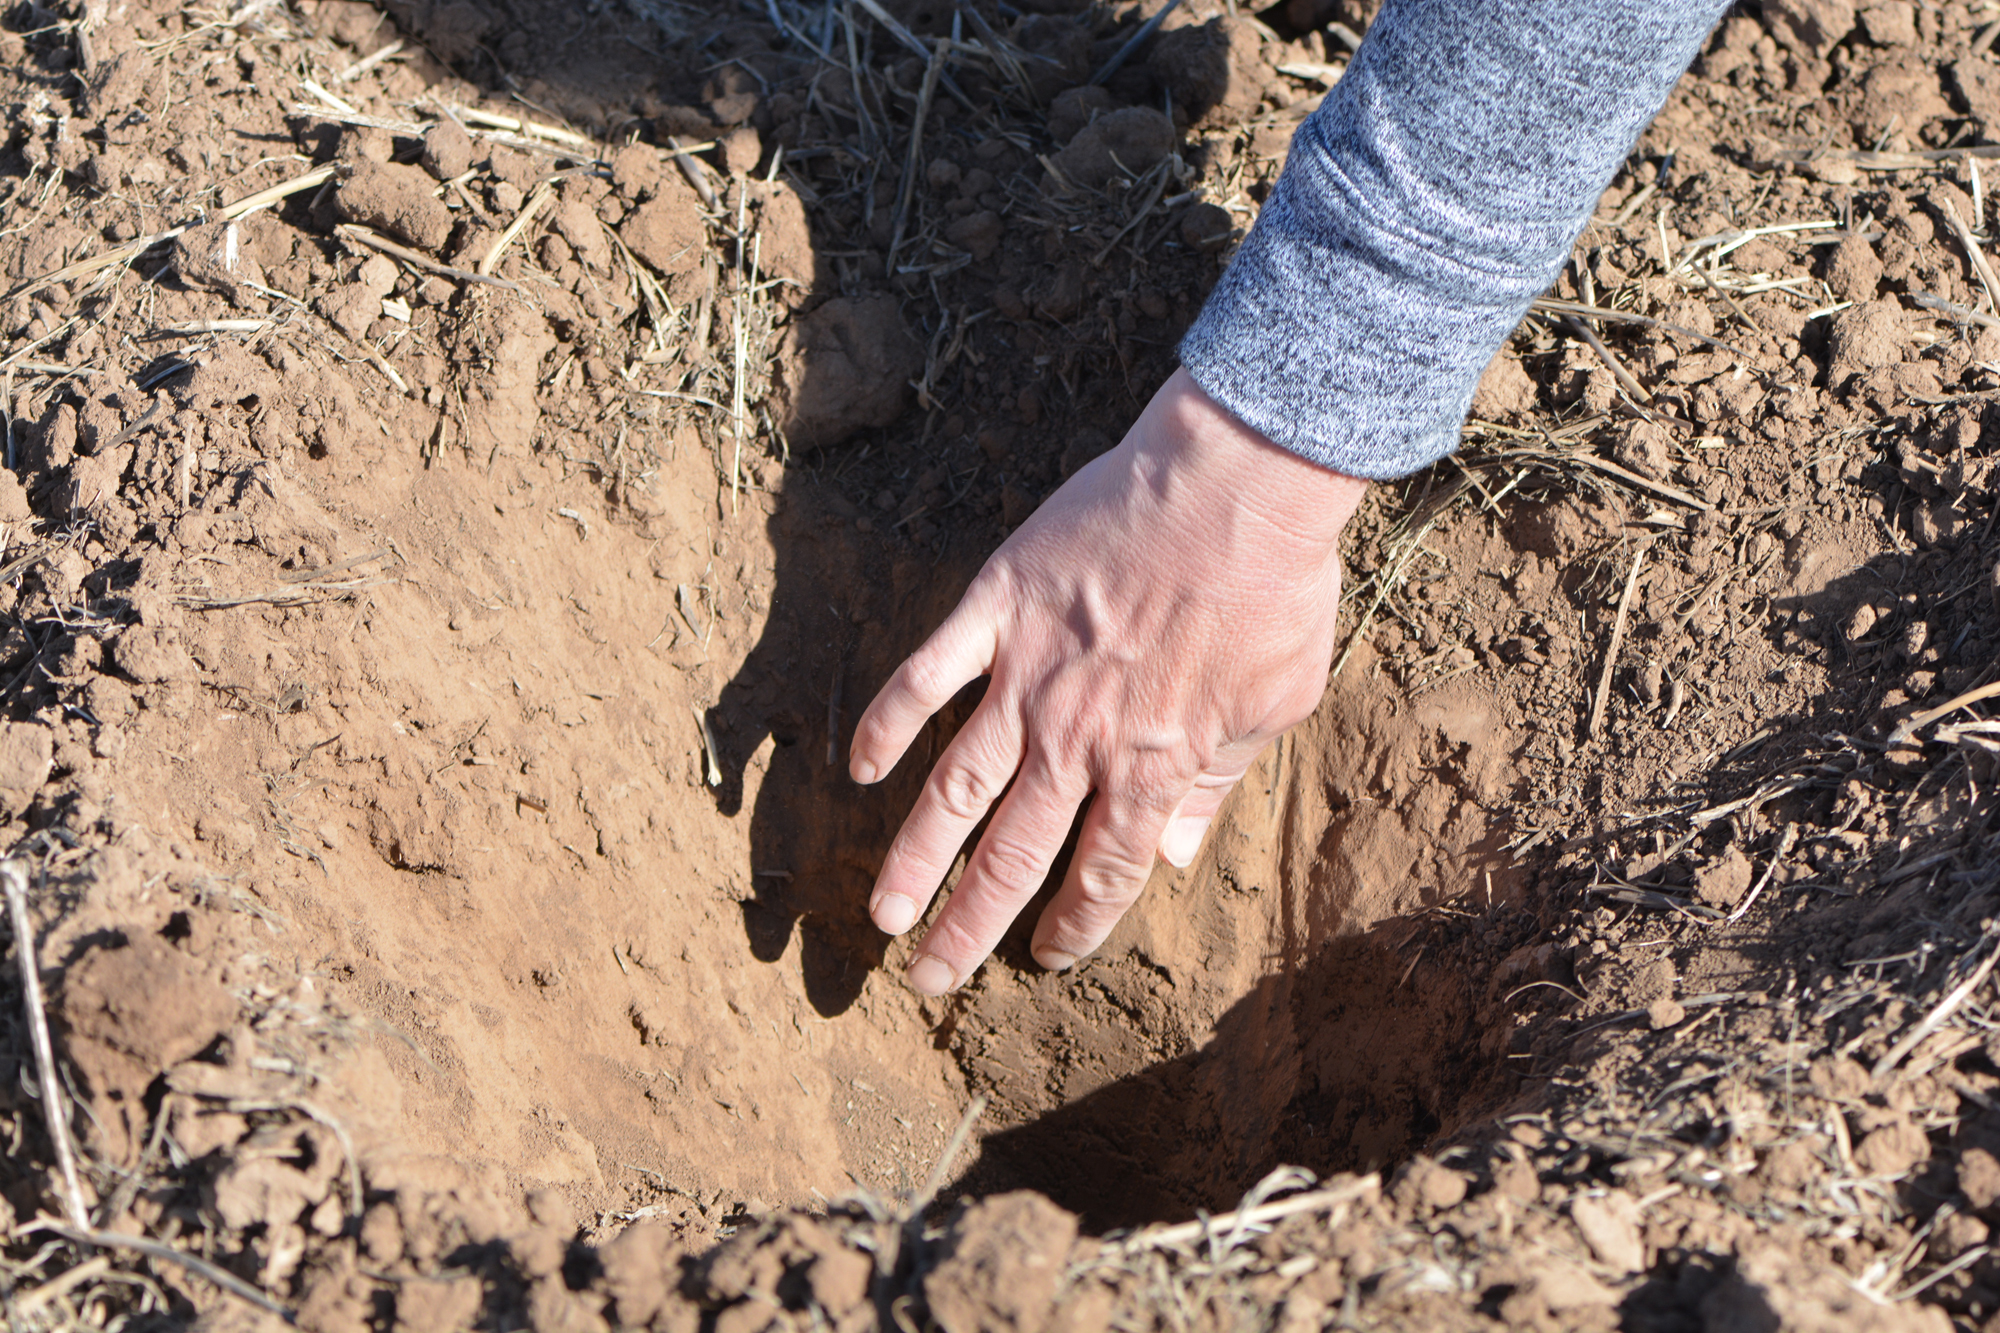
Dr. Jourdan Bell, Texas A&M AgriLife Extension economist, said the lack of moisture over the winter may have High Plains producers tweaking their planting decisions. (Texas A&M AgriLife photo by Kay Ledbetter)
“The current U.S. Drought Monitor is reporting we are in a Stage 4 drought,” Bell said. “With that, many producers are having to make critical management considerations as they are approaching summer planting season.”
Fortunately, the region’s extended precipitation forecast is improving, she said. The National Weather Service Climate Prediction Center is now predicting the region will have equal changes of above or below average precipitation.
“What does that mean for a producer? Well hopefully it will not be as dry as previously predicted, but we still do not have a positive forecast,” Bell said. “Unfortunately, temperatures are still projected to be above average, and because temperatures are a key driver in crop water use, we are still at risk for crop stress under dryland and limited irrigation.”
With summer planting, it is important to know how much moisture is in the soil profile, “because that is our bucket,” Bell said. “With that, it’s also important to know what crops will be planted and what is their rooting depth. That will help us determine how much subsoil moisture we have and how far it will carry a crop through the growing season, especially if we don’t receive timely moisture.”
Many producers are having to pre-irrigate, so they can have sufficient moisture in the seed zone to germinate summer crops, she said. Under dryland situations, producers are having to decide if they are going to postpone planting.
“Our current forecast is actually calling for precipitation. If we do get rain, many producers are evaluating how soon they will plant dryland acreage,” Bell said. “But even with a precipitation event, it will depend on the amount of rain we receive and the rate it falls to determine the effectiveness of the precipitation event. One rain is not going to break the drought situation we are in.”
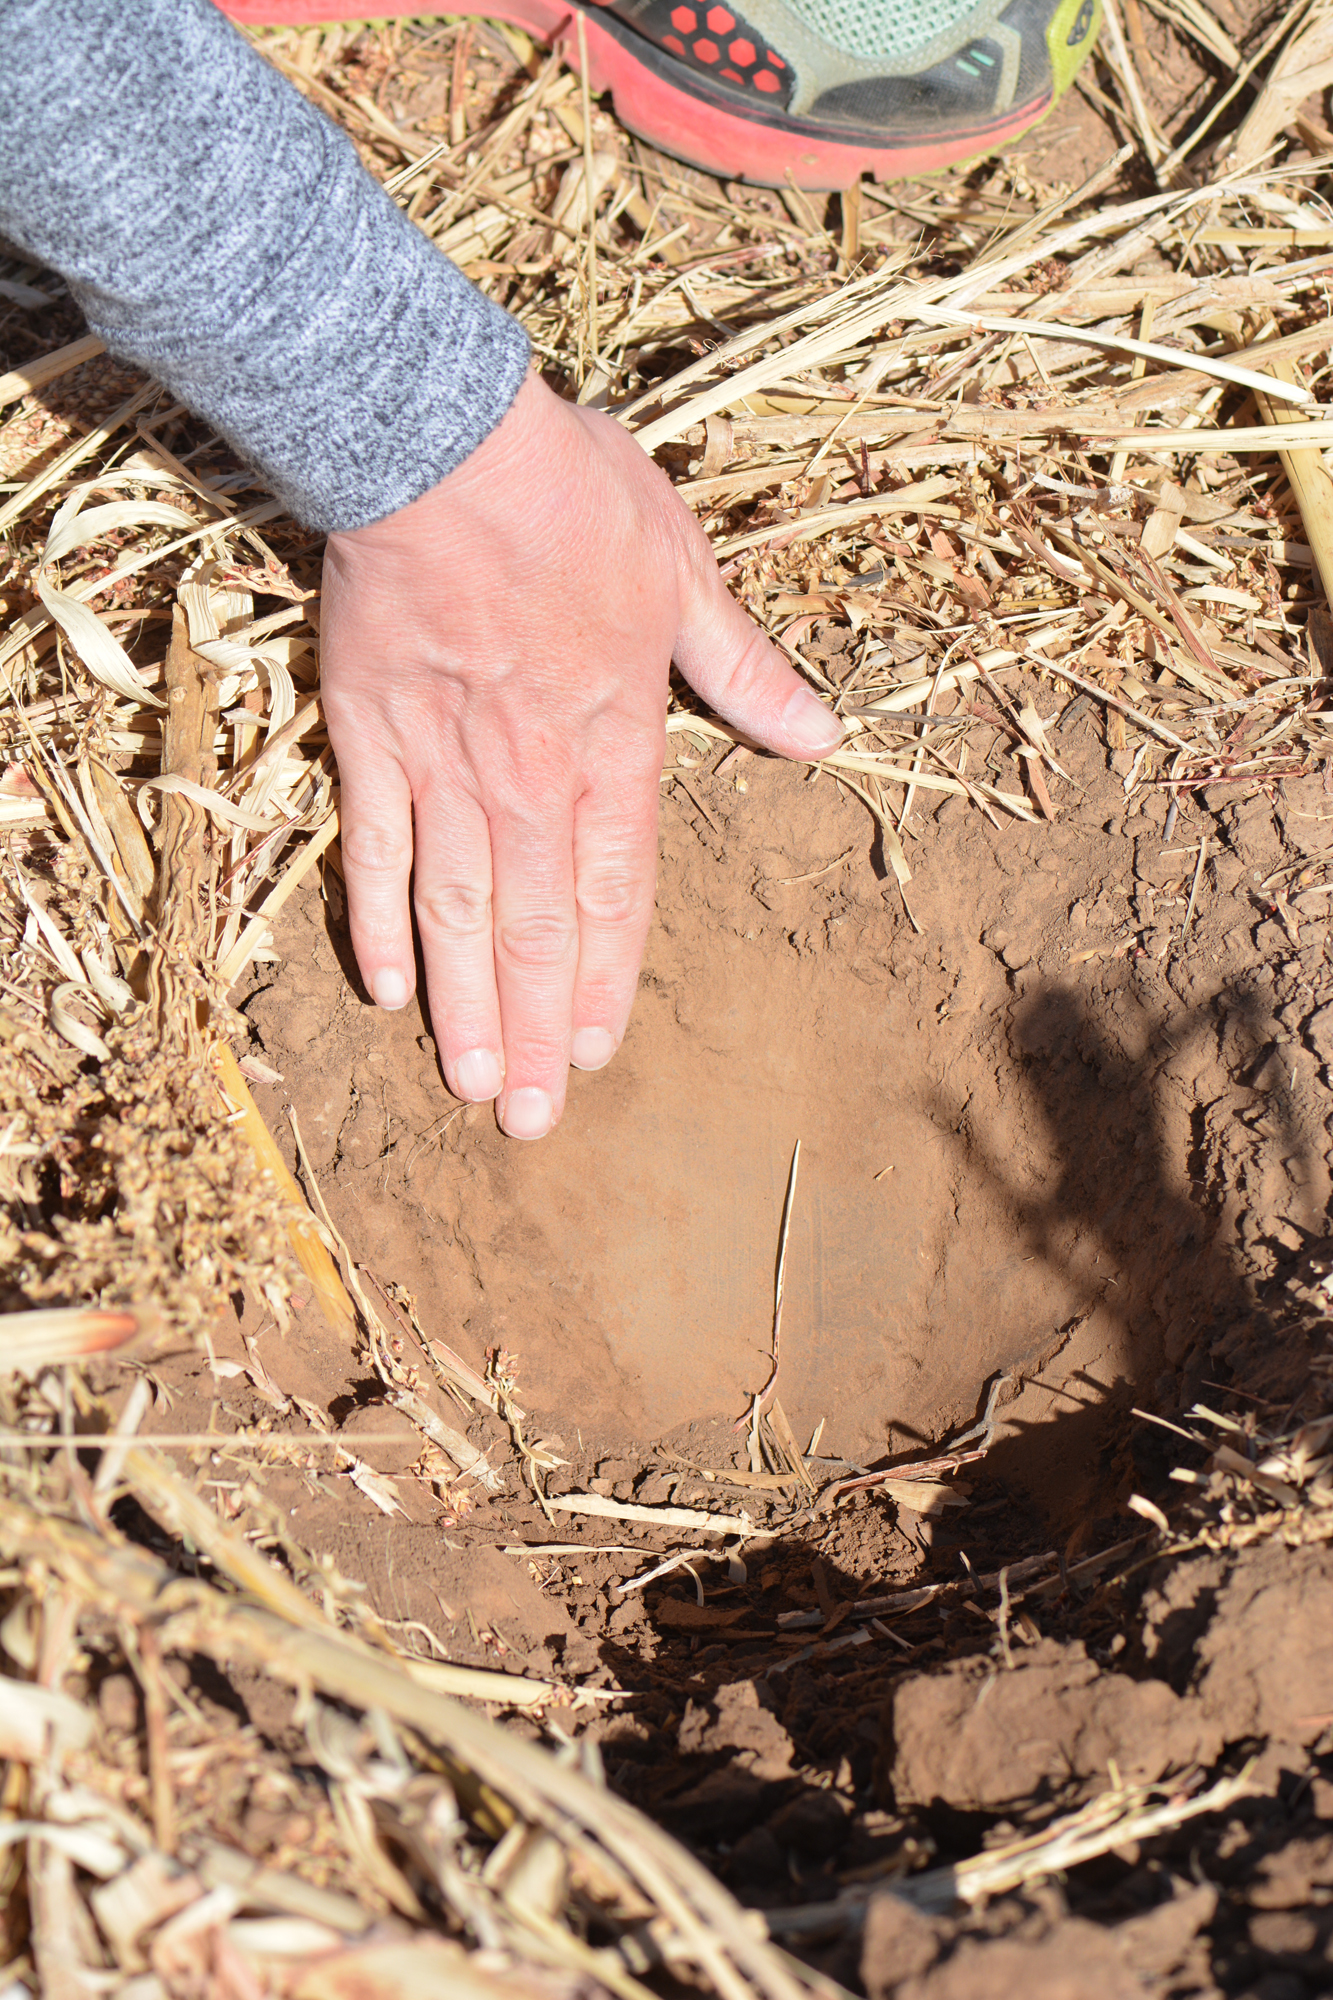
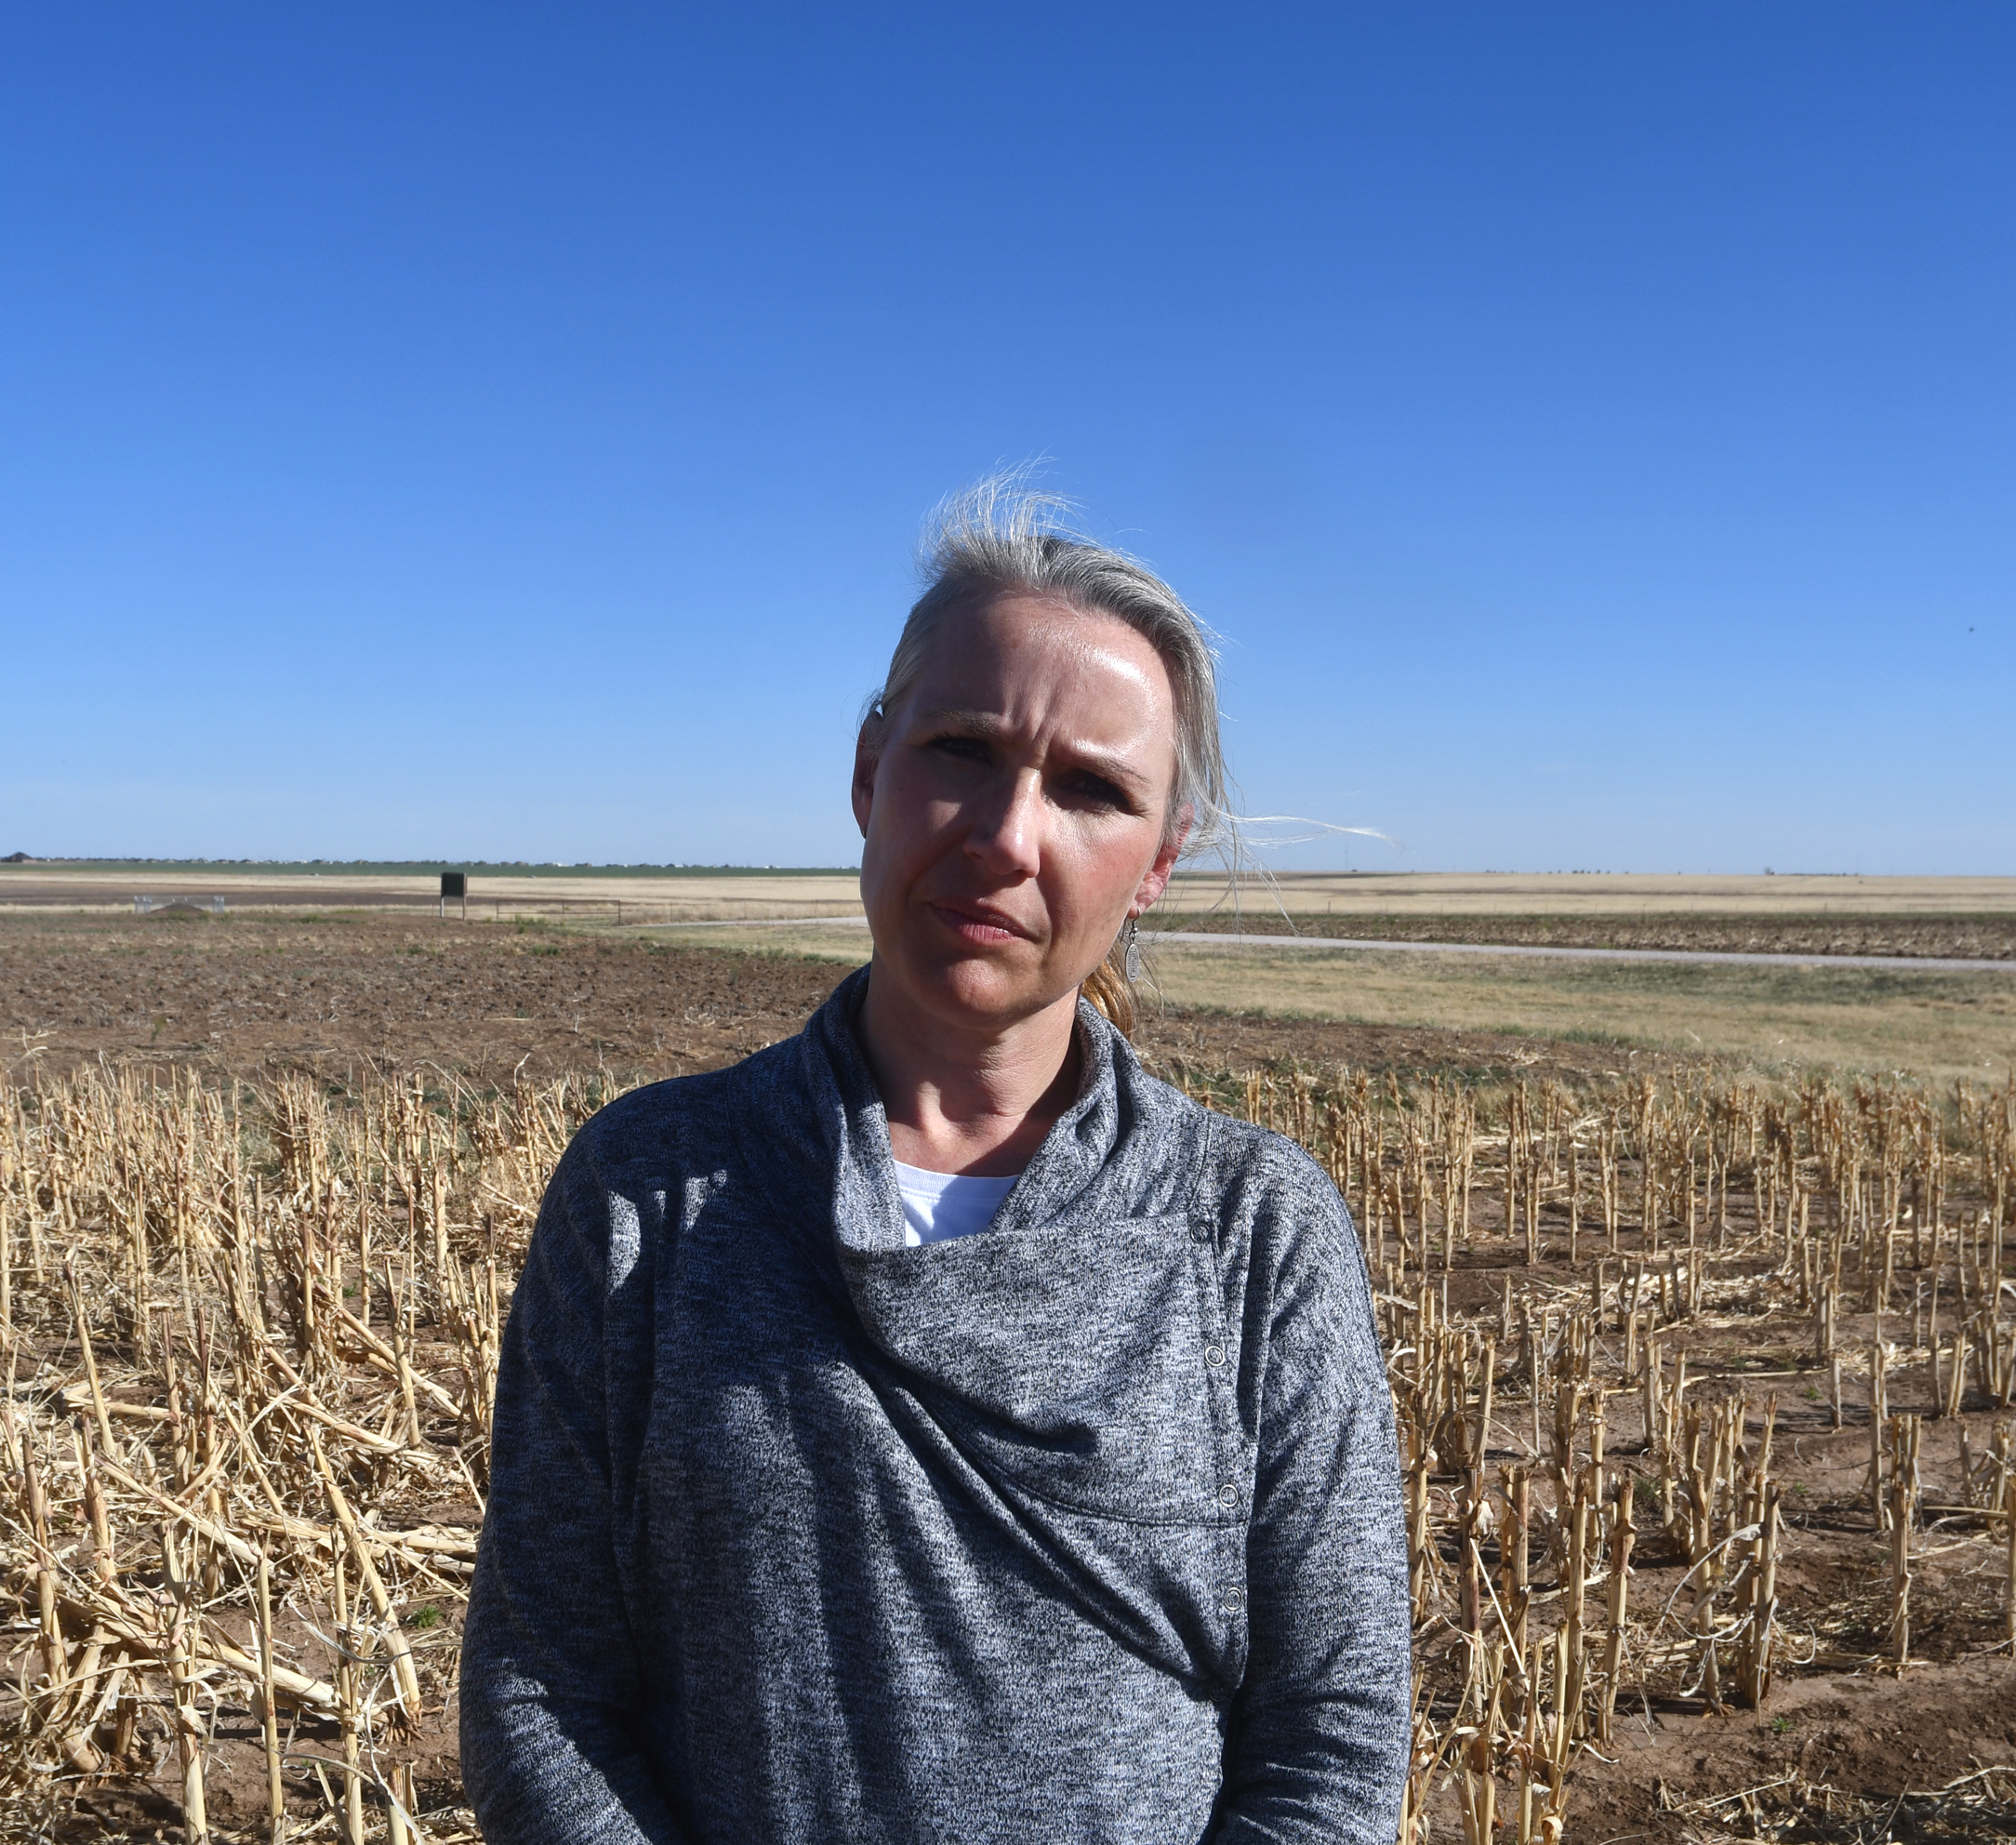
Subsoil moisture is only about 4-6 inches below the surface in fields where residue was left standing. (Texas A&M AgriLife photo by Kay Ledbetter)
The Texas High Plains is dependent on winter precipitation in the form of snowfall to build up soil moisture during the fallow period, she said. Across the region, negligible snow fell this winter and rainfall has been anywhere from less than a tenth of an inch to about 3/10s of an inch for the entire winter.
“On the bright side, we are very fortunate because we had very good early fall precipitation, so in many areas we still have good subsoil moisture,” Bell said.
She estimated under no-till and especially under good residue, soil moisture may be 4-6 inches deep; under cultivated or tilled ground, subsoil moisture may be 8-10 inches.
“It is important for producers to evaluate the depth to moisture before they begin to pre-irrigate,” Bell said. “Soil moisture sensors are an invaluable tool not only for scheduling in-season irrigation, but also determining how much pre-irrigation is needed.”
That subsoil moisture also allows dryland producers to gauge precipitation in the forecast to determine if it will give them enough moisture to plant on, she said.
“Even if we receive up to a half inch, that’s probably not going to be enough, because roots will not grow through dry soil to reach the wetter subsoil.”
The primary crops grown in this region under irrigation are corn and cotton, she said. As producers evaluate the forecast and probability of precipitation, many are opting to split irrigated acreage between corn and cotton so they will have sufficient water to meet critical crop water demands throughout the summer.
“For crop insurance purposes, corn needs to be planted on or before June 5 for counties in the Texas High Plains, but planting later in June shifts the critical water demand period of tasseling out of some of the hotter periods of summer,” Bell said.
“Often we will see greater kernel set and sometimes benefits by planting that crop even later in the summer. So, producers have to evaluate how they manage their insurance programs with regards to their planting times.”
For grain sorghum under both irrigated and dryland production systems, producers do have flexibility with planting dates, she said.
“We do find producers are able to make a very good sorghum crop, even planting into late June. That does provide a little bit a flexibility as they watch the weather,” she said. “They can wait and plant the crop if we receive timely rains. Also, planting later will move that critical growth stage of growing-point differentiation and flowering later into the season when we are not as hot. Sorghum does have a little more flexibility than cotton.”
When it comes to cotton across the High Plains, it is important for producers to get the crop planted in May because “we are trying to grow a perennial crop in a very short annual environment,” Bell said. “In order to accumulate sufficient growing degree days or heat units to mature that crop and optimize production – not just yield but also quality – we really need to get that crop off and running in May and preferably early to mid-May if conditions are favorable.”
Another challenge producers may have, especially under dryland conditions, is herbicides, she said. In some years, sufficient precipitation is not received to activate some of the residual preplant herbicides.
“Preplant herbicides are very important because we want to minimize competition with our primary crop,” Bell said. “We want to start the season weed free. Weeds are using water we need for the crop, so they must be managed.”
All these decisions can be tricky because producers often have made their seed selection months ago, she said. So moving into a dry period there might be some limitations on the decisions a producer can make.
“Irrigation helps stabilize production and minimizes the risk we encounter under dryland,” Bell said. “But across much of the High Plains, well capacities are no longer sufficient to meet crop water demands to optimize economical production. And often our precipitation, while aiding crop water demand throughout the season, doesn’t come at the most ideal time.”
She said the High Plains often receives non-beneficial precipitation. Rain events may only measure a few hundredths of an inch or 2-3 inches may fall in a very short time and a large percentage of this runs off. Neither event benefits crop production.
“Really, what we want to see are those slow, steady rains that come over the course of several days and soak in, wet up that profile, and really provide soil moisture.”
Traditionally the best rains in this region fall in May and June, and that offers hope for the coming crop season, in spite of the current drought, Bell said.
-30-
Find more stories, photos, videos and audio at http://today.agrilife.org
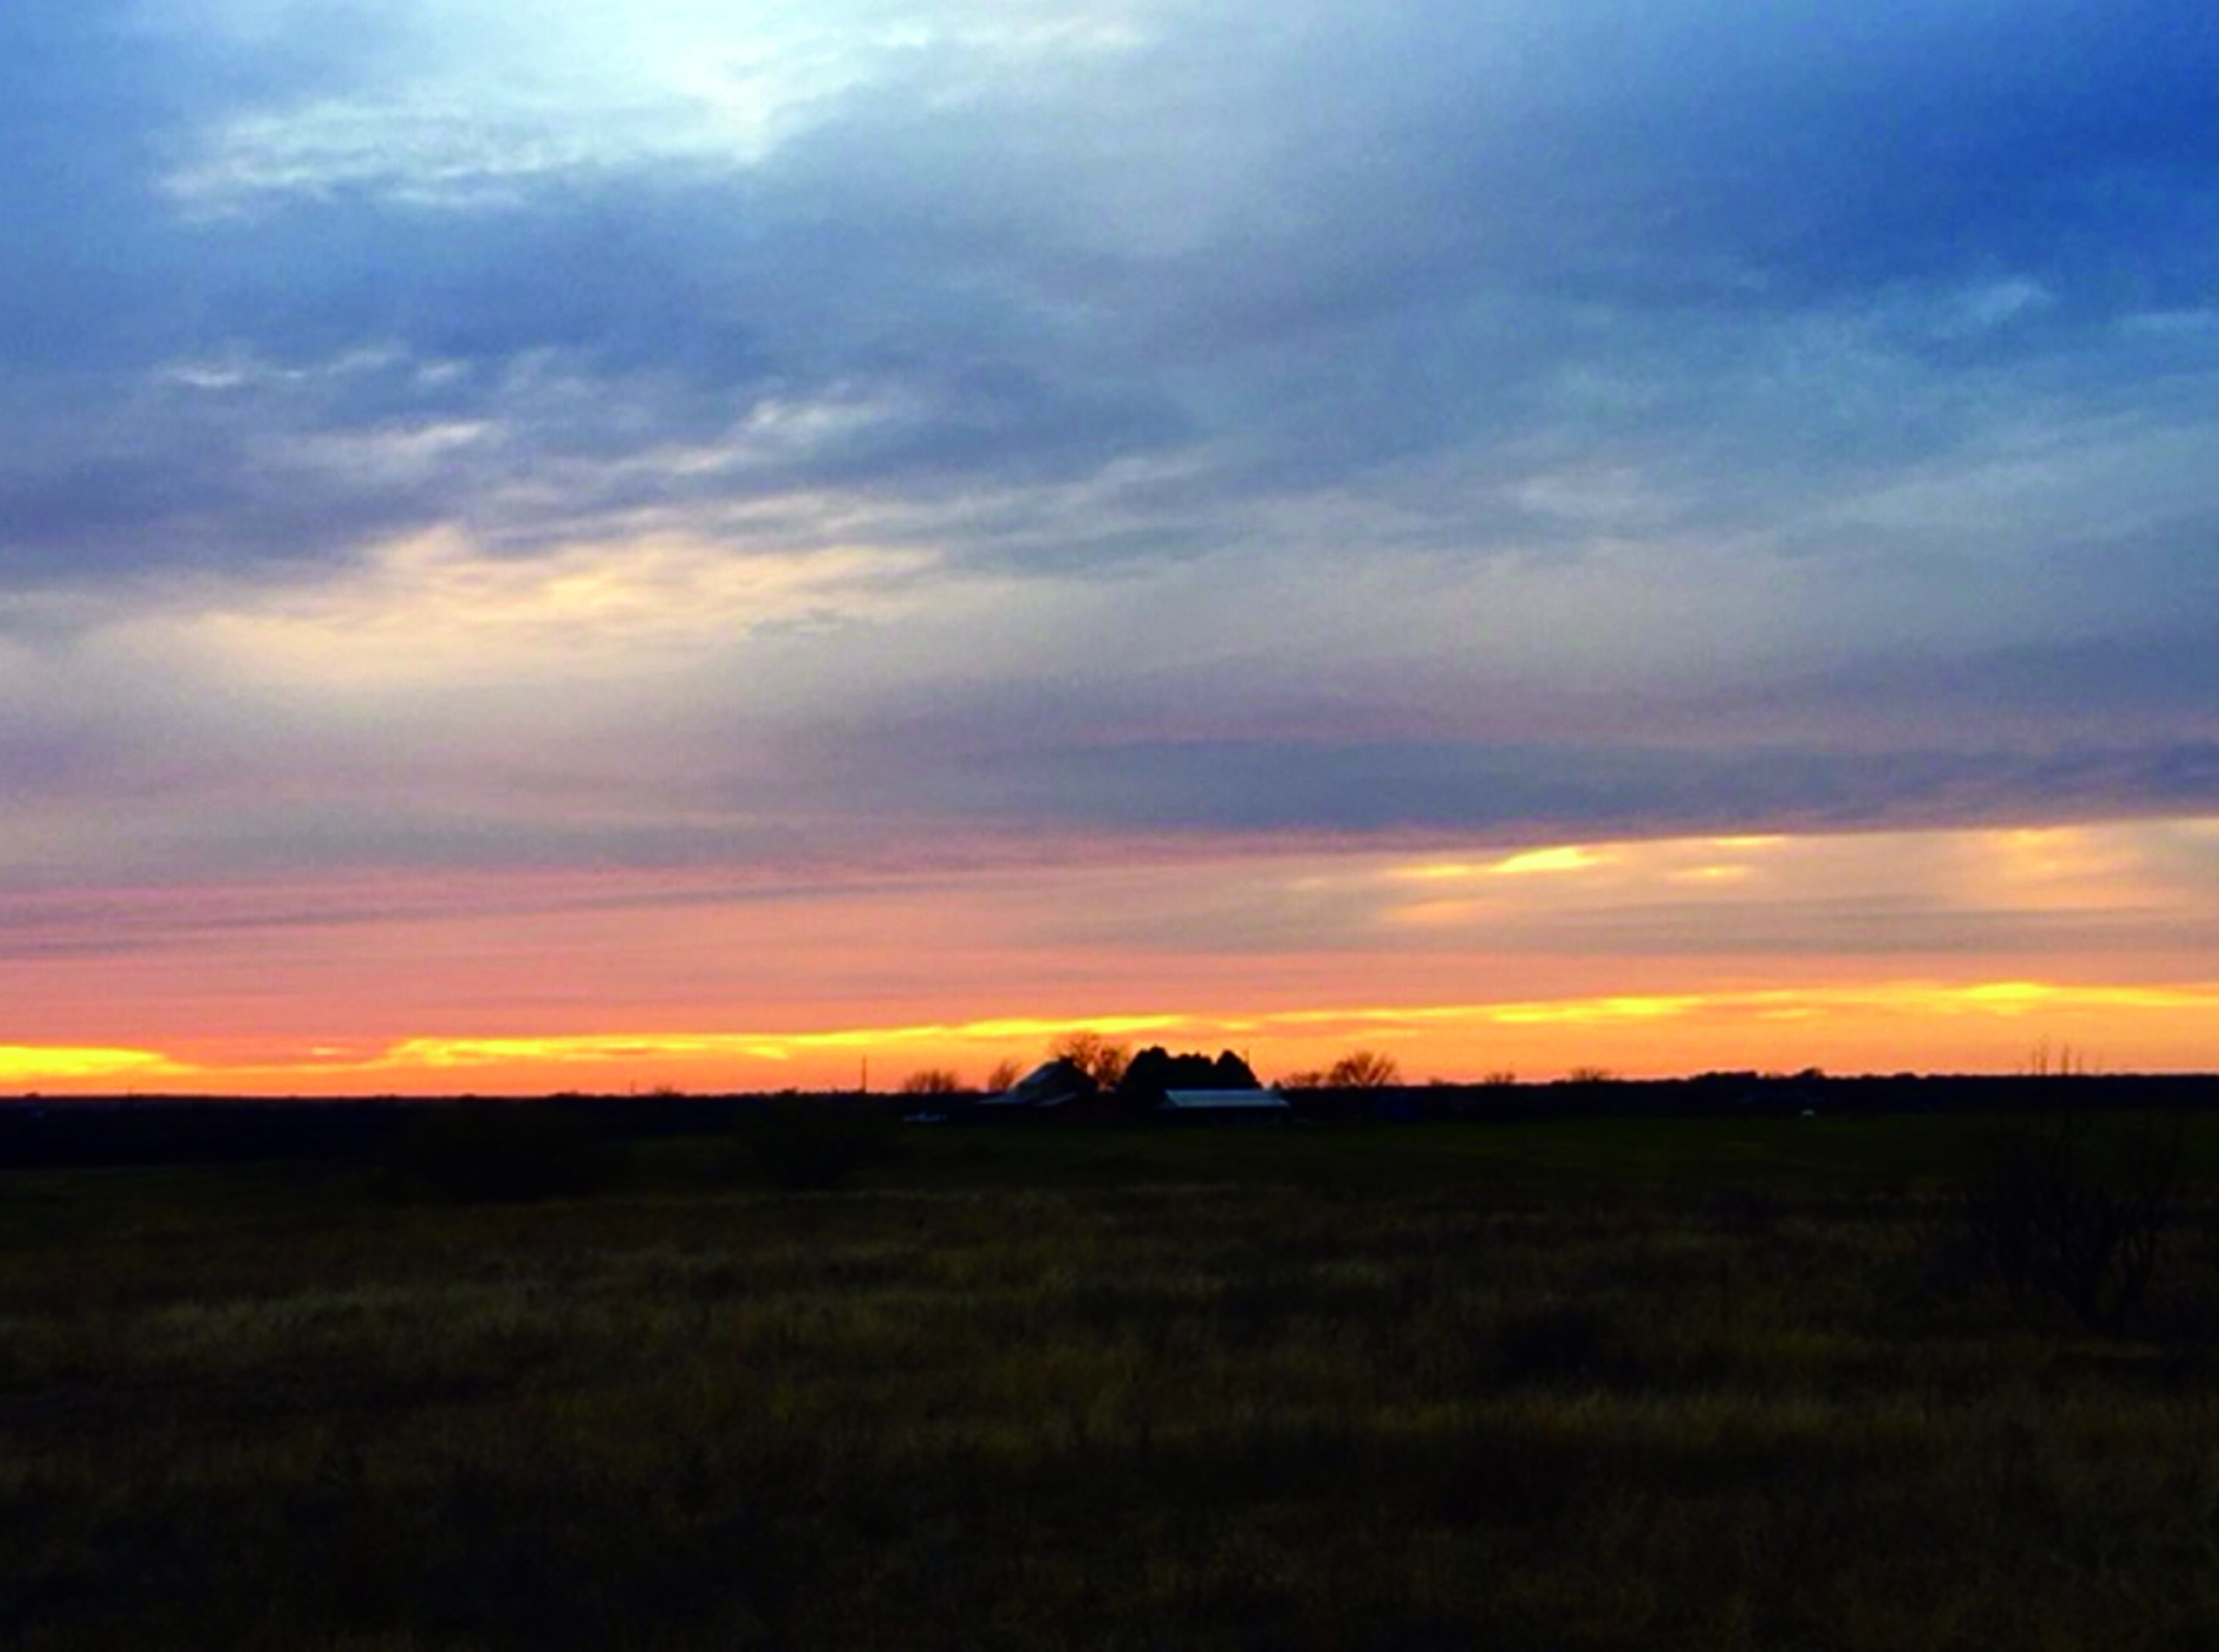
By Tony Dean, tonydean.tx1@gmail.com
Who qualifies as your neighbor? Webster says it is someone who lives nearby, but it isn’t always that simple. Is my neighbor the person next door, or someone in the next county? It could be both.
Our neighbors are an important part of life on the ranch and the grazing lands we share. Many of us find comfort in knowing another human being is somewhere in our neck of the woods, and that someone nearby cares what happens to us.
Being a good neighbor is part of being a productive and responsible rancher, so let’s look at some of the qualities that make a good one.
Protect your neighbor
Watch out for him.
The cattle business is dangerous. Almost everything we work with is bigger and faster than we are. A mad cow can turn an otherwise wonderful day into a disaster. Sooner or later, all of us will need some help.
The average age of today’s rancher keeps climbing. Be aware of your neighbors’ ages, limitations or disabilities, and keep an eye out for anything outside their normal routine.
More women own and operate ranches today, too. Some may suddenly find themselves responsible for parts of the operation that a spouse or family member used to handle. As neighbors, we can be a valuable backup system, helping one another learn, adjust and keep the operation moving.
And then there is wildfire. It can be on us in minutes. You may need to help move a family down the road to safety or move livestock out of harm’s way. Have a plan in mind before the emergency happens.
Be a friend
Some of us who live in the country drive to town for work or make regular trips for other reasons. Others are stay-at-home ranchers, and life can get a little lonely. A friendly smile, a phone call or an invitation to lunch can mean more than we realize.
Things aren’t always wine and roses at the ranch. Few occupations ask people to juggle such a mix of complex markets, weather, natural resource management, livestock management and countless other issues.
Spirits can get low. If we are listening, we can hear and feel the stress in someone’s life. On those days, you have a chance to be a special kind of friend.
Help your neighbor
Have you ever tried to load a trailer by yourself and needed someone to stand in the gate for a couple of minutes? All of us will need help at some point, and our neighbors should be among the people we can call.
Do your best to be there when needed, and your neighbors will likely be there when it is your turn to ask. Sometimes it will be a small job. Other times, it will be a big one. It doesn’t matter. We help our neighbors.
It’s also smart to make sure someone nearby knows your ranching program and understands the land you use. At some point, one of you may need to take care of business for the other for several days.
Be cooperative
There is no end to the situations that can involve more than one family. Fencing, road maintenance and livestock getting where they don’t belong are common ones.
If you don’t handle these things with a friendly, cooperative attitude, they can create problems between neighbors that last for years.
Good fences are something to be proud of. Nothing is gained by years of bickering. Reaching an agreement may be hard at times, but neighbors should be able to work things out. Clear your head, use common sense and come up with an answer everyone can live with.
If your cattle get mixed up with your neighbor’s, make it a priority to separate them as soon as possible. It is rude to let your cattle stay in your neighbor’s pasture eating his grass while you do nothing about it.
One good way to handle strays is for the rancher whose pasture they are in to pen his own cattle along with the strays. The other rancher can then load his cattle and take them home. Afterward, both ranchers can work together on any fence repairs.
By the way, a gate between neighbors is almost always a good policy.
Take ownership
The only way to avoid mistakes is to do nothing. But it isn’t in us as ranchers to sit around and watch the world go by. We are men and women of action, so things are going to go sideways from time to time.
When that happens, and it will, own your mistakes. Decisive action can prevent misunderstandings and make a problem go away much faster.
Be honest, and never, ever lie.
Be patient
We all have bad days. When your neighbor is a little grouchy, he or she probably has something weighing on them.
That is a chance to be a good neighbor. Be patient. Be a good listener. Help your neighbor through the turmoil if you can.
Respect property boundaries
Trespassing is wrong, illegal and rude. Never do it except in an emergency.
In the Southwest, where we live, land ownership is considered a sacred right, and it is a right available to anyone. With ownership comes an expectation of privacy and respect. When you trespass, you violate those rights.
And yes, it is trespassing when you cross a fence to fish or hunt without permission. Texas is a private-property state, which makes respecting these boundaries especially important.
That doesn’t mean you can’t have an understanding with your neighbors that lets you onto their land. Many good friends and neighbors work together on one another’s ranches, but both parties should always communicate well.
You have a cell phone. Use it any time you doubt whether you have the right to go through the gate. An invitation onto another person’s ranch is a privilege, so don’t abuse it.
Your word
Your word as a rancher, neighbor, man or woman helps define you in your community and throughout your life. Your neighbors want to trust you. They want to know that all they need from you is a handshake and that they can depend on what you say.
It is a blessing to live in North Texas, where people still respect and honor a life lived with truth and love.
A good life to live
Having good neighbors is a great way to live. It brings comfort and enjoyment to life. Sometimes it takes a little extra effort, but a friendly neighborhood, even one that covers many acres, is enjoyable and can help keep all of us safer.
It is worth the effort.
The Bible
The Bible has many references to being a good neighbor. Being a good neighbor was good judgment 2,000 years ago, and it is good judgment today. Jesus made it clear that love should guide a good neighbor.
Leviticus 19:18 tells us to love our neighbors as ourselves. That is a tall order. In Matthew 5:44, Jesus takes it further, telling us to love our enemies and pray for those who persecute us.
Our goal should always be to love one another, lift each other up, and help and protect our neighbors.
All of us face drought, floods, wildfire, tornadoes, low cattle prices, rattlesnakes and feral hogs, so let’s fight the fight together. Stand by your neighbor’s side, and he will stand by yours.
A North Texas minister was recently asked, “What do you do if you have a neighbor who is really hard to love?”
His answer was short and to the point: “Love him anyway.”
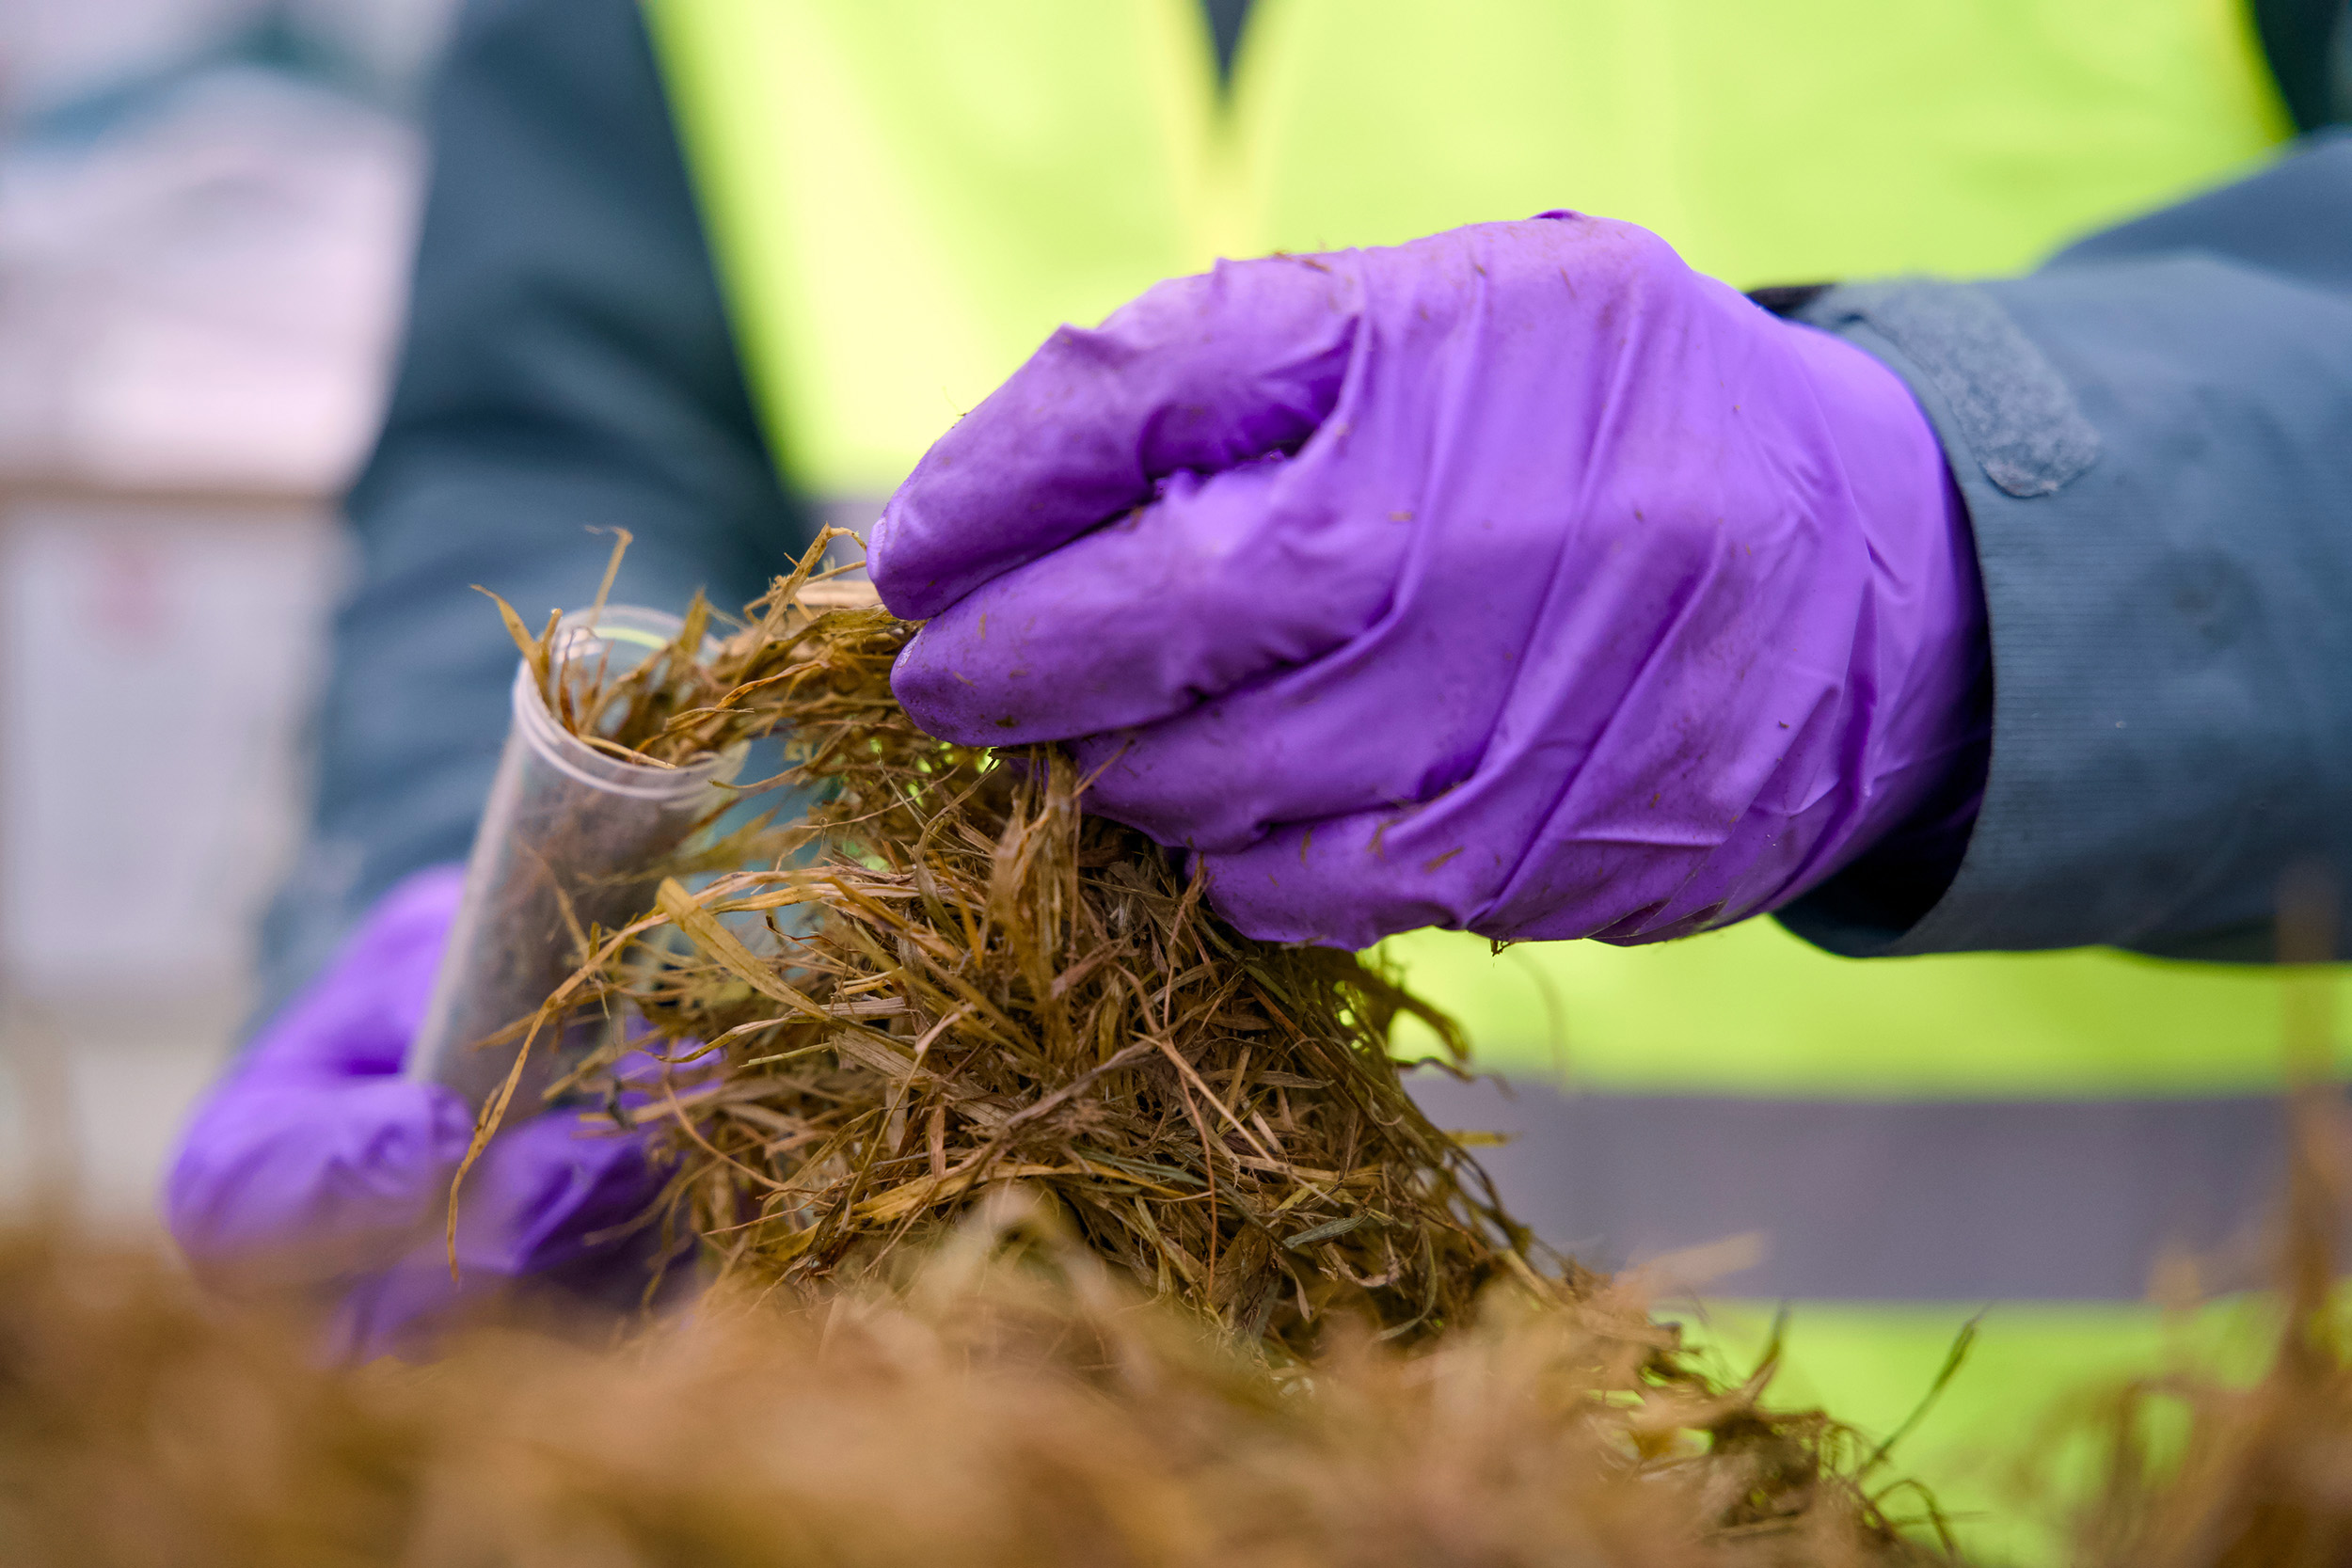
By NTFR Staff
A stack of hay may look good from the outside. The bales may be heavy, green and free of obvious weeds or mold. None of that tells a cattle producer what the hay will provide once it reaches the feed bunk.
Two bales from the same field can differ noticeably in nutrition if they were cut at different stages of maturity, weathered differently or stored under different conditions. The differences grow even larger when you compare hay bought from separate farms or produced in different growing seasons.
A forage analysis takes much of the guesswork out by showing what the hay contains and where you may need to supplement.
Crude protein is often the first number producers check, but it is only one part of the report. Energy, fiber, moisture and possible toxicity concerns can matter just as much when deciding whether a lot of hay suits dry cows, lactating cows, replacement heifers or growing calves.
Reading beyond the protein number
Most forage reports show results on both an “as received” and a dry-matter basis. The as-received column includes the water in the hay. The dry-matter column takes moisture out of the calculation so you can compare feeds with different moisture levels fairly.
For ration planning, the dry-matter values are usually the most useful. If you’re comparing dry hay with silage, cubes or another feed, make the comparison on a dry-matter basis rather than on the numbers as fed.
Moisture still deserves attention. Hay baled too wet is more likely to heat, mold or deteriorate in storage. In severe cases, heating can create a fire risk. Moisture also affects how many pounds of actual nutrients you are buying. A heavy bale isn’t necessarily a nutrient-dense bale if much of its weight is water.
Crude protein, usually listed as CP, estimates the protein in the forage based on its nitrogen content. Protein keeps the rumen microbes that help cattle digest forage working. When forage protein drops too low, intake and digestion may decline because those microbes can’t function as well.
The amount of protein a cow needs changes a great deal through the year. A mature, dry cow in mid-pregnancy needs less than a cow in late pregnancy or early lactation. Young, growing cattle and first-calf heifers may also need more protein than mature dry cows. Hay that is adequate for one group may fall short for another.
Always compare a forage report with the needs of the cattle that will eat the hay. Oklahoma State University notes that cattle requirements vary with weight, age, stage of production, desired gain and milk production. A single protein target can’t describe the needs of an entire herd.
Energy is another major piece of the feeding decision. Many forage reports express energy as total digestible nutrients, or TDN, an estimate of the digestible energy in the feed. Protein supports rumen function and tissue growth, while energy fuels maintenance, pregnancy, milk production and weight gain.
Hay can test well for protein and still come up short on energy. That matters most for cows nearing calving or producing milk. Low-energy hay may leave cattle feeling full without giving them enough nutrition to hold body condition. University of Nebraska Extension stresses evaluating both protein and energy when judging the feeding value of forage.
Fiber measurements help explain why cattle eat one hay readily and less of another. Neutral detergent fiber, or NDF, represents much of the plant’s structural material, including cellulose, hemicellulose and lignin. As NDF rises, cattle generally eat less because bulky, fibrous forage stays in the digestive tract longer.
Acid detergent fiber, or ADF, includes the least digestible parts of the plant. Higher ADF generally means lower digestibility and less available energy. Put simply, high NDF can limit how much cattle eat, and high ADF can mean they get less energy from what they do eat.
Both numbers tend to climb as forage plants mature. Mature hay usually has more stem and less leaf than hay cut earlier. It may still be acceptable feed for animals with lower needs, but it is less likely to support lactating cows or growing cattle without supplementation.
Some reports also include relative feed value, or RFV. This index uses ADF and NDF to compare forage quality, particularly for alfalfa and other legumes. It can help when you compare similar types of hay, but it doesn’t account for every nutrient cattle need. Don’t let RFV replace a closer look at crude protein, energy and the animal’s stage of production.
Depending on the lab package you choose, the report may include minerals. Labs commonly report calcium and phosphorus, but a forage analysis can’t replace a well-designed mineral program. Water quality, other feeds and interactions among minerals all affect mineral needs and availability. Work with an Extension specialist, veterinarian or livestock nutritionist before making major mineral changes.
Nitrate and prussic acid
A standard forage analysis may not include nitrates, and you often have to request that test separately. Nitrate testing is especially important for drought-stressed forage, heavily fertilized fields and crops such as sorghum, sudangrass, sorghum-sudan hybrids, millet, oats and some weeds.
Nitrate can remain in cured hay and doesn’t reliably disappear in storage. Test any hay you suspect of high nitrate before feeding it. Oklahoma State University recommends a laboratory analysis because field screening tests can show that nitrate is present but can’t measure how much.
Prussic acid is a different concern. Unlike nitrate, prussic acid usually dissipates as properly cured hay sits in storage, though suspect forage still needs careful management and professional guidance. Be sure which test you need, and don’t treat the terms nitrate and prussic acid as interchangeable.
Putting the numbers to work
A hay test pays off when it leads to a feeding plan. Once you have the results, you can match the hay to the right class of cattle. Save better hay for replacement heifers, thin cows, late-gestation cows or cows with calves at side. Feed lower-quality hay to mature dry cows with modest requirements.
Testing can also prevent unnecessary supplementation. Without an analysis, you may buy protein tubs, cubes or other supplements your cattle don’t need. The opposite mistake costs just as much. Assuming hay is better than it is can lead to lost body condition, lower milk production, poor breed-back rates and lighter calves.
Visual inspection still matters. Don’t ignore mold, foreign material, weeds, dust or heat damage because a lab report shows acceptable numbers. At the same time, color and appearance can’t reliably predict nutrient content. University of Nebraska notes that forage nutrient values vary widely, which makes average book values a poor substitute for testing the feed you have on hand.
A forage analysis won’t make poor hay better, but it can show you how to use that hay well. For the cost of a test, you get information that can guide hay purchases, cut supplement waste and put each lot of hay where it will do the most good.
The protein number may get the most attention, but it doesn’t tell the whole story. Understanding moisture, TDN, NDF, ADF and potential toxicity gives you a much clearer picture of what is inside the bale.
By Savannah Magoteaux
A September rain can be exactly what a North Texas pasture needs, but that flush of green can bring an unwelcome guest.
Fall armyworms are a familiar late-summer and early-fall pest across Texas, and they can do serious damage to pastures and hay fields when conditions are right. Bermudagrass is a common target, but armyworms also feed on small grains, ryegrass and other forage crops. The key is catching them early, before a manageable infestation turns into a field that seems to disappear overnight.
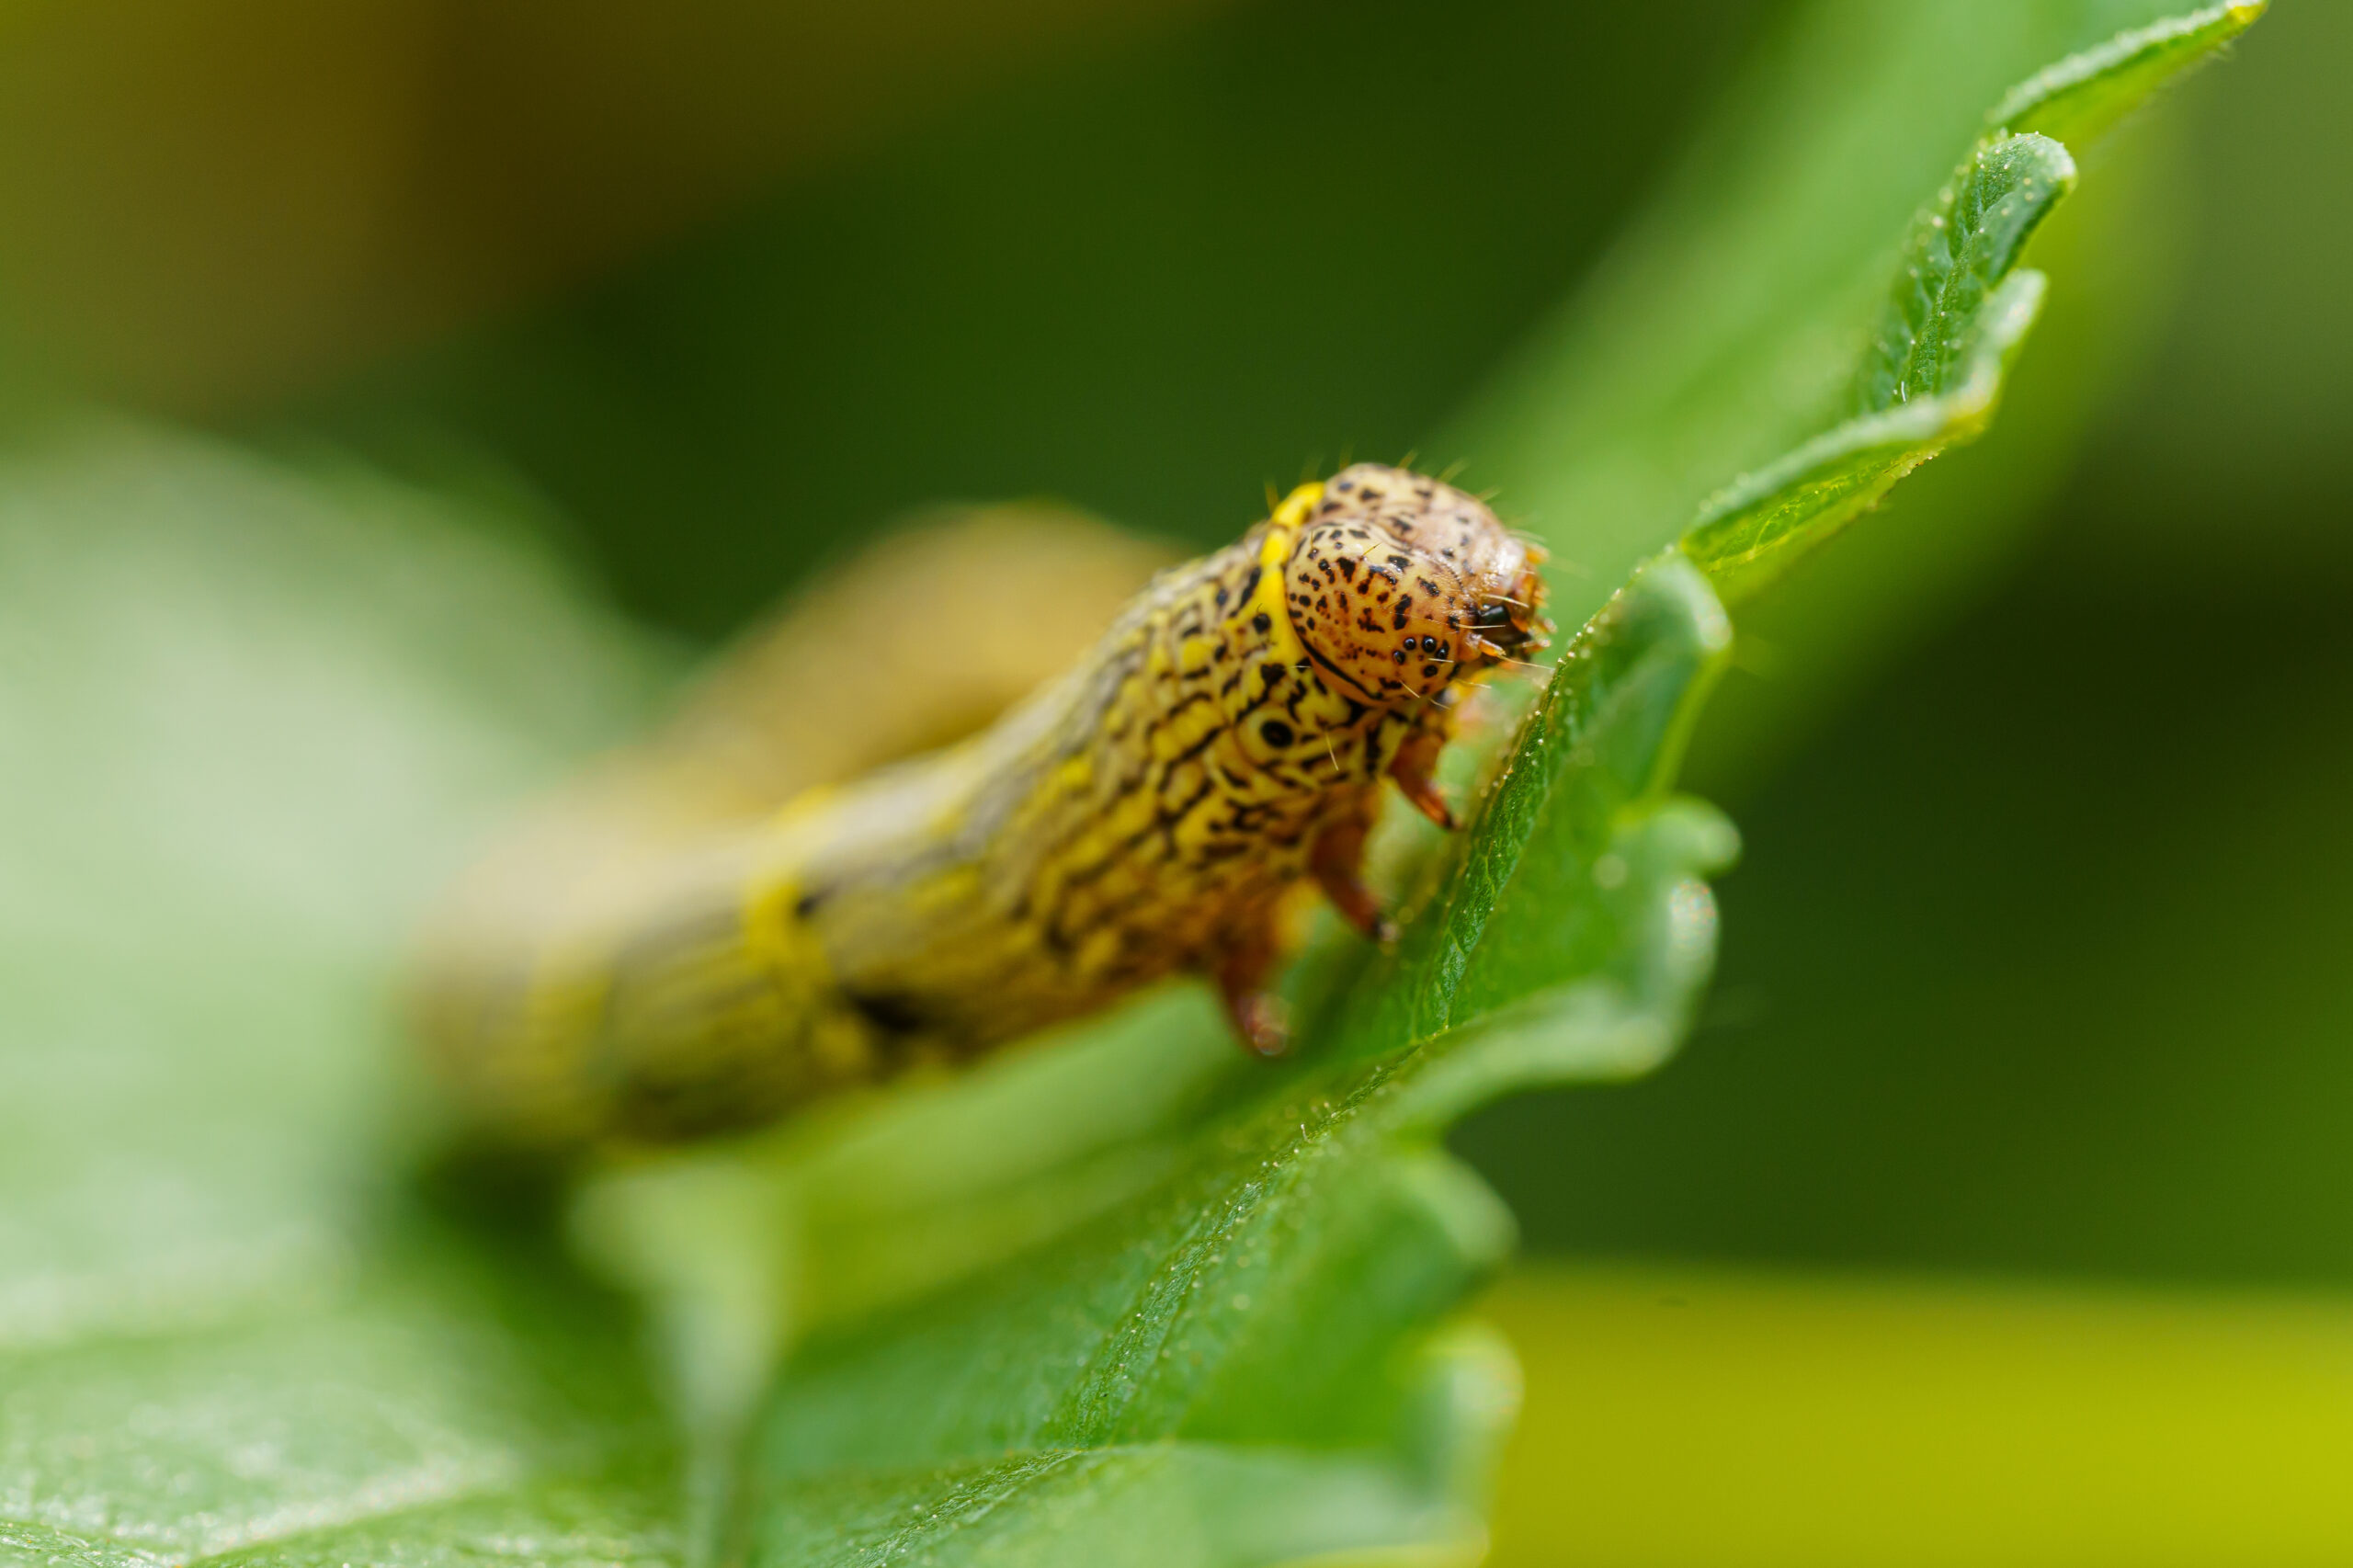
Despite the name, fall armyworms are caterpillars. The adult moths migrate into Texas and lay masses of eggs on grasses, fence posts, buildings and other surfaces. Once the larvae hatch, they start feeding on plants.
Young armyworms are small and hard to spot unless you are actively scouting. As they grow, their appetite climbs. Larger larvae can strip leaves fast, leaving stems behind and cutting into available forage or hay yield.
Look for an inverted, light-colored “Y” on the caterpillar’s head. Mature larvae can reach about 1½ inches long and often have several dark and light stripes running the length of the body.
Armyworms feed most actively during the cooler parts of the day, so early morning and late afternoon are good times to scout. Walk through several areas of the pasture rather than checking only along the edge. Look closely near the soil surface and beneath grass leaves, especially where you see fresh feeding damage.
Scouting matters most after rain or irrigation. New grass growth draws newly hatched larvae, and populations can build quickly when conditions favor them.
Texas A&M AgriLife Extension generally recommends considering treatment in improved pastures when you find about three or more armyworms per square foot. The decision should also weigh the size of the larvae, how much forage is present, the expected hay value and how severe the damage is.
Timing matters. Small armyworms are easier to control than large ones, and an insecticide does less good once the caterpillars are nearly mature and have already eaten much of the forage. If you treat, follow the product label carefully, including grazing and hay-harvest restrictions.
Don’t assume one treatment or one scouting trip will carry a pasture through the season. Fall armyworm moths can keep moving into an area, laying more eggs and starting another generation of larvae. Keep checking fields even after you have controlled an infestation.
For hay producers, an approaching harvest date can also shape the decision. When the crop is close to harvest, cutting the field may be a better option than spraying. The best choice depends on the number and size of the armyworms, how much forage remains and whether the weather allows you to cut hay.
September rain is usually welcome across North Texas, especially after a long, hot summer. Just remember that fresh green grass deserves a closer look. A few minutes of scouting can make the difference between catching fall armyworms early and finding the damage after they have eaten their fill.




-
 Country Lifestyles4 years ago
Scott & Stacey Schumacher: A Growth Mindset
-
 Country Lifestyles10 years ago
Style Your Profile – What your style cowboy hat says about you and new trends in 2017
-
 Horsefeathers12 years ago
Mount Scott: Country Humor with David Gregory
-
 Country Lifestyles10 years ago
June 2016 Profile – The man behind the mic: Bob Tallman
-
 Outdoor11 years ago
Buttercup or Primrose?
-
 Country Lifestyles10 years ago
December 2016 Profile, Rusty Riddle – The Riddle Way
-
 HOME10 years ago
Grazing North Texas – Wilman Lovegrass
-
 The Natural Horseman9 years ago
This is why we do what we do — RayeAnn and Cisco